Project - Baikal IZH-46M Gasket Replacement
Silent Thunder Ordnance

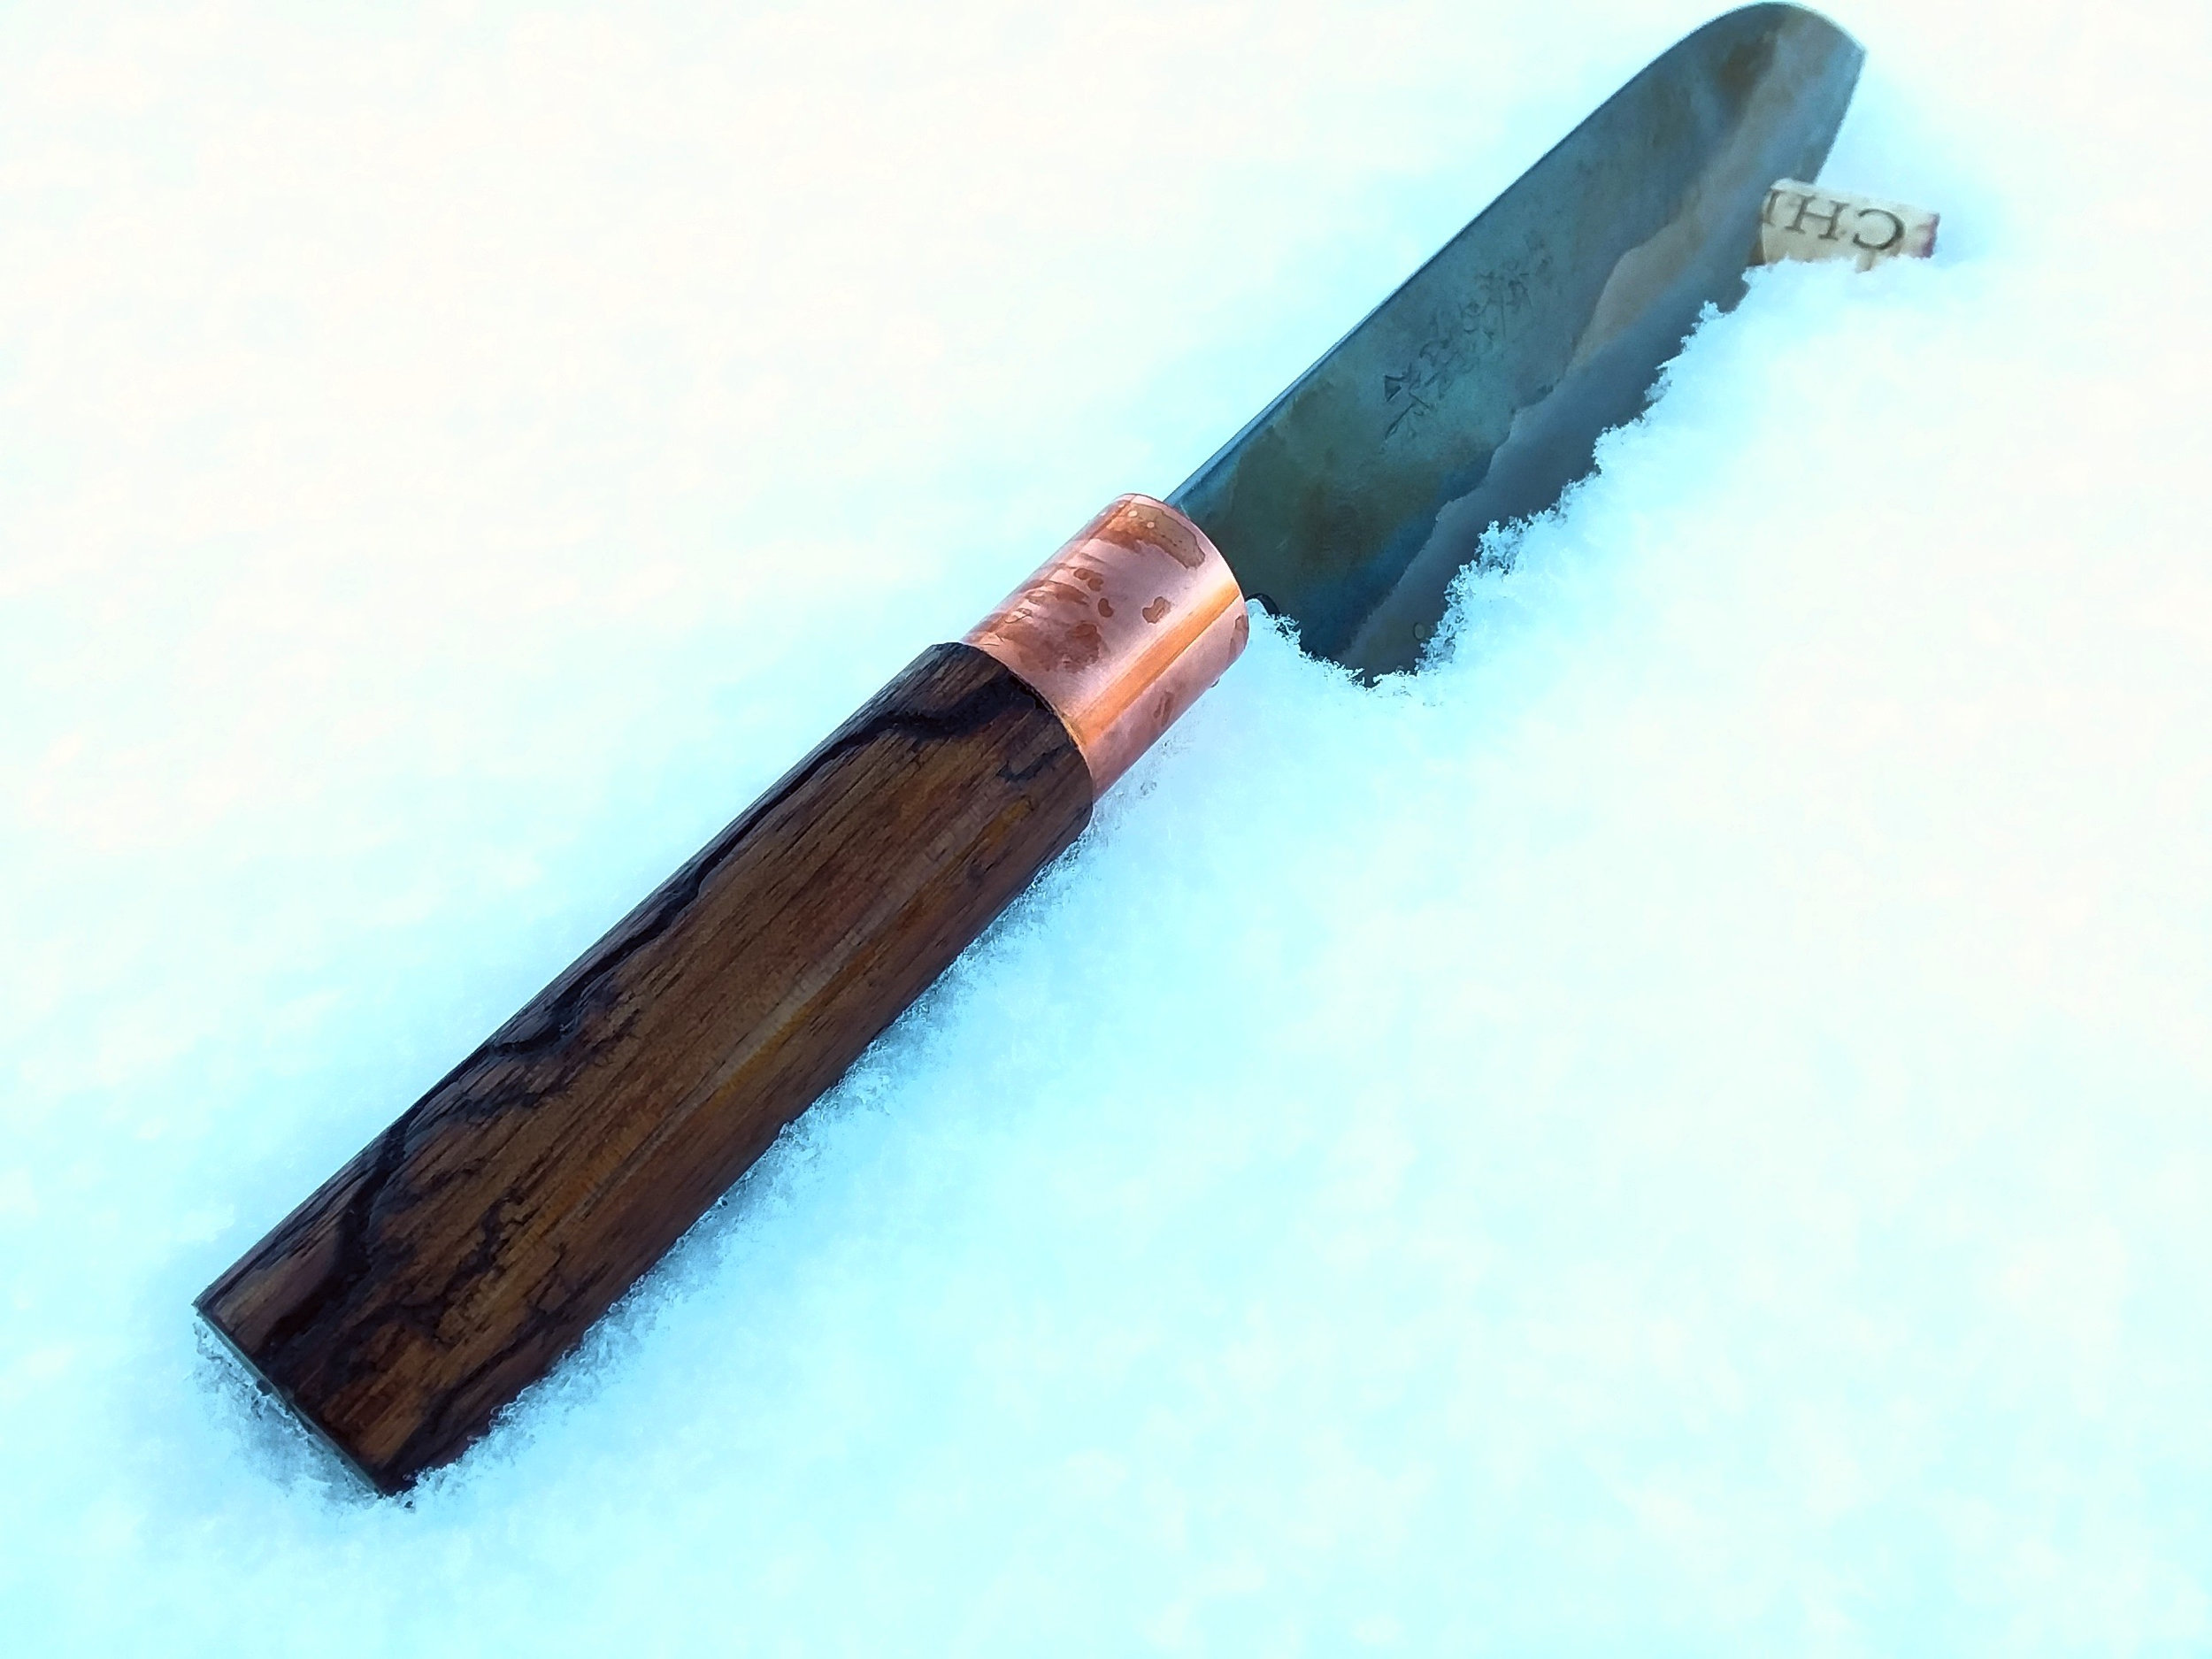
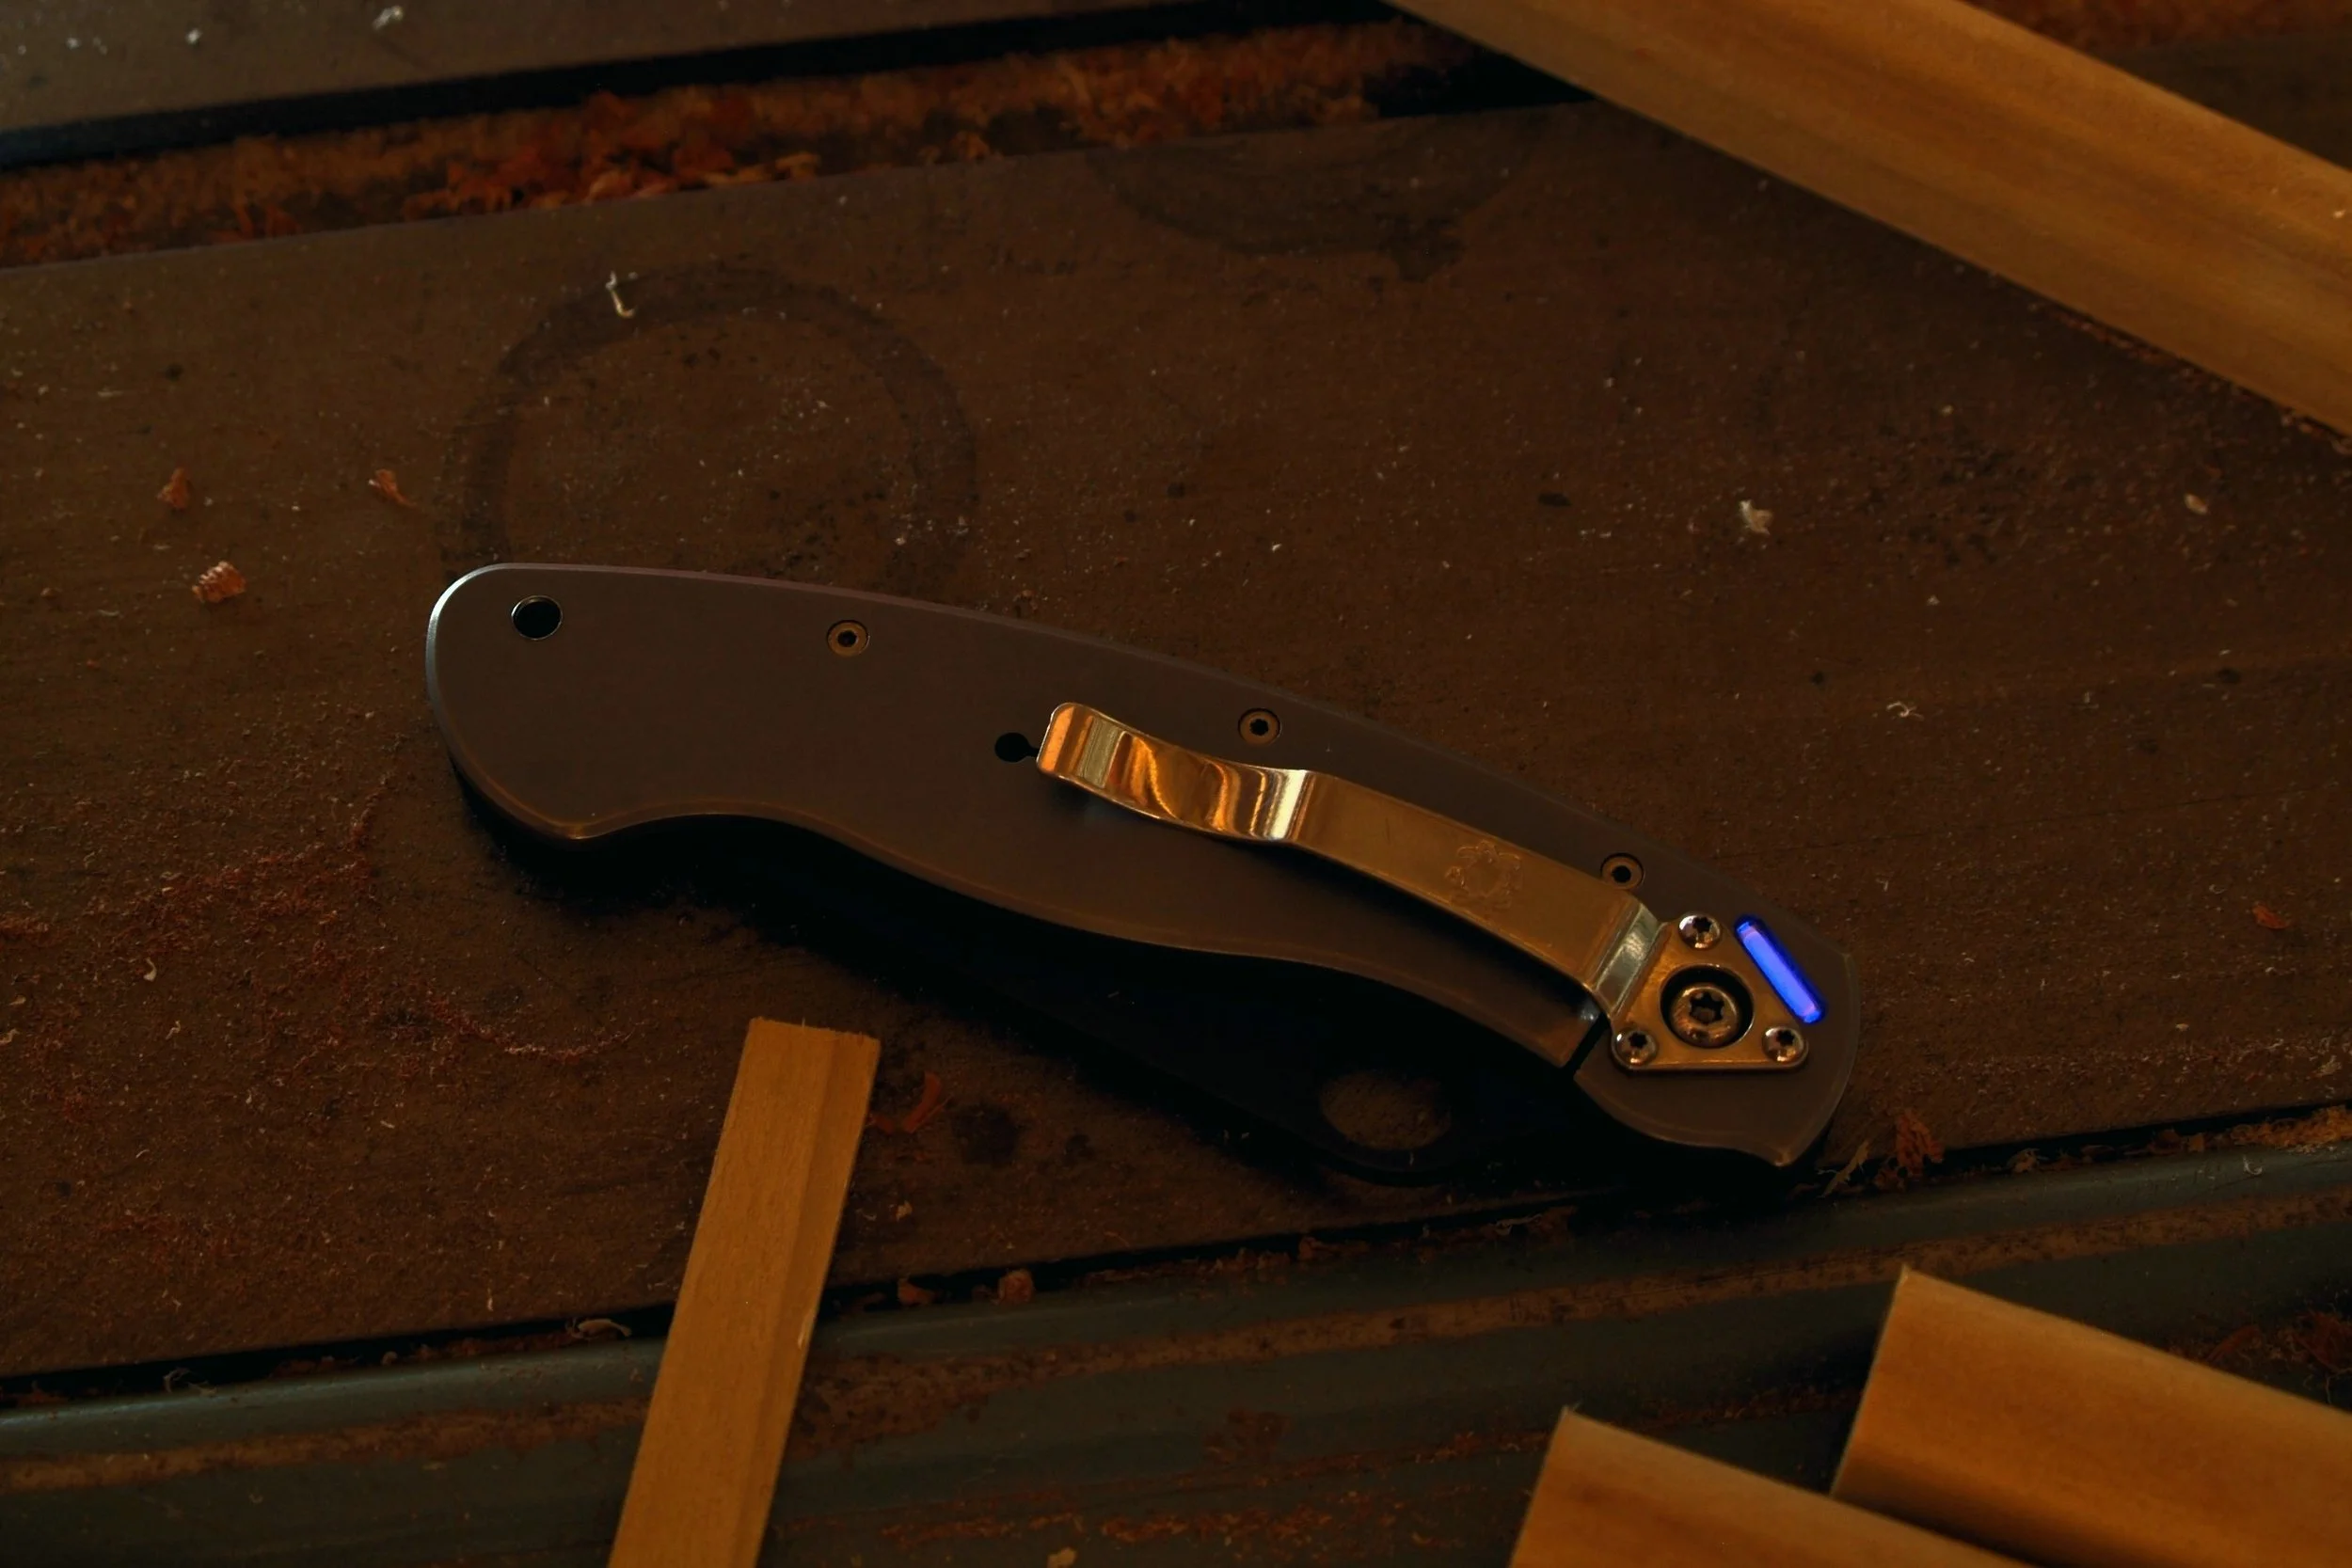
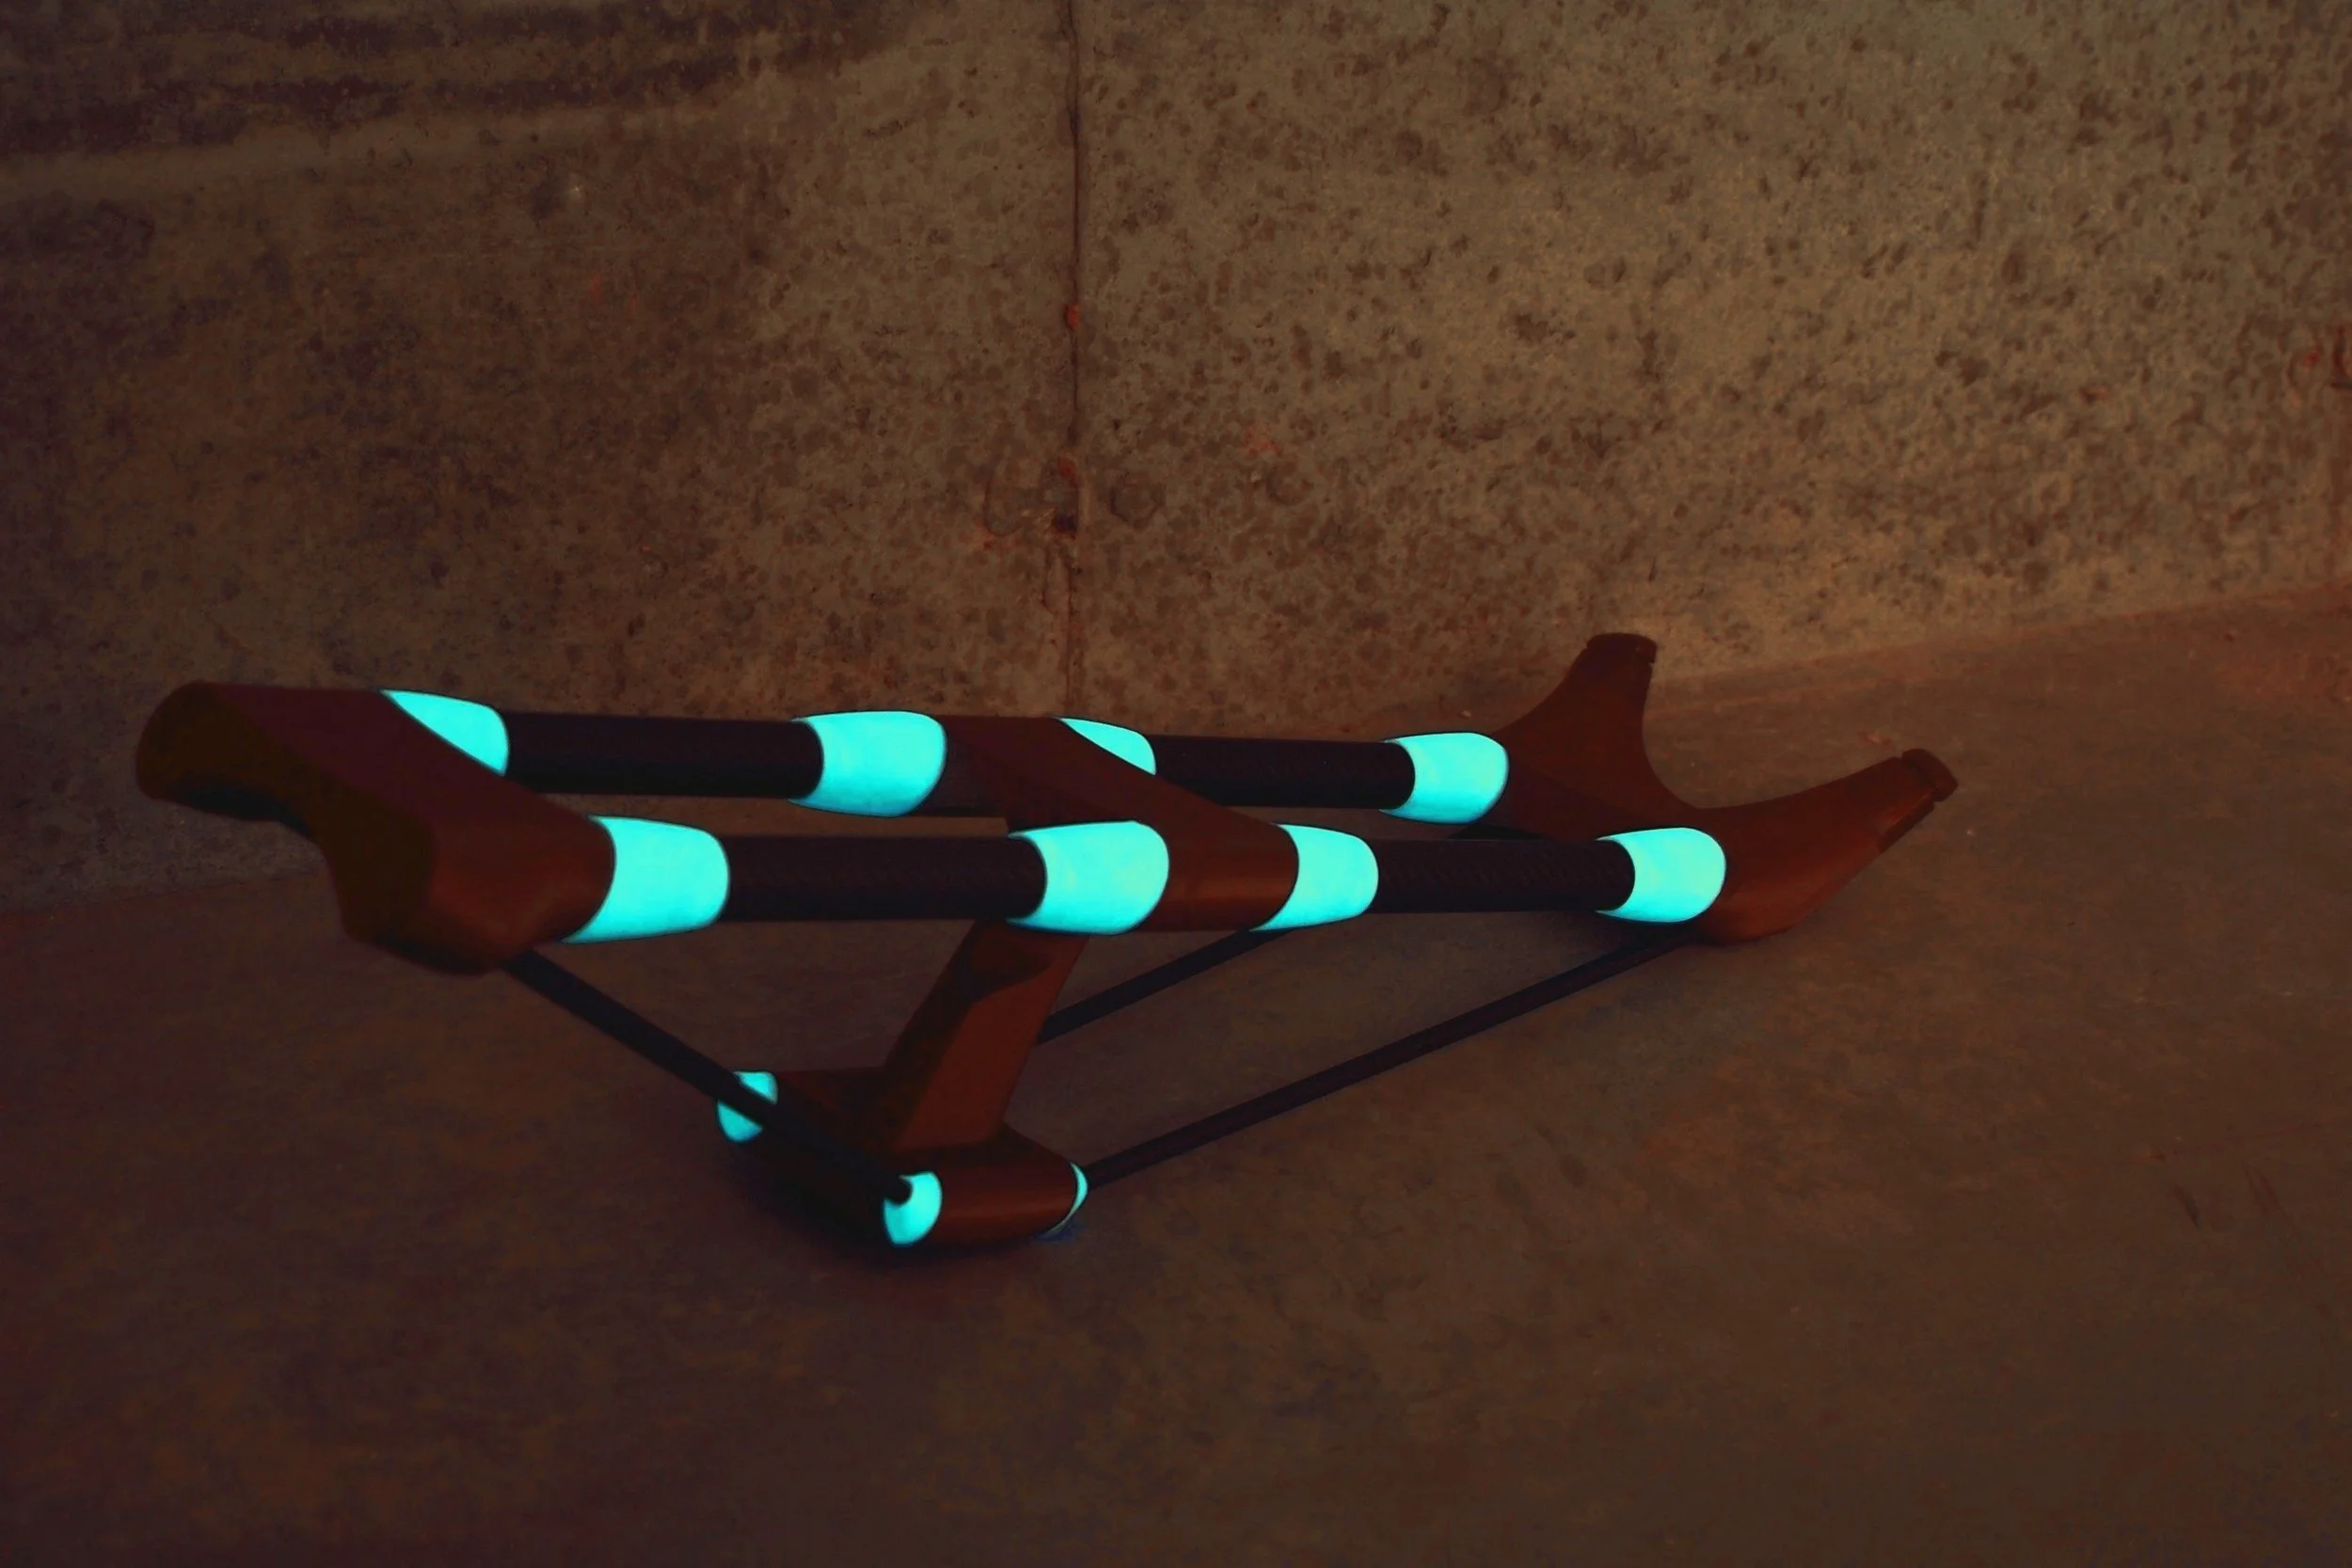
The repaired IZH-46M with one of the little blue gaskets just visible as a flash of blue at the breech. Also seen with one of our scalpeldashi in sapphire blue, a Kuru Toga Advance by Uni, and a tin if .177 Crossman Premier hollow point pellets.
We’re not manufacturing these, check them out here.
The Baikal IZH-46M, I would argue one of the greatest airguns of all time. Why? Three reasons really: it is exceptionally good at what it does (shooting accurately), it is extremely convenient to shoot (no air cylinders to run out, or accessories to grab, just the gun and tin of pellets and you’re good to go), and it was very very modestly priced (about 500$ in its day). No surprise then it was an extremely popular airgun. Unfortunately, for reasons I’m not entirely sure of, they’re no longer readily available at least in the United States. If I were to guess, I’d say this was caused by some combination of the Russia embargo and Kalashnikov Concern’s financial turmoil. Either way, whole guns and spare parts have been rather hard to come by.
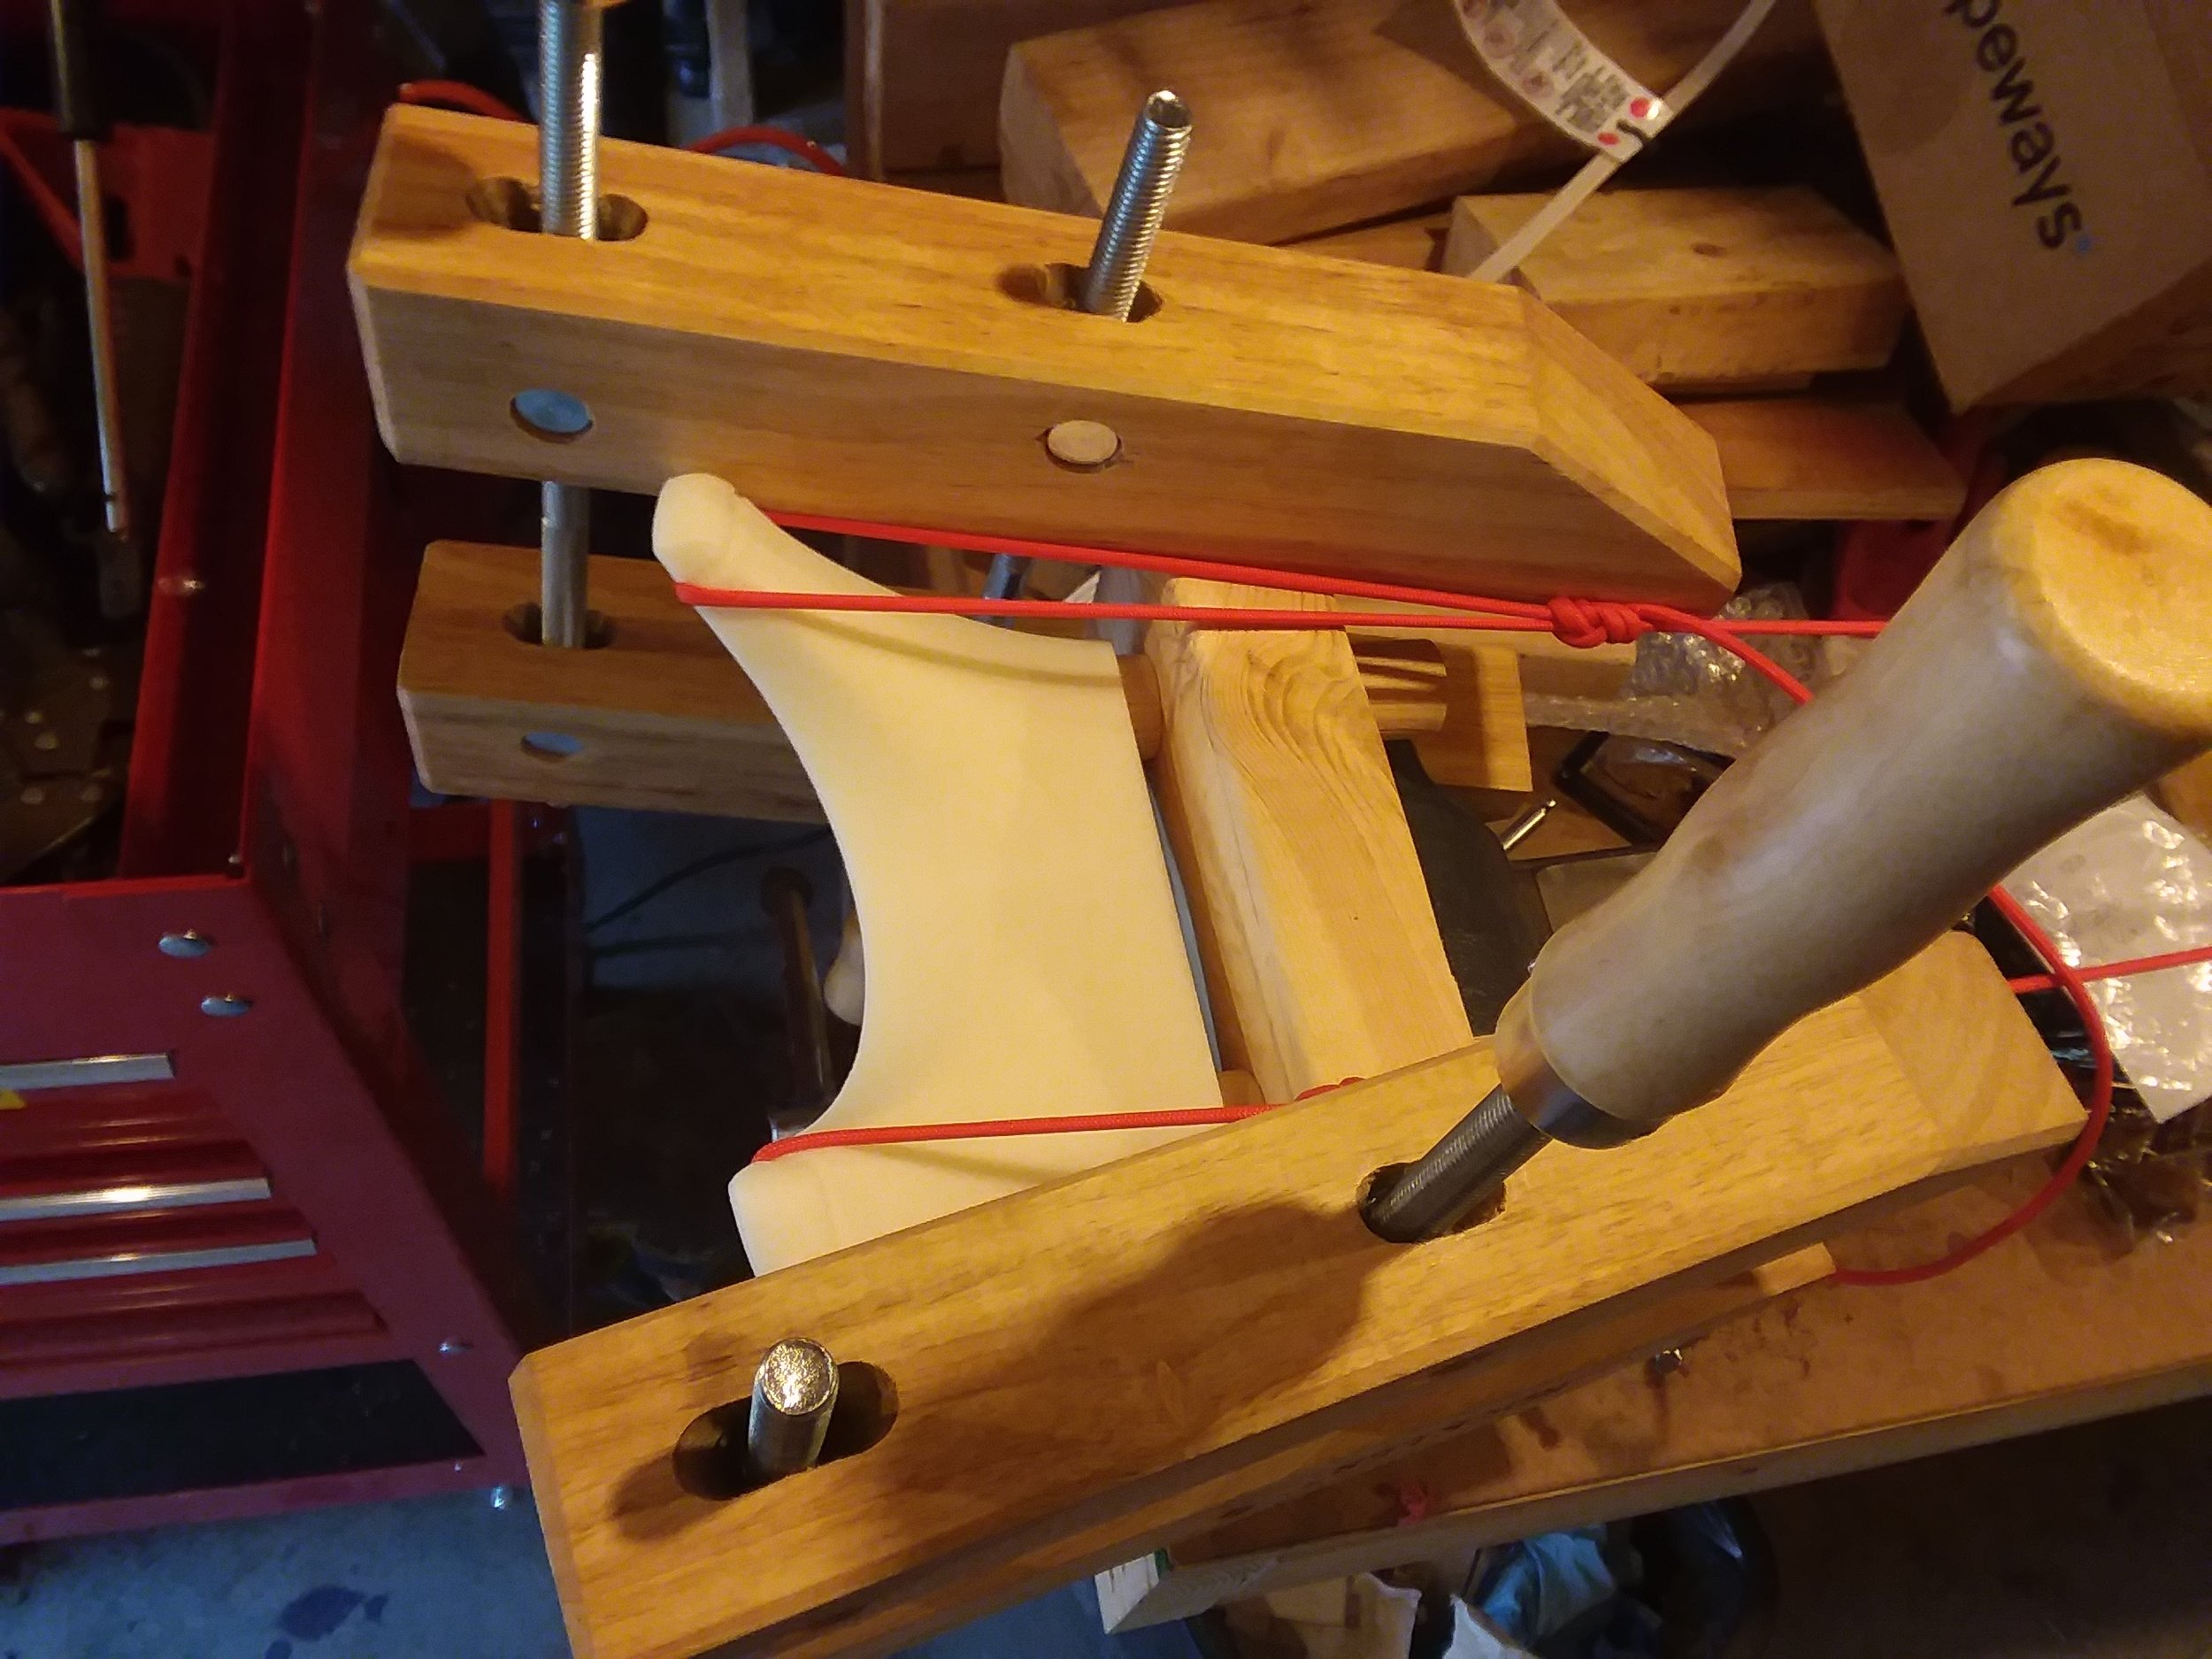
Despite my glowing praise for the gun, there is at least one minor shortfall: the breech can be “closed” such that the gun will discharge but not properly latched. Making this relatively minor oversight will result in popping out both breech gaskets, one of which will remain sitting on the bottom face of the breech if you’re lucky while the other will be injected into low earth orbit never to be seen again. (note on the IZH technical diagram this is part #19 and is labeled “packing ring” which is an accurate description) Thus did I fall into this trap inadvertently, and find myself in need of AT MINIMUM one breech seal. Of course two is one and one is none, so really half a dozen or so would be ideal with a way to acquire a potentially unlimited quantity.
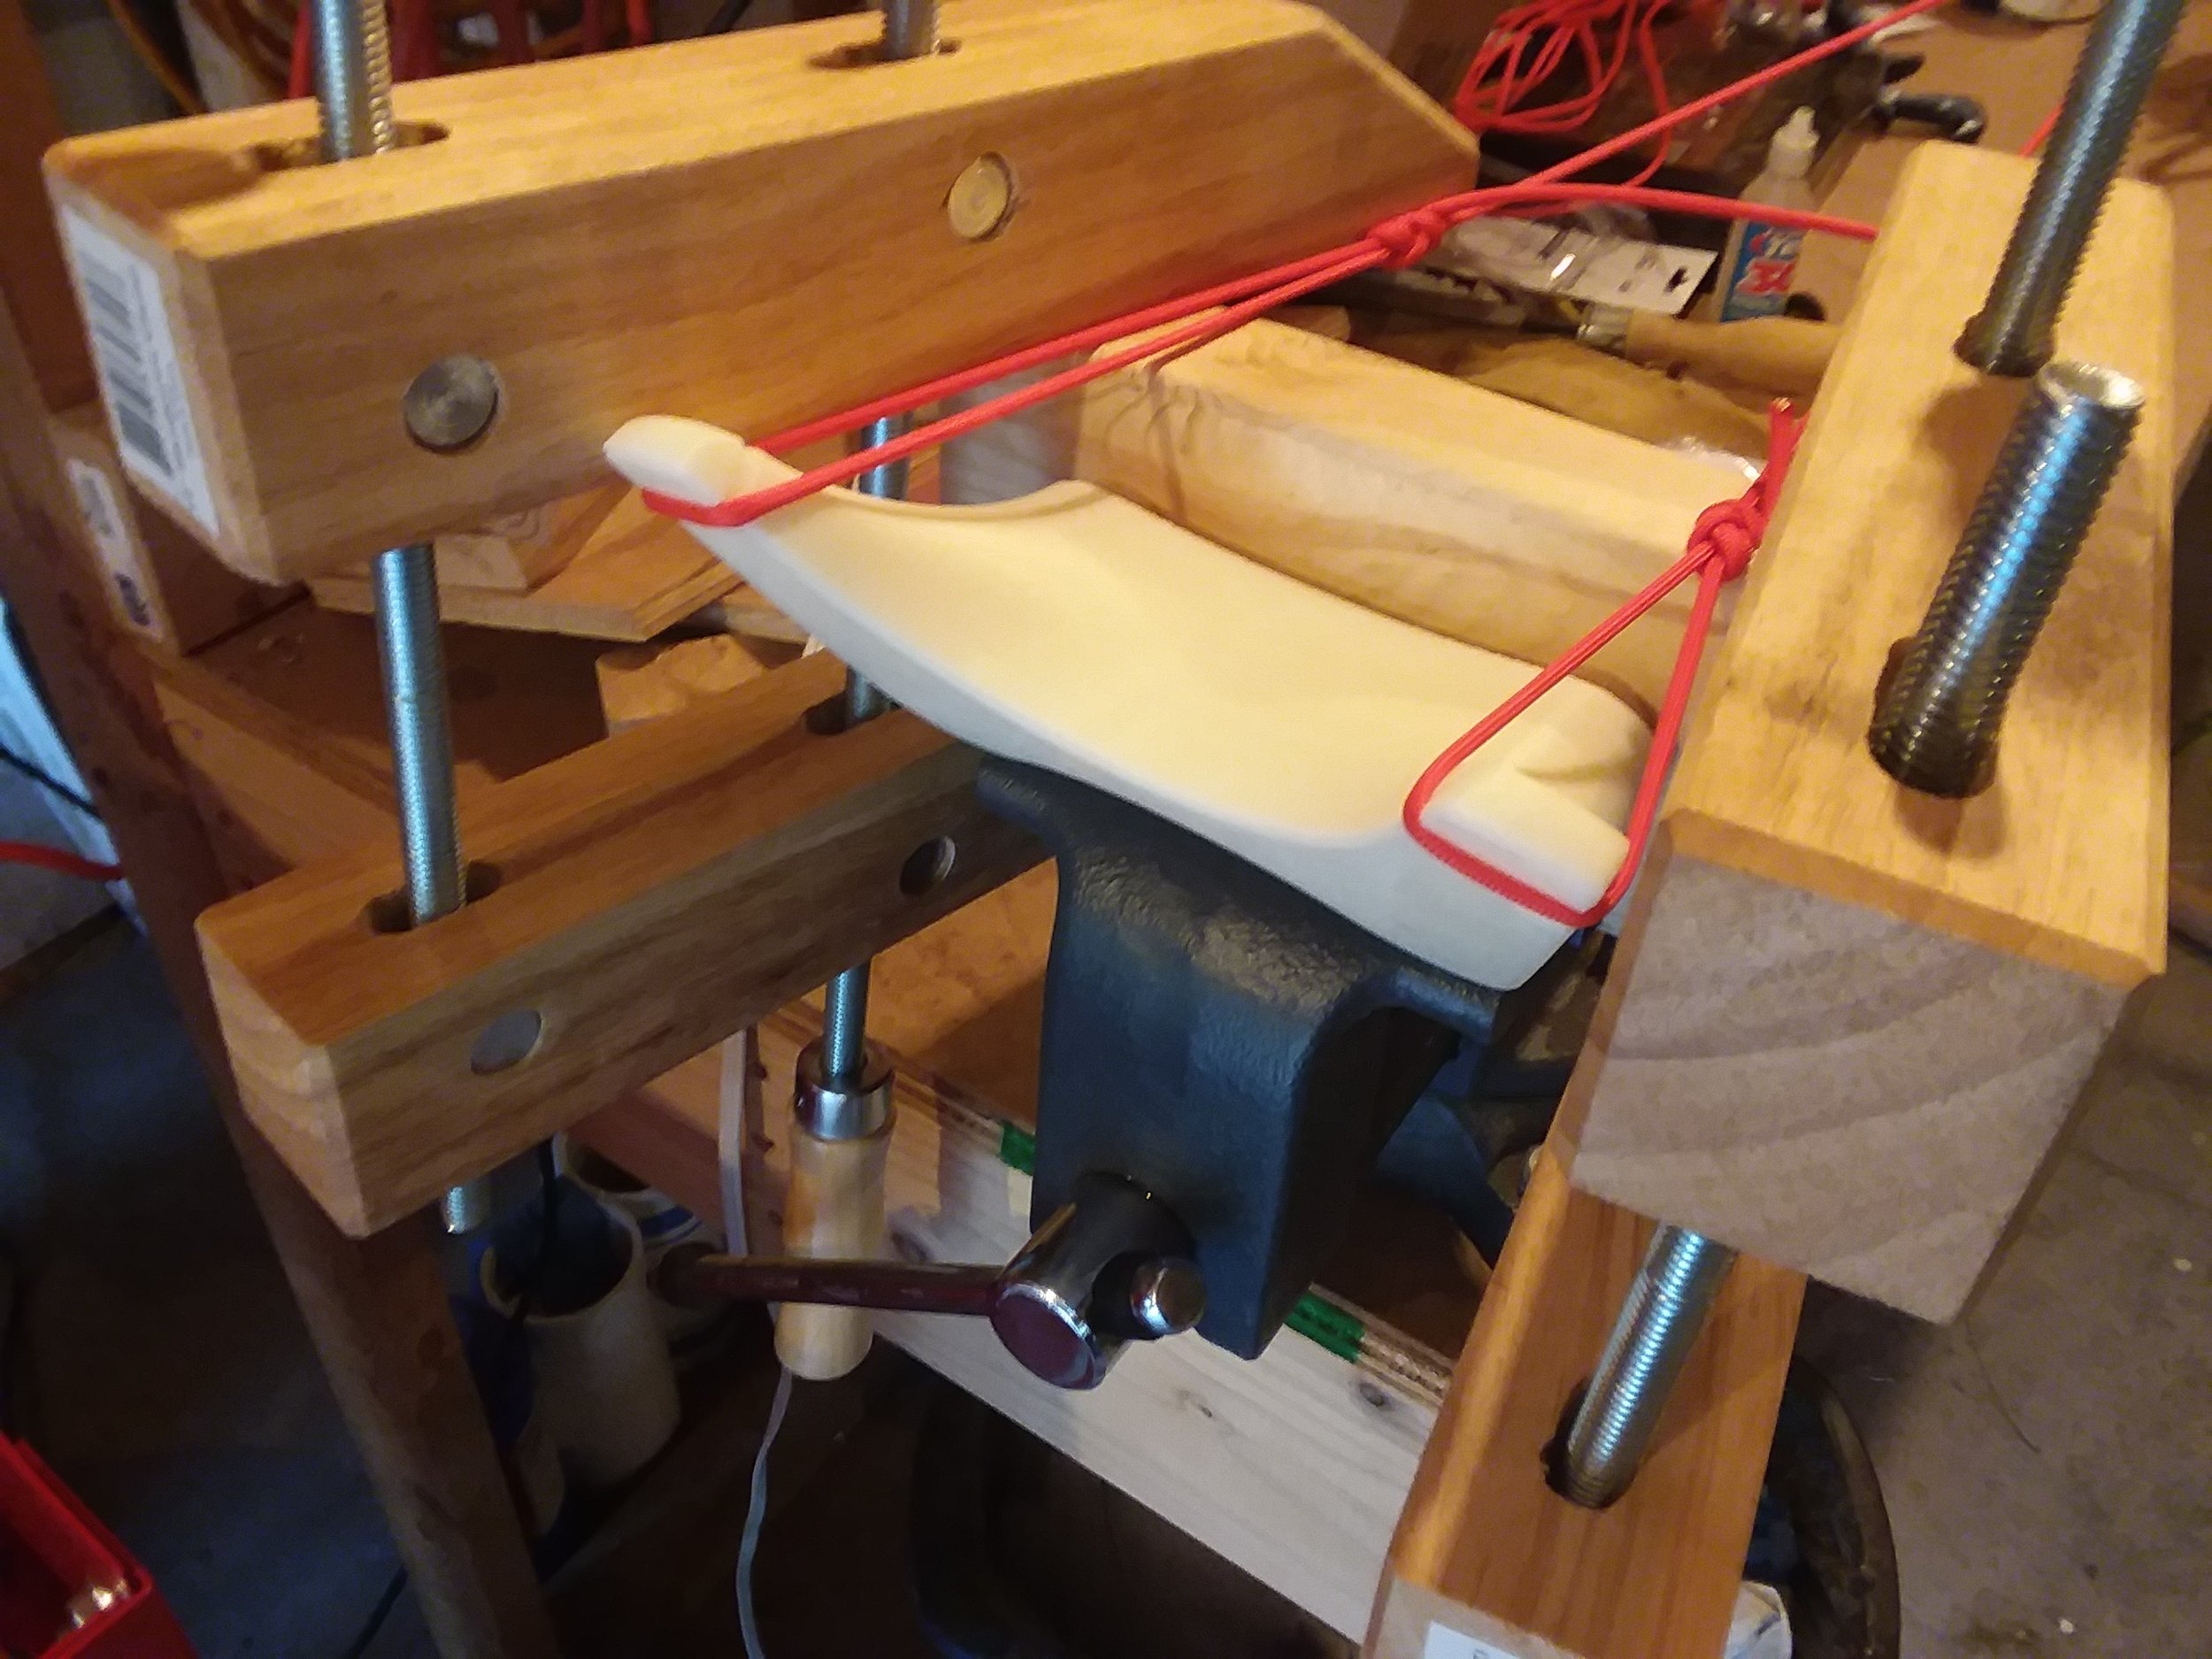
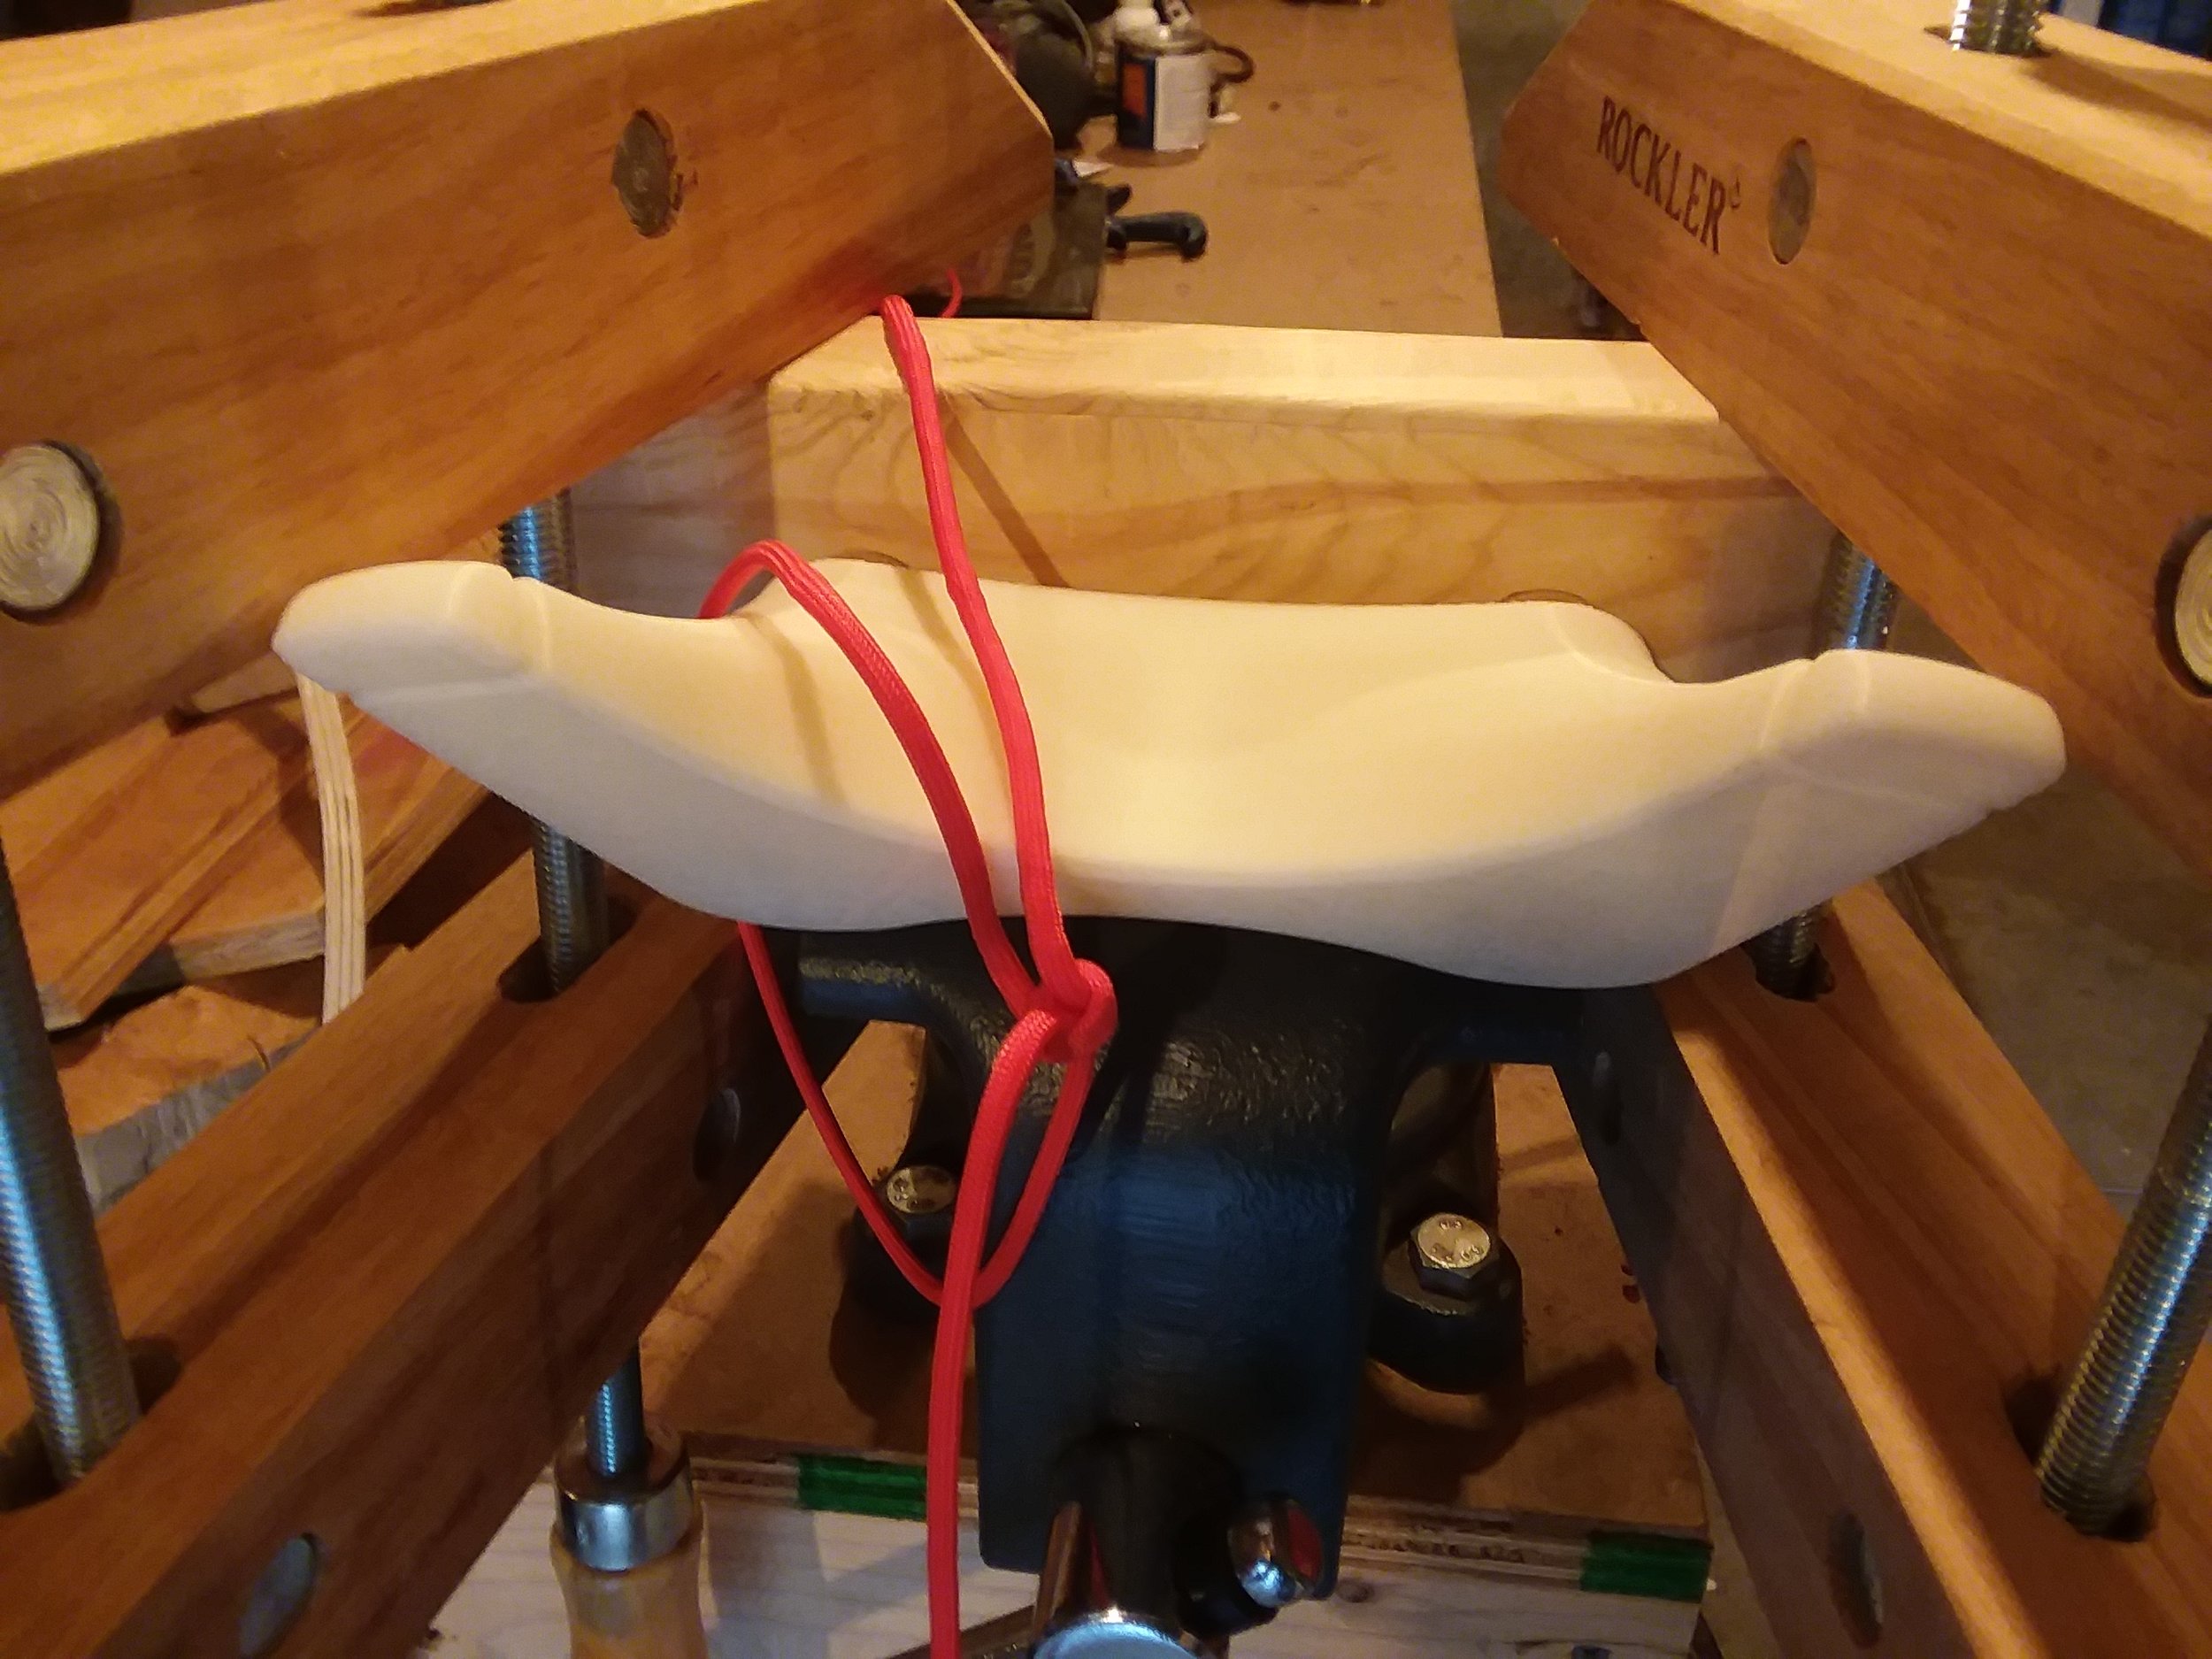
Here is the pickle though: while some clever engineering could have made this breech use standard O-rings, the 46 uses what so far as I can tell is a proprietary tapered gasket. Like most things engineered by Russians, it is a stuperb solution to the problem, possessing elements of extreme mechanical cleverness and a bizarre divergence from GMP.
So here I am, with one gasket and looking for an easy way to duplicate it. Whipping up a nice high-resolution silicone mould based off the one positive I luckily still had seemed the obvious choice, and so I prepped a container and the gasket. Unfortunately, as I discovered, the manufacturer most likely used a high sulfur urethane to make the gasket. This sulfur poisoned the platinum catalyst, and so the silicone failed to cure all around the o-ring. This was an abject failure.

The dastardly #19 gasket itself, here seen prepped for direct mould making. Little did I know…….
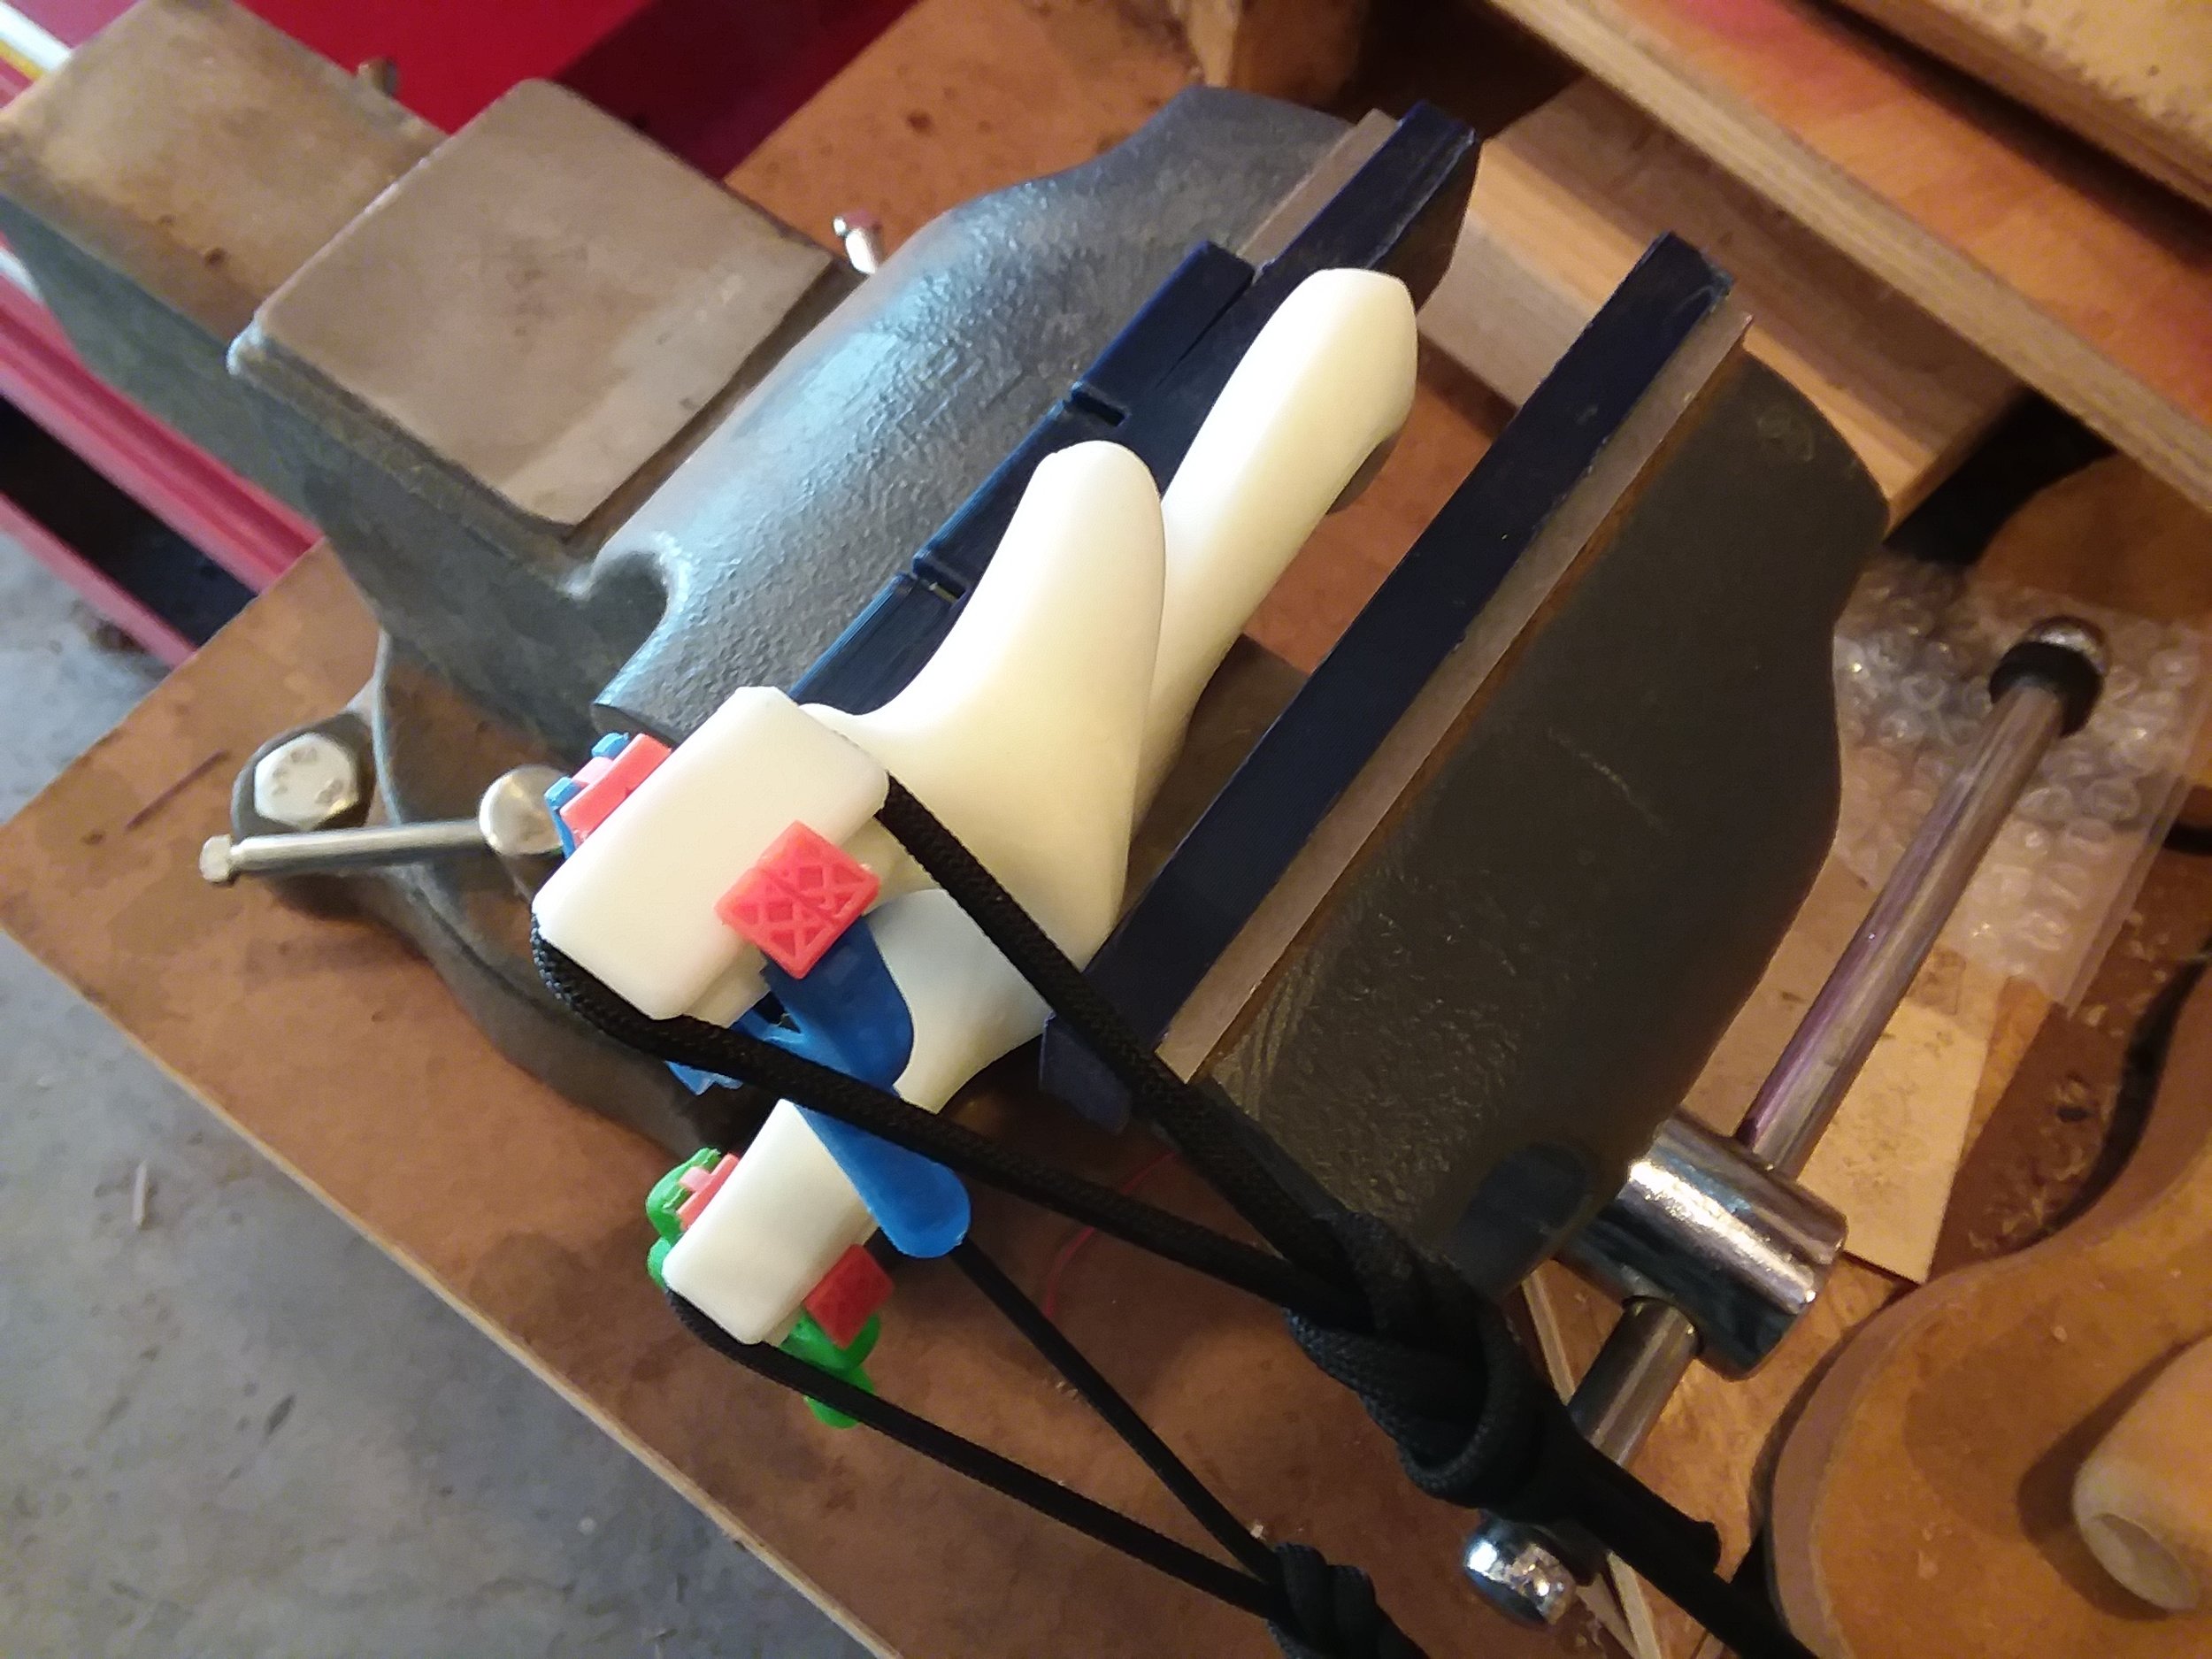
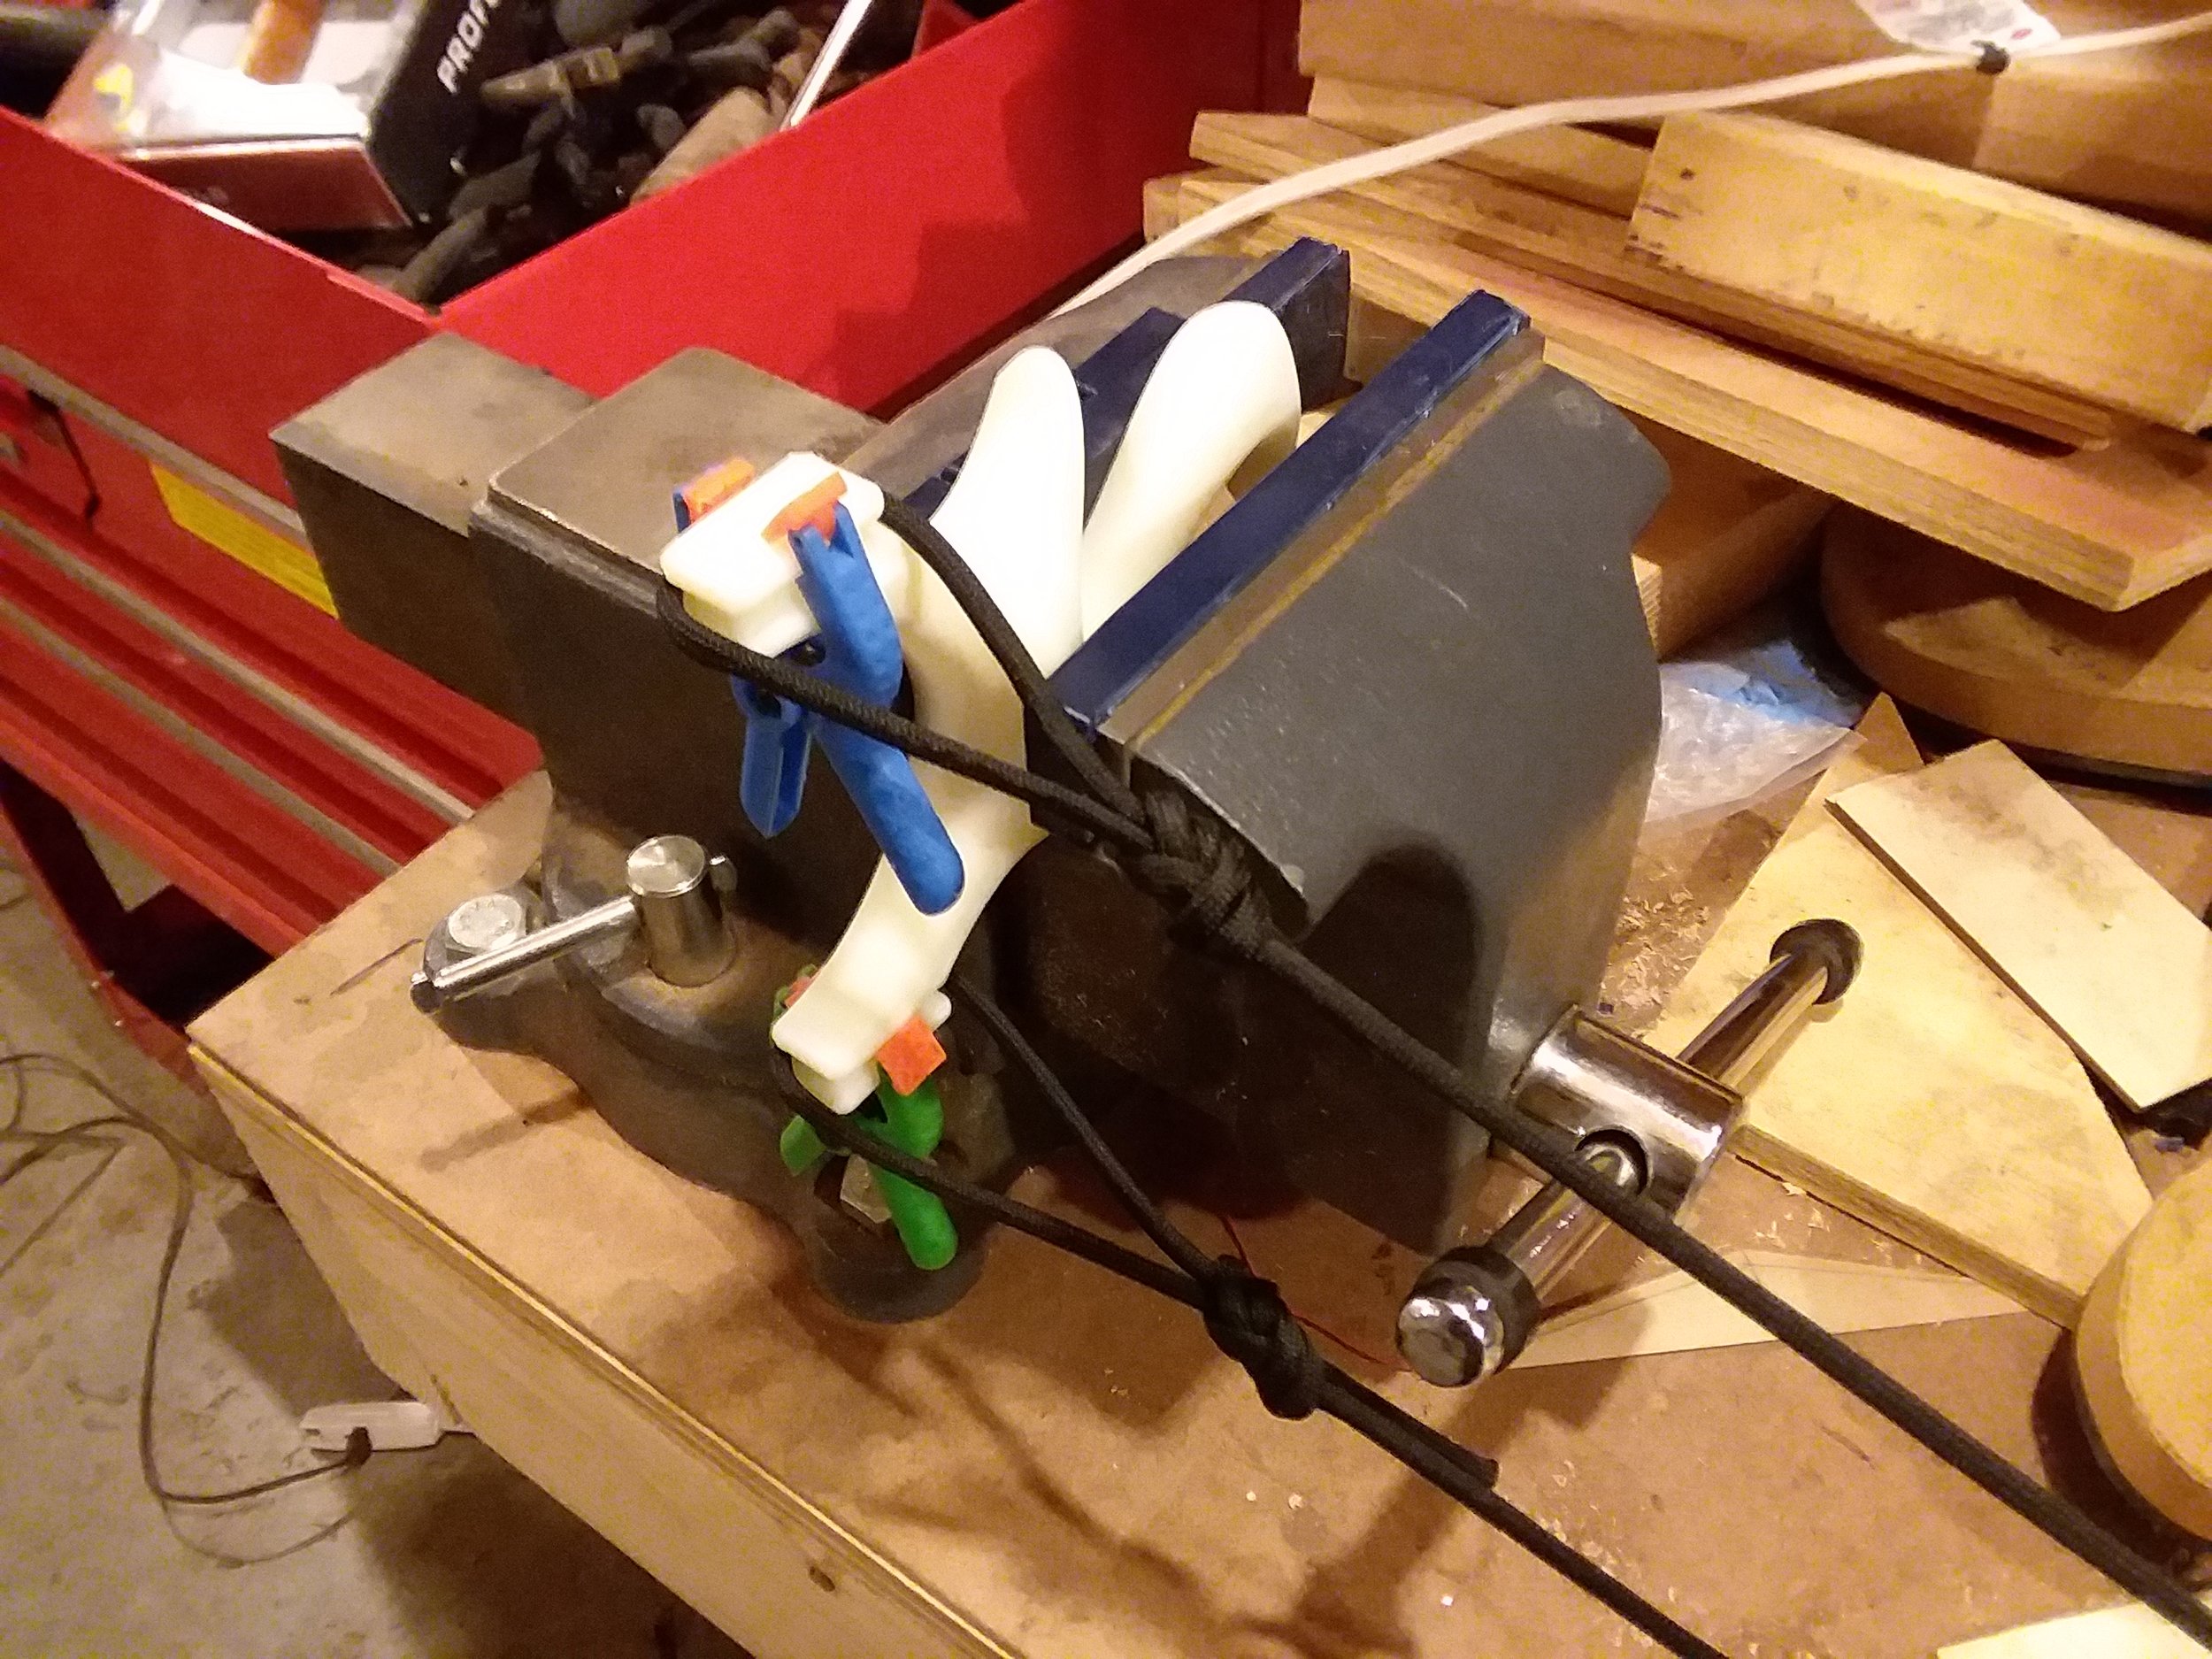
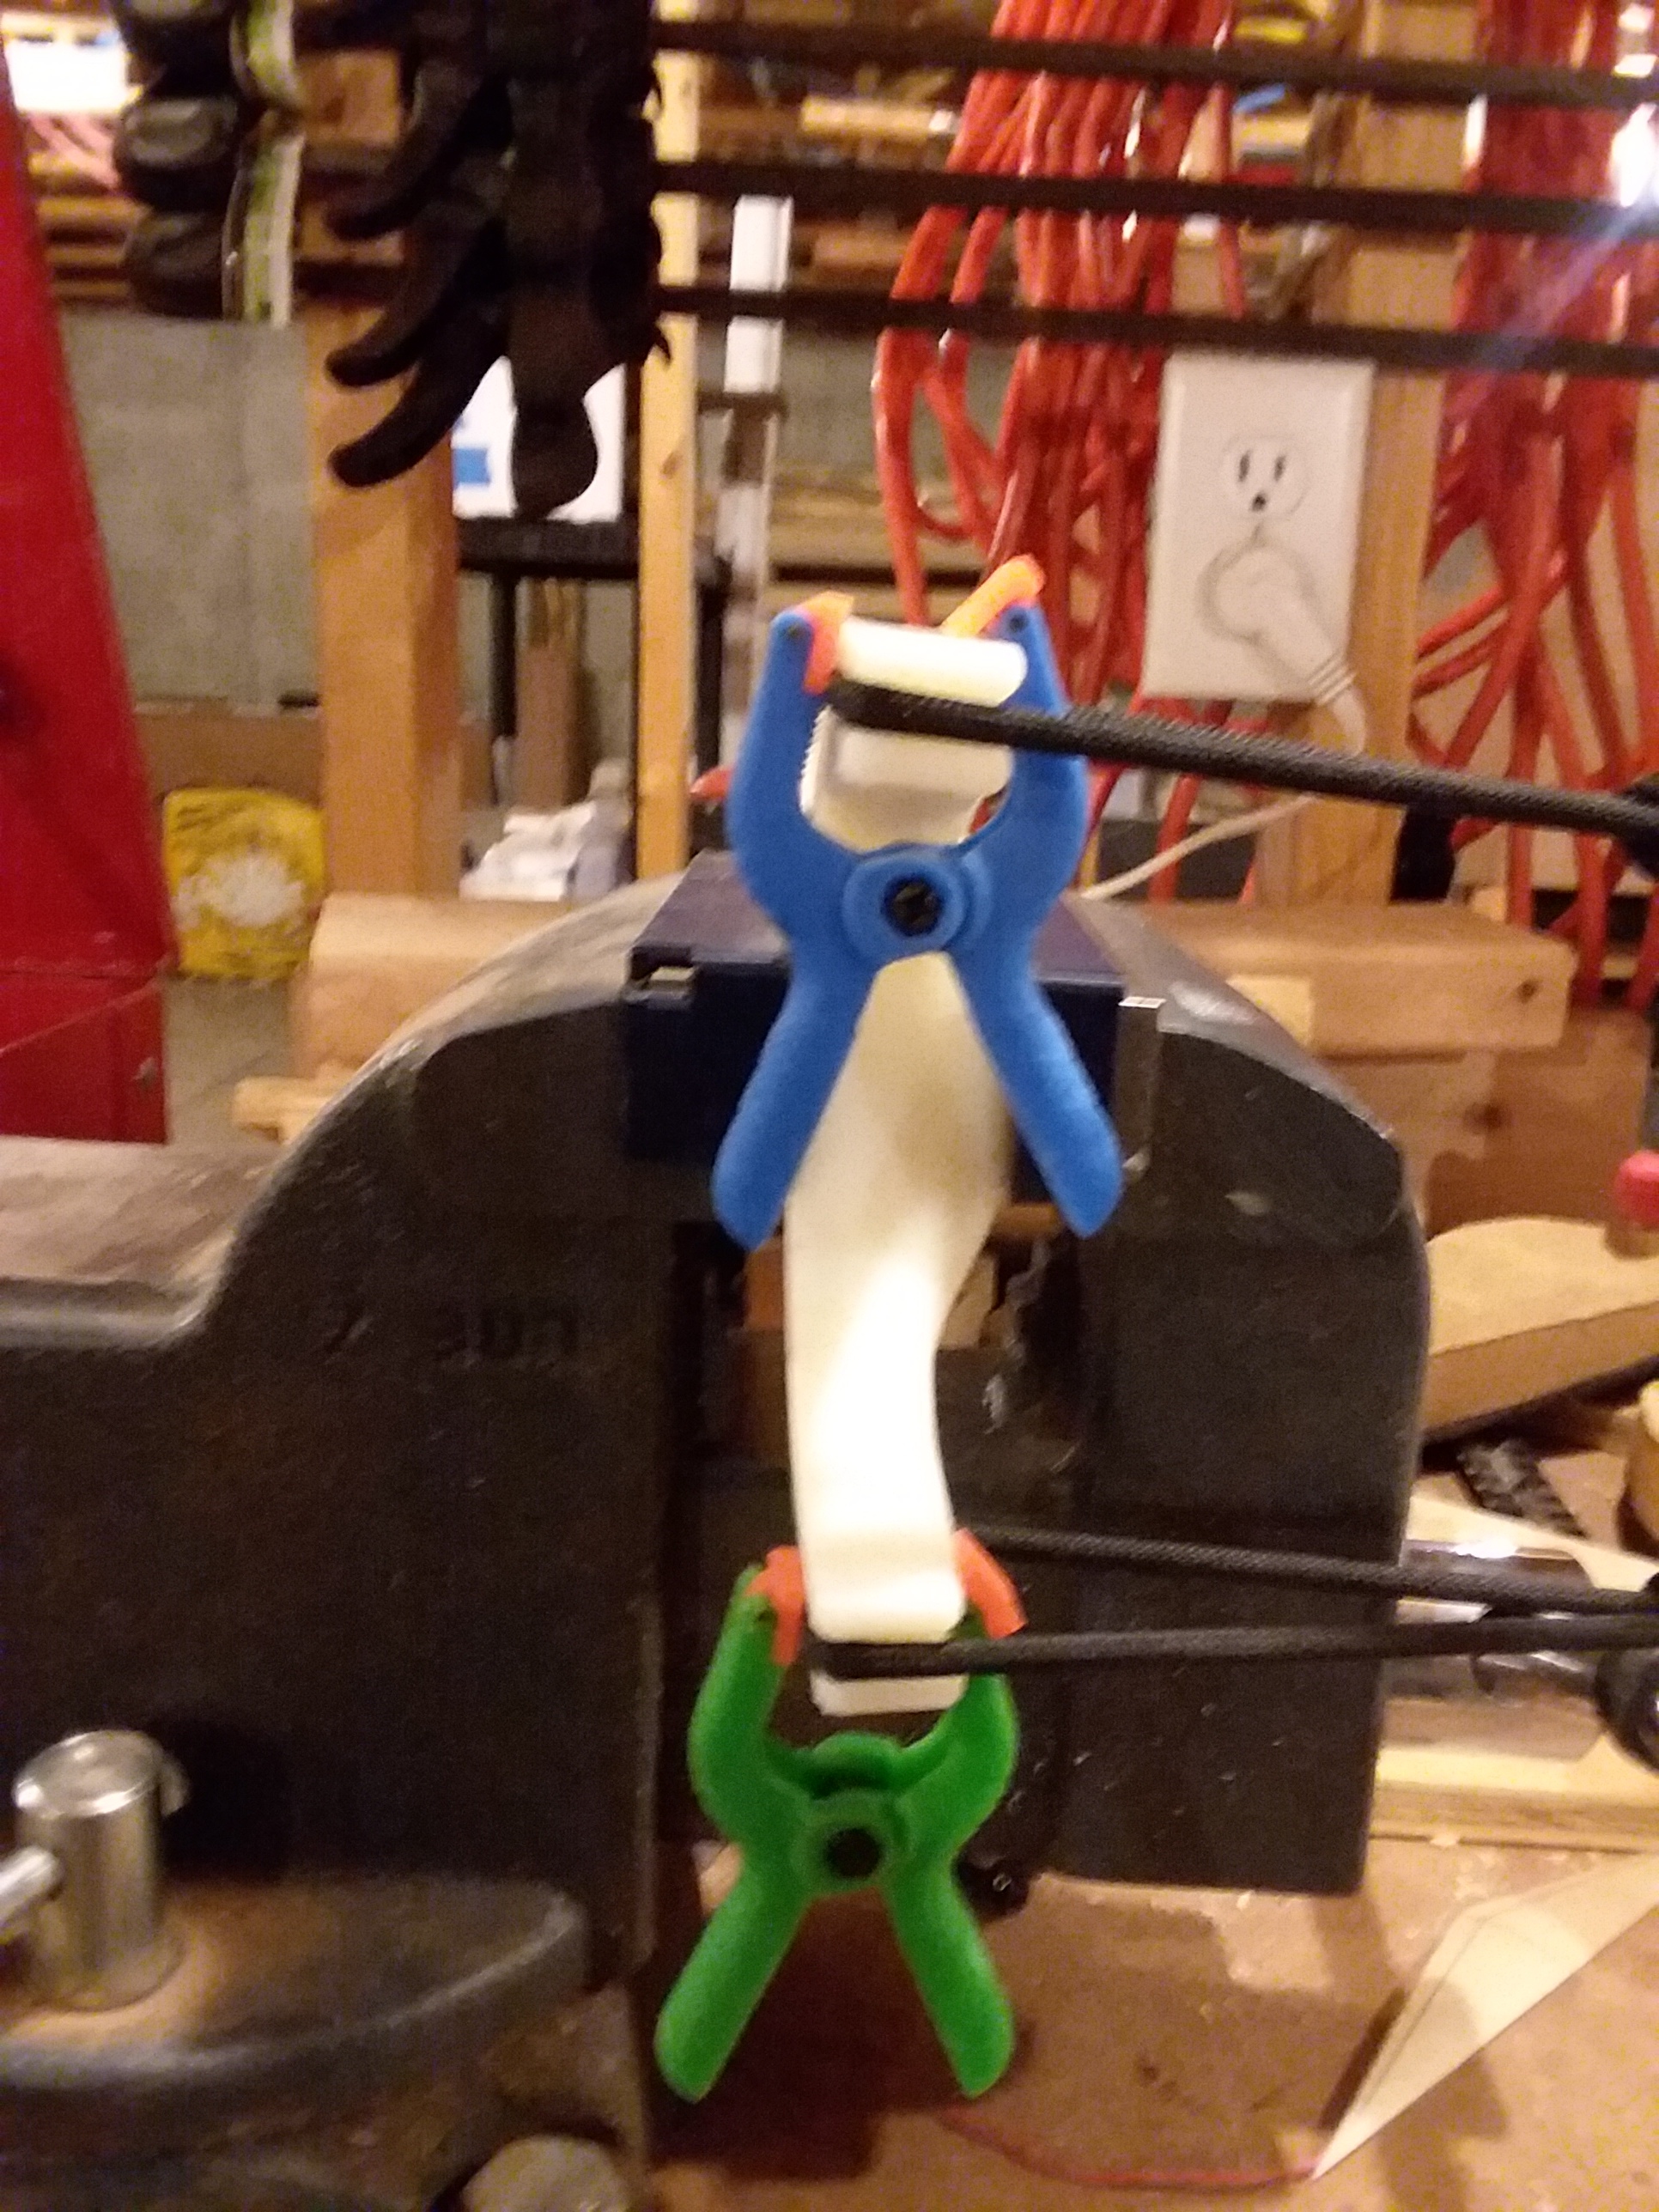
I didn’t have much hope for this, but on a lark I modeled up a 9 cavity mould, printed it out, and figured if it failed at least it didn’t take that much time. Silicone was generously poured to fill, and left to cure.

A 3D printed mould. There is no way this could possibly work…… could it?
I remember distinctly looking at this sad little pile of silicone thinking that there was absolutely no way it could possibly have worked…….

Here is the mould in its “poured” state. Silicone doesn’t stick to cardboard, so at least this scrap won’t have been wasted in this experiment.
…..but sometimes life surprises you for the better. It is always better to be lucky than skilled, but when you’re struck with both in one moment, savour it as it is a rare beauty. Not only did it work, it worked fantastically well producing 9 perfect little gaskets.

No freaking way. IT WORKED!!!!!!!!!!! 9 perfect little #19 gaskets, perfectly formed, ready to nip off and install.
A moment’s work with a Scalpeldashi (I always carry one for a reason) to pop one off and clean up the edges a smidge, and we’re in business.

Two little buggers nipped off with a scalpeldashi. The one of the left still needs a hint of trimming before installation, the one on the right is ready to go. I swear I’m not trying to whore this scalpeldashi, I really do carry it everywhere and use it constantly. They are just so much thinner and sharper and better than Xacto blades, you have no idea.
SUCCESS! The fit was perfect and the seal was exceptional. Velocity, performance, and accuracy have all been fully restored, and now, at least for this part, there is a hypothetically limitless supply so I can go about losing them as fast as I care to. This begs the question: what other “irreplaceable” airgun seals might I someday blow which now I can replace? Time will tell.

The repaired IZH-46M with one of the little blue gaskets just visible as a flash of blue at the breech. Also seen with one of our scalpeldashi in sapphire blue, a Kuru Toga Advance by Uni, and a tin if .177 Crossman Premier hollow point pellets.