Non Sequitur
Products and free designs from Silent Thunder Ordnance that don't fit anywhere else, and are better for it. The Non Sequitur catalog is a variety show: magazine wells, heatsink plates, sander dust collectors, CNC accessories, and free printable utility designs, all built to the same standards as everything else we make.
Blowgun Display - Wall-Mounted

Blowgun Display - Wall-Mounted
Long blowguns are awkward to store. Leaning one in a corner invites falls, laying it on a shelf eats space, and most hardware-store solutions weren’t built for a smooth tube with a small bore. This display gets your blowgun onto the wall and keeps it there, without drilling a single hole.
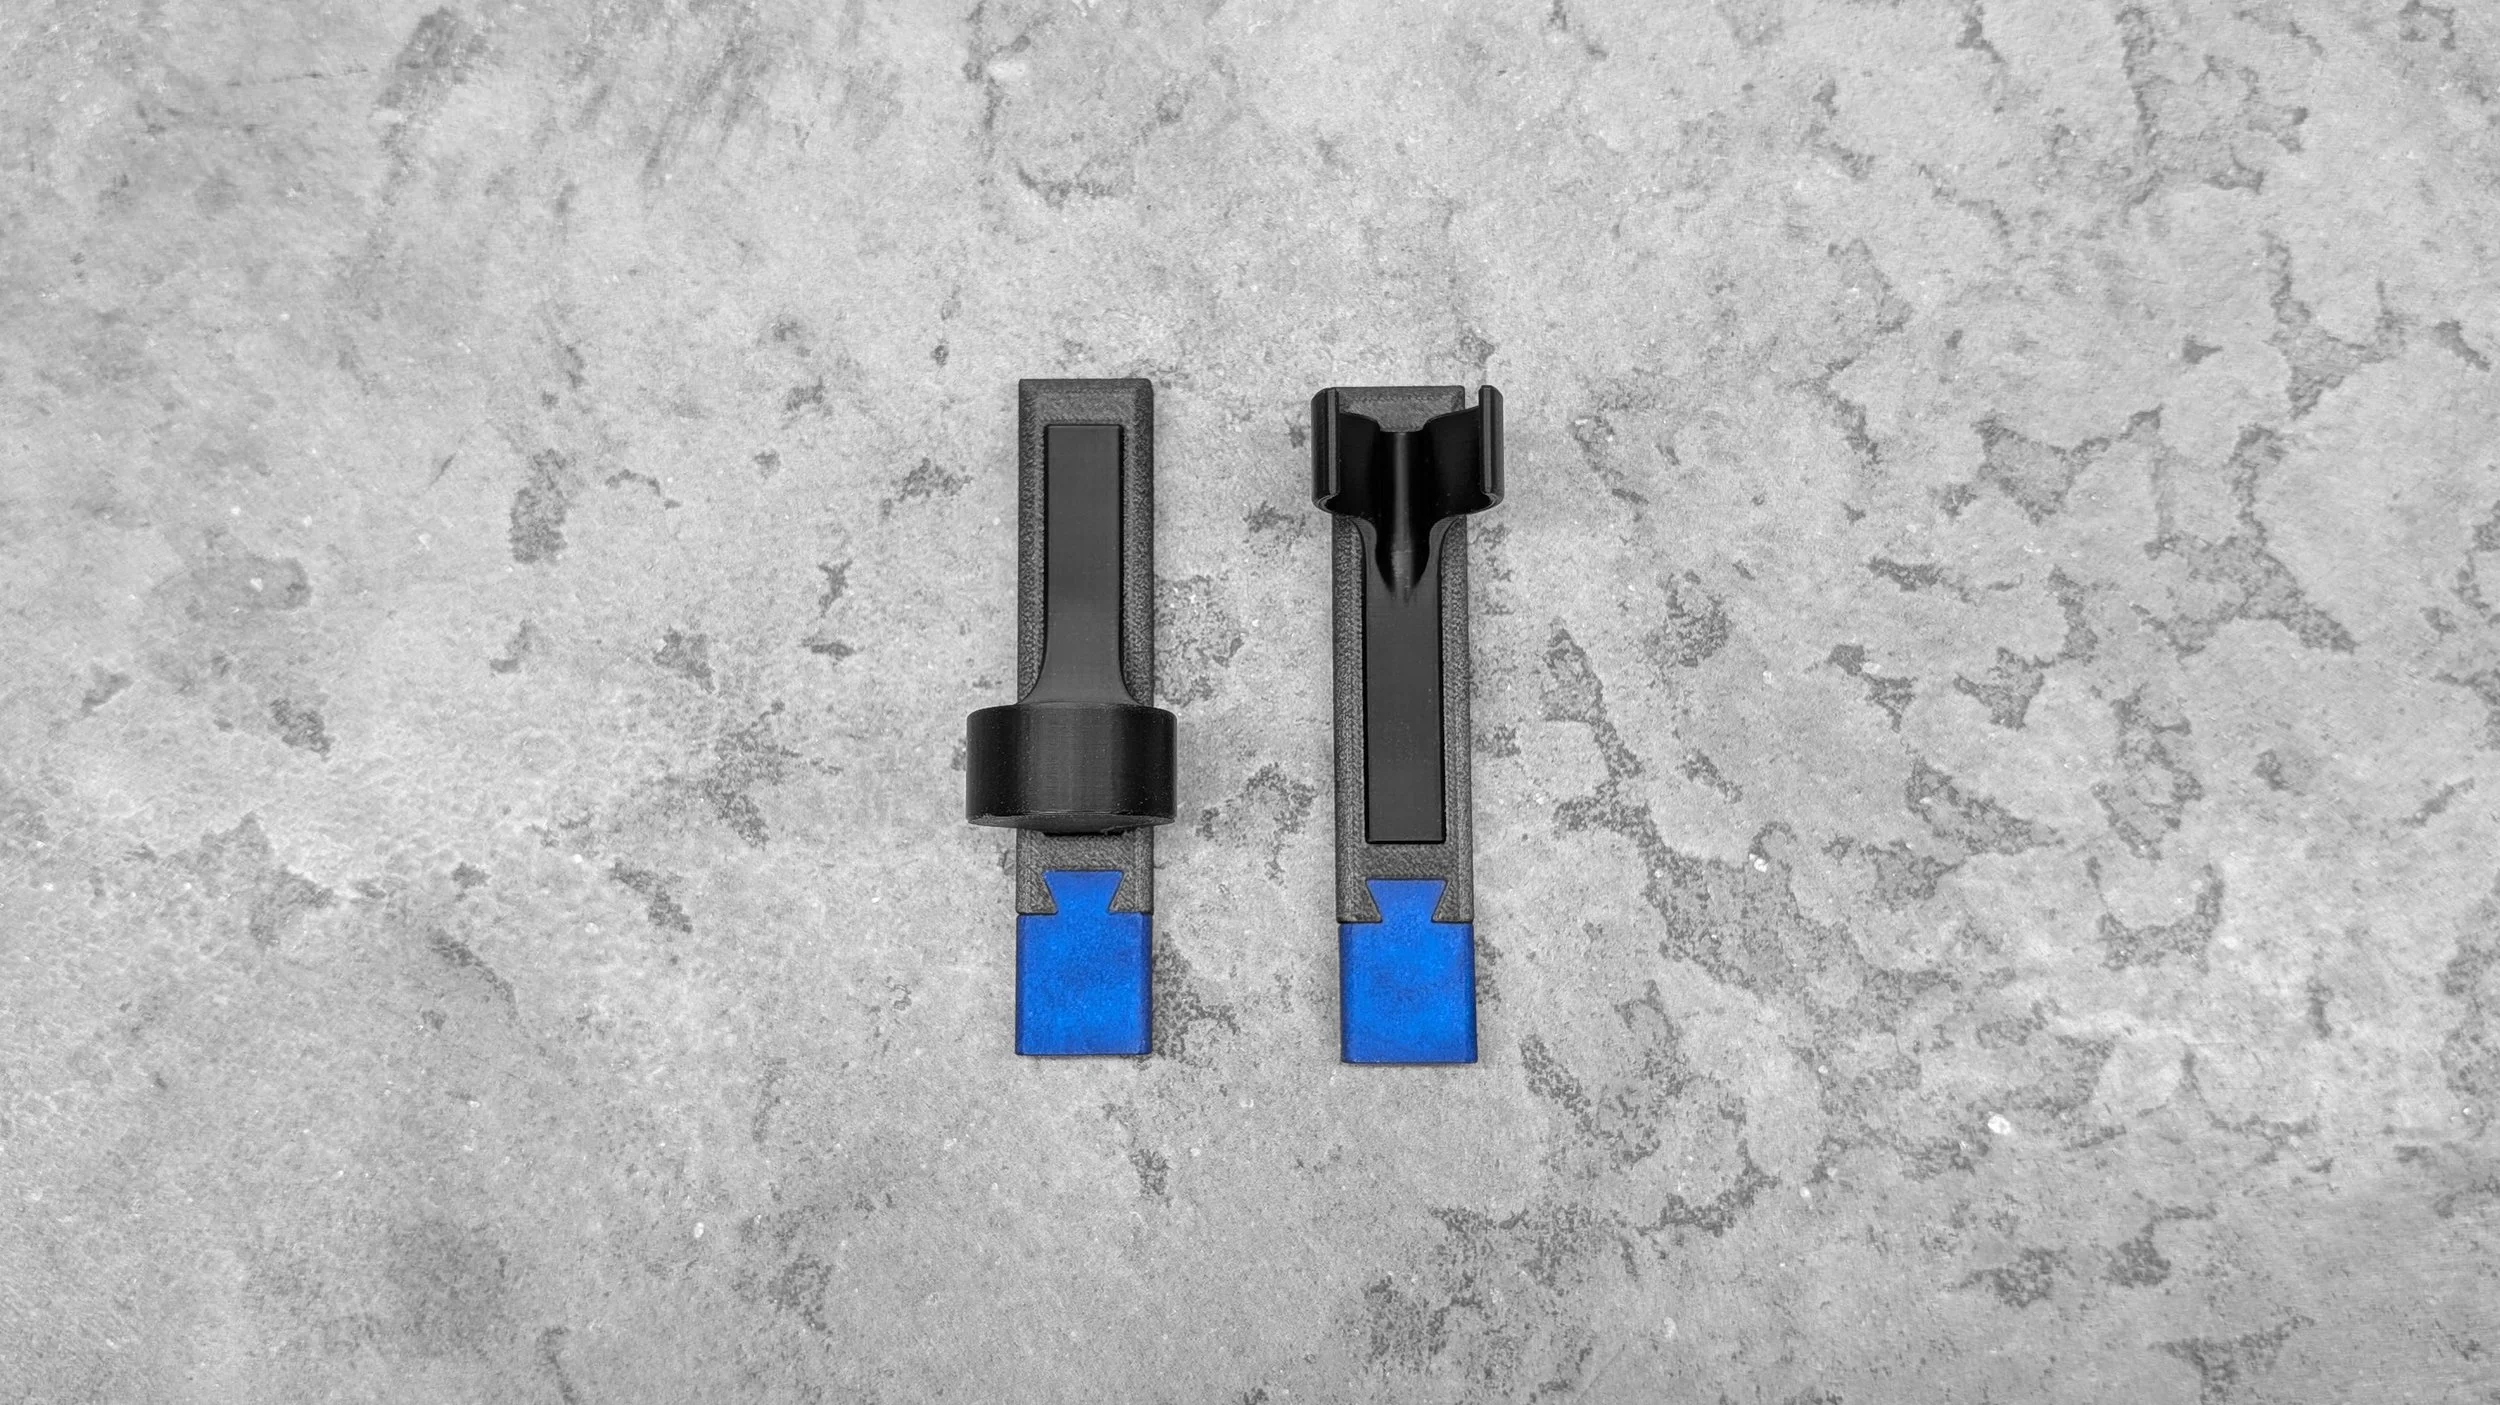
The system is two pieces. A base cups the muzzle end of the blowgun, and a clip grasps the tube higher up. Both attach with 3M Command Strips, so removal leaves your wall intact. It was sized for the 22mm outer diameter of .62 caliber big bore blowguns like the Cold Steel and Slockmaster models, and it works with any length.
Key Features:
Two-piece design: A muzzle base and a tube clip share the support, so the blowgun is held at two points instead of one
Sized for big bore: Fits the 22mm outer diameter of Cold Steel and Slockmaster .62 caliber blowguns
Any length: Mount spacing is up to you, so short and long tubes both work
Damage-free mounting: 3M Command Strips mean no drilling, no anchors, and no holes
Low-profile black body: Stays out of the way and keeps attention on the blowgun
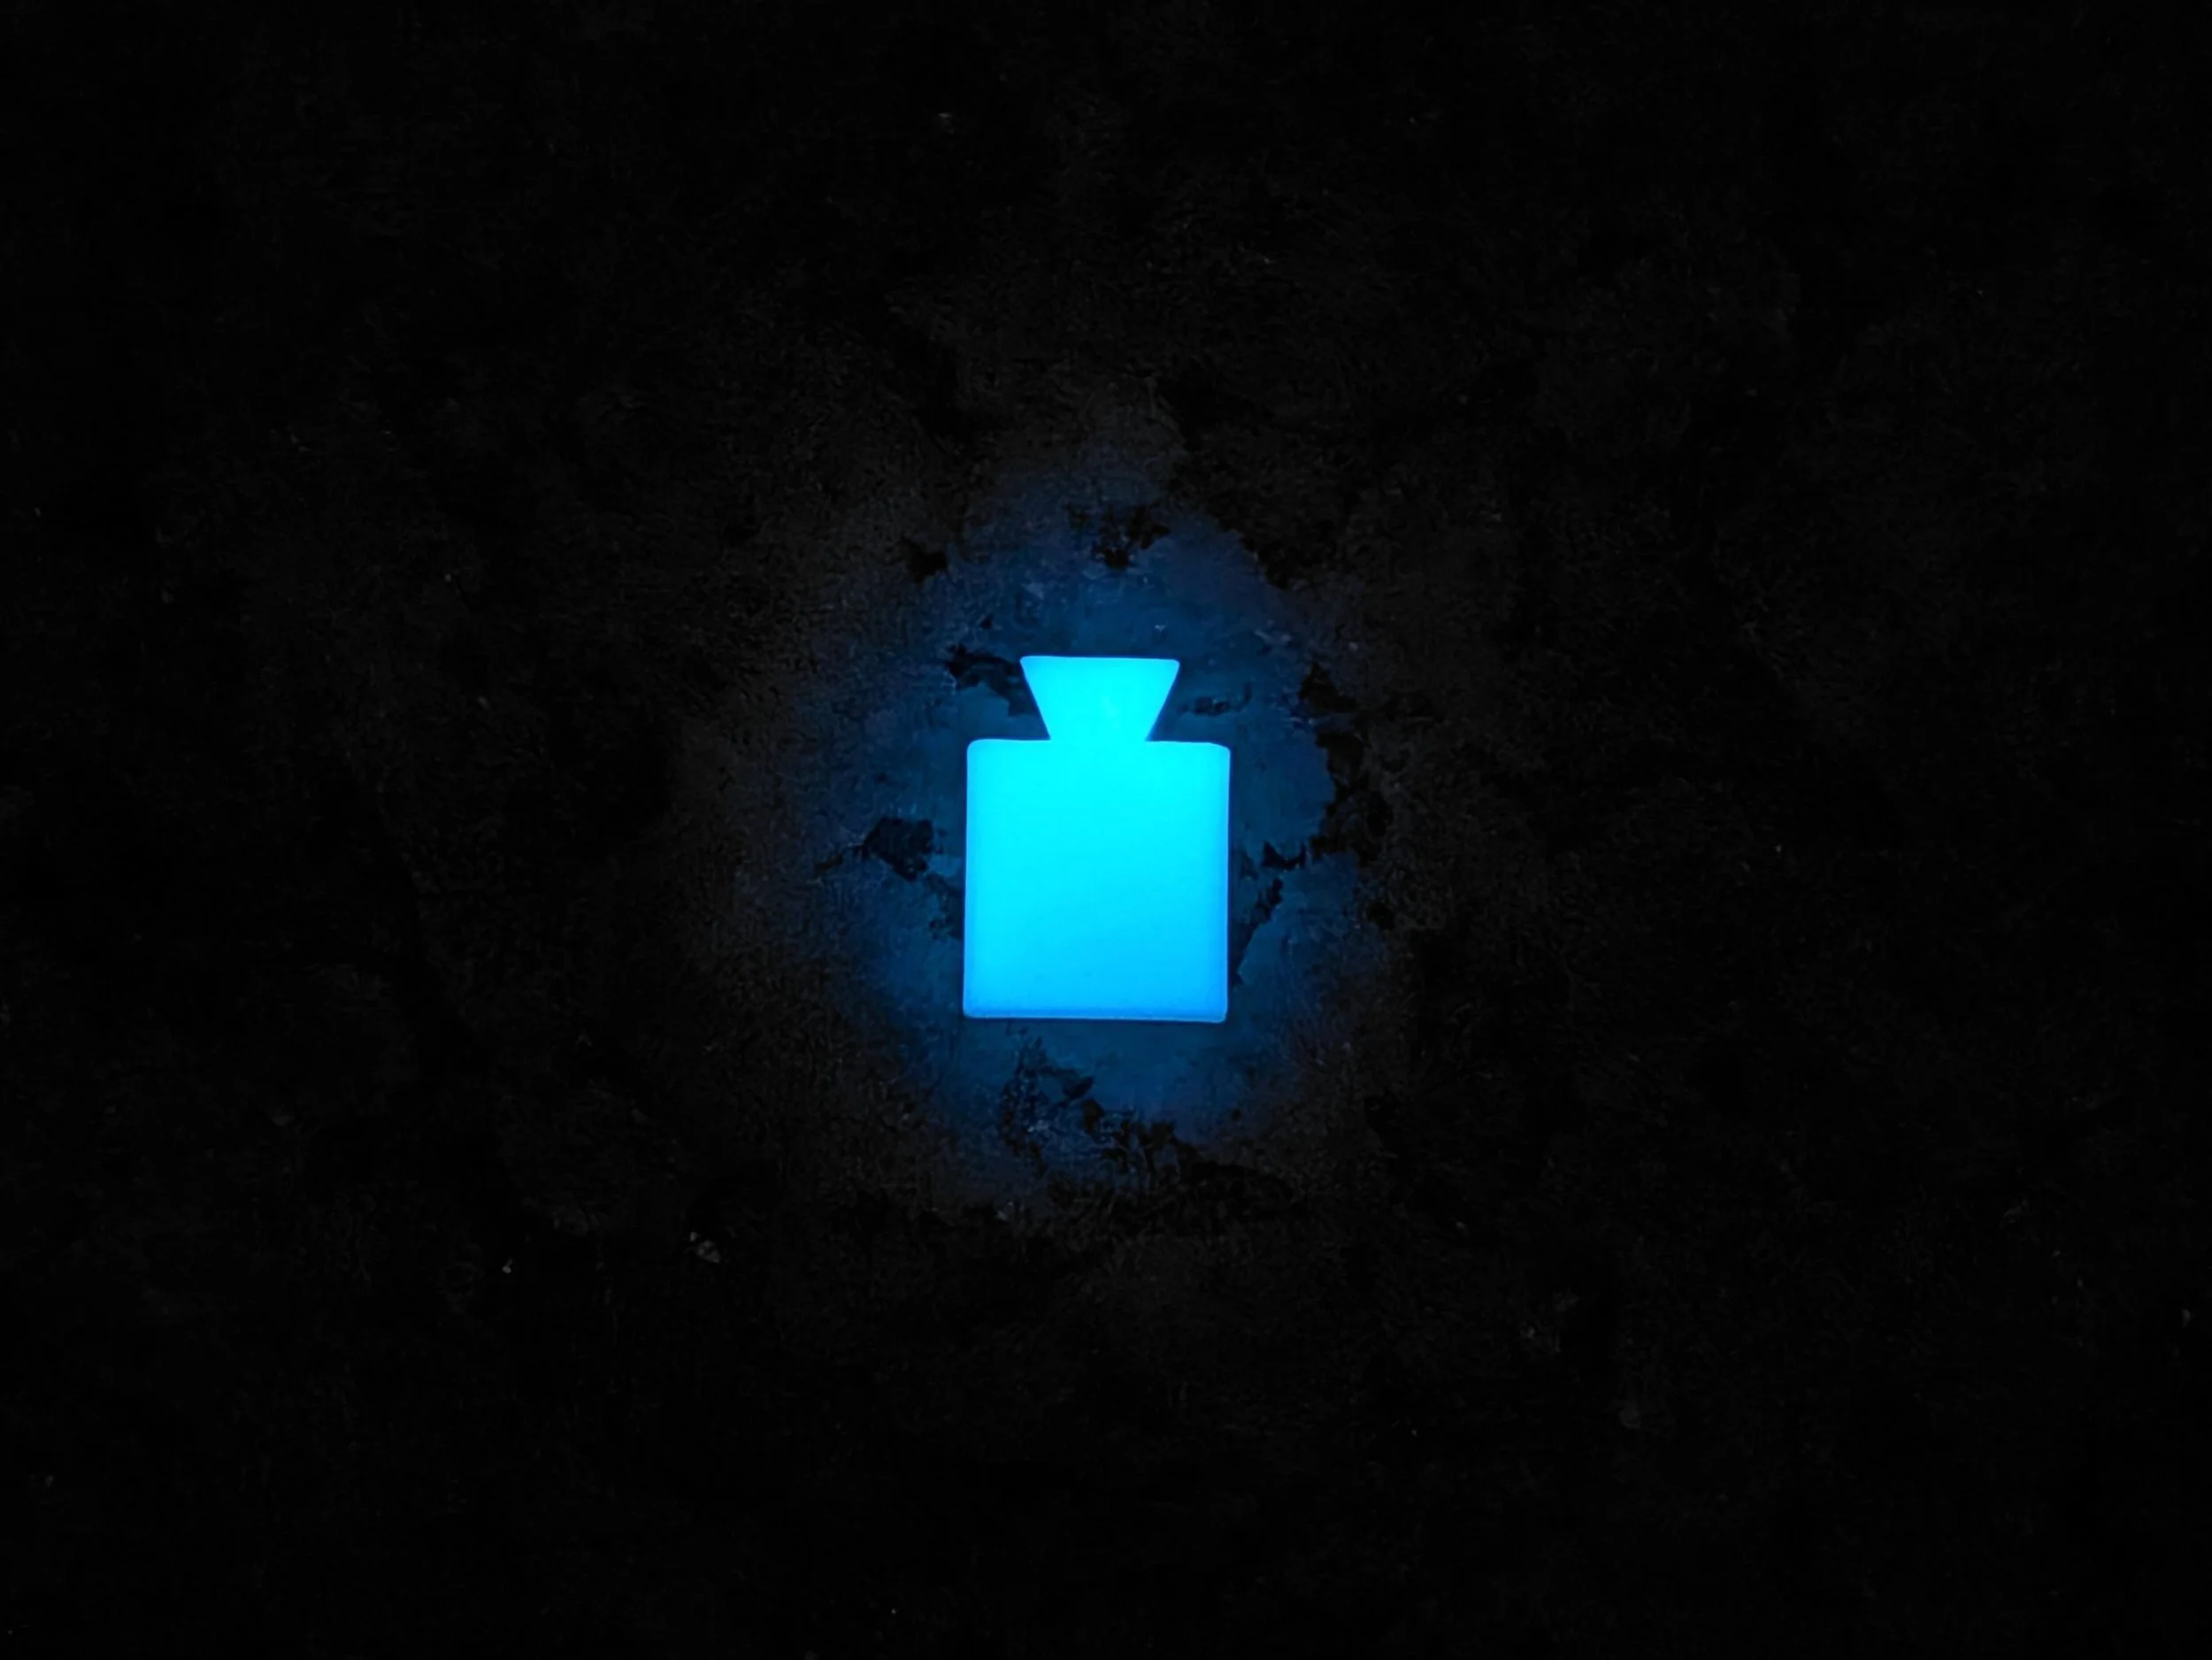
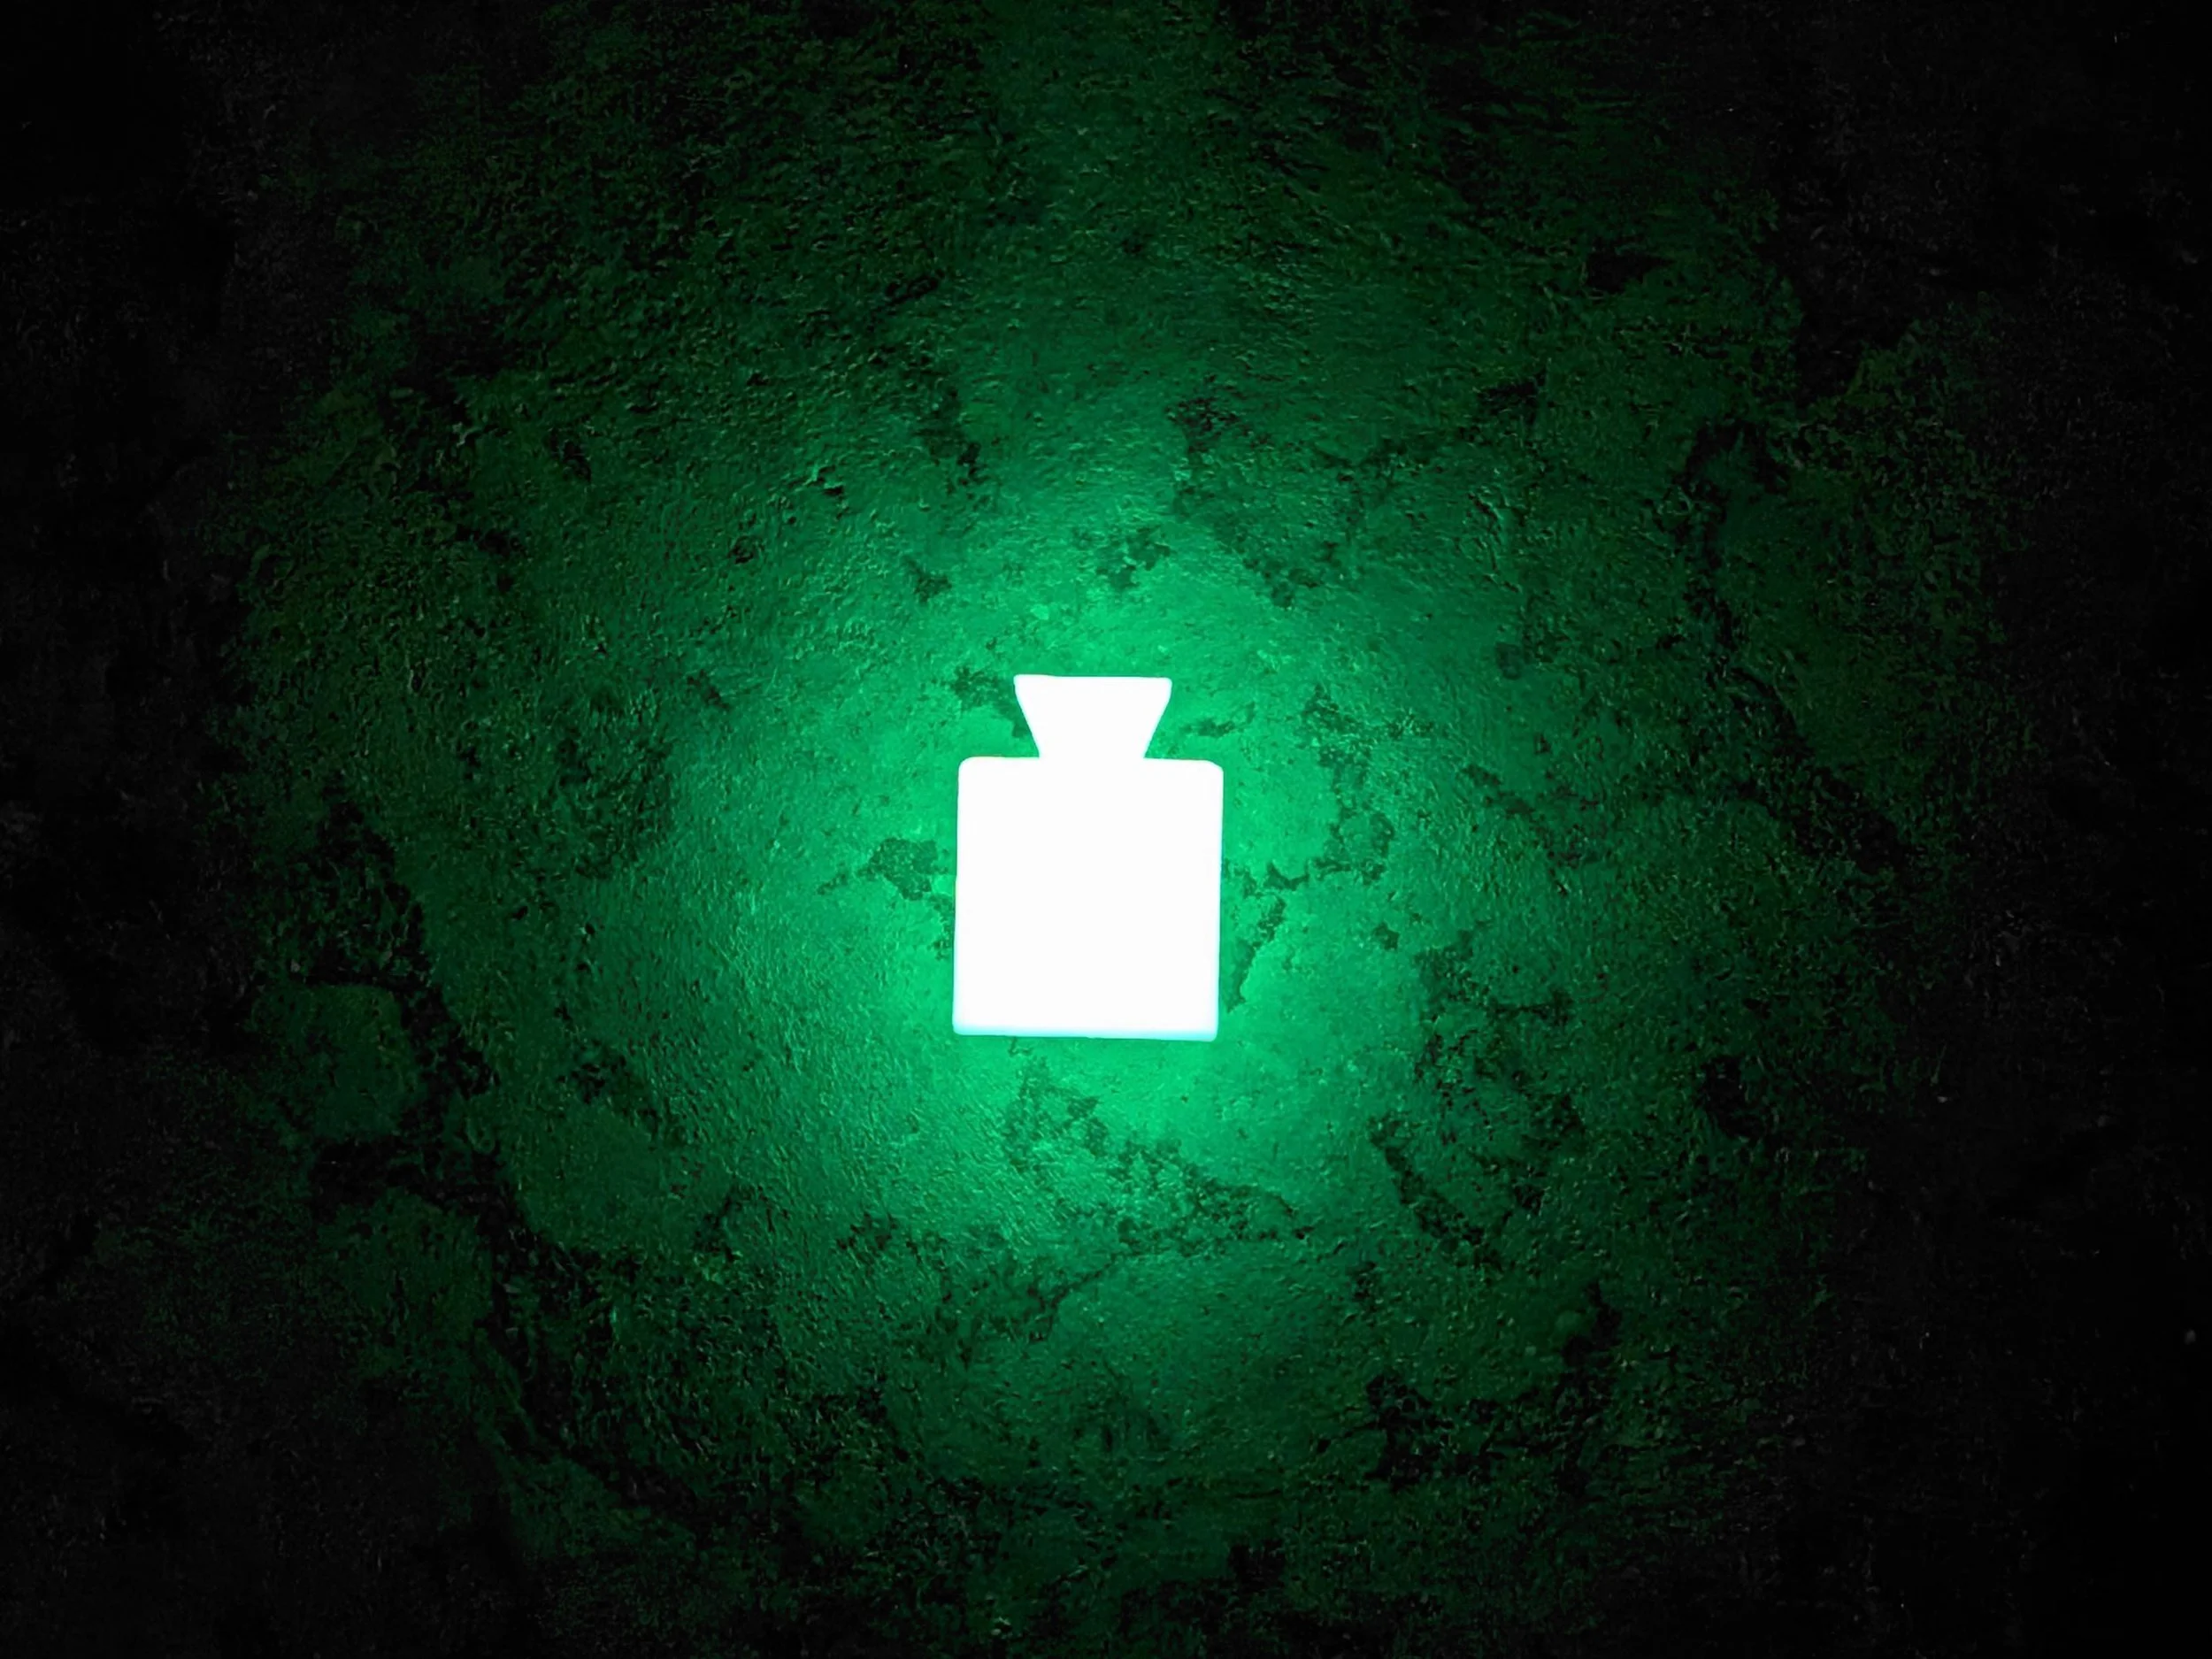
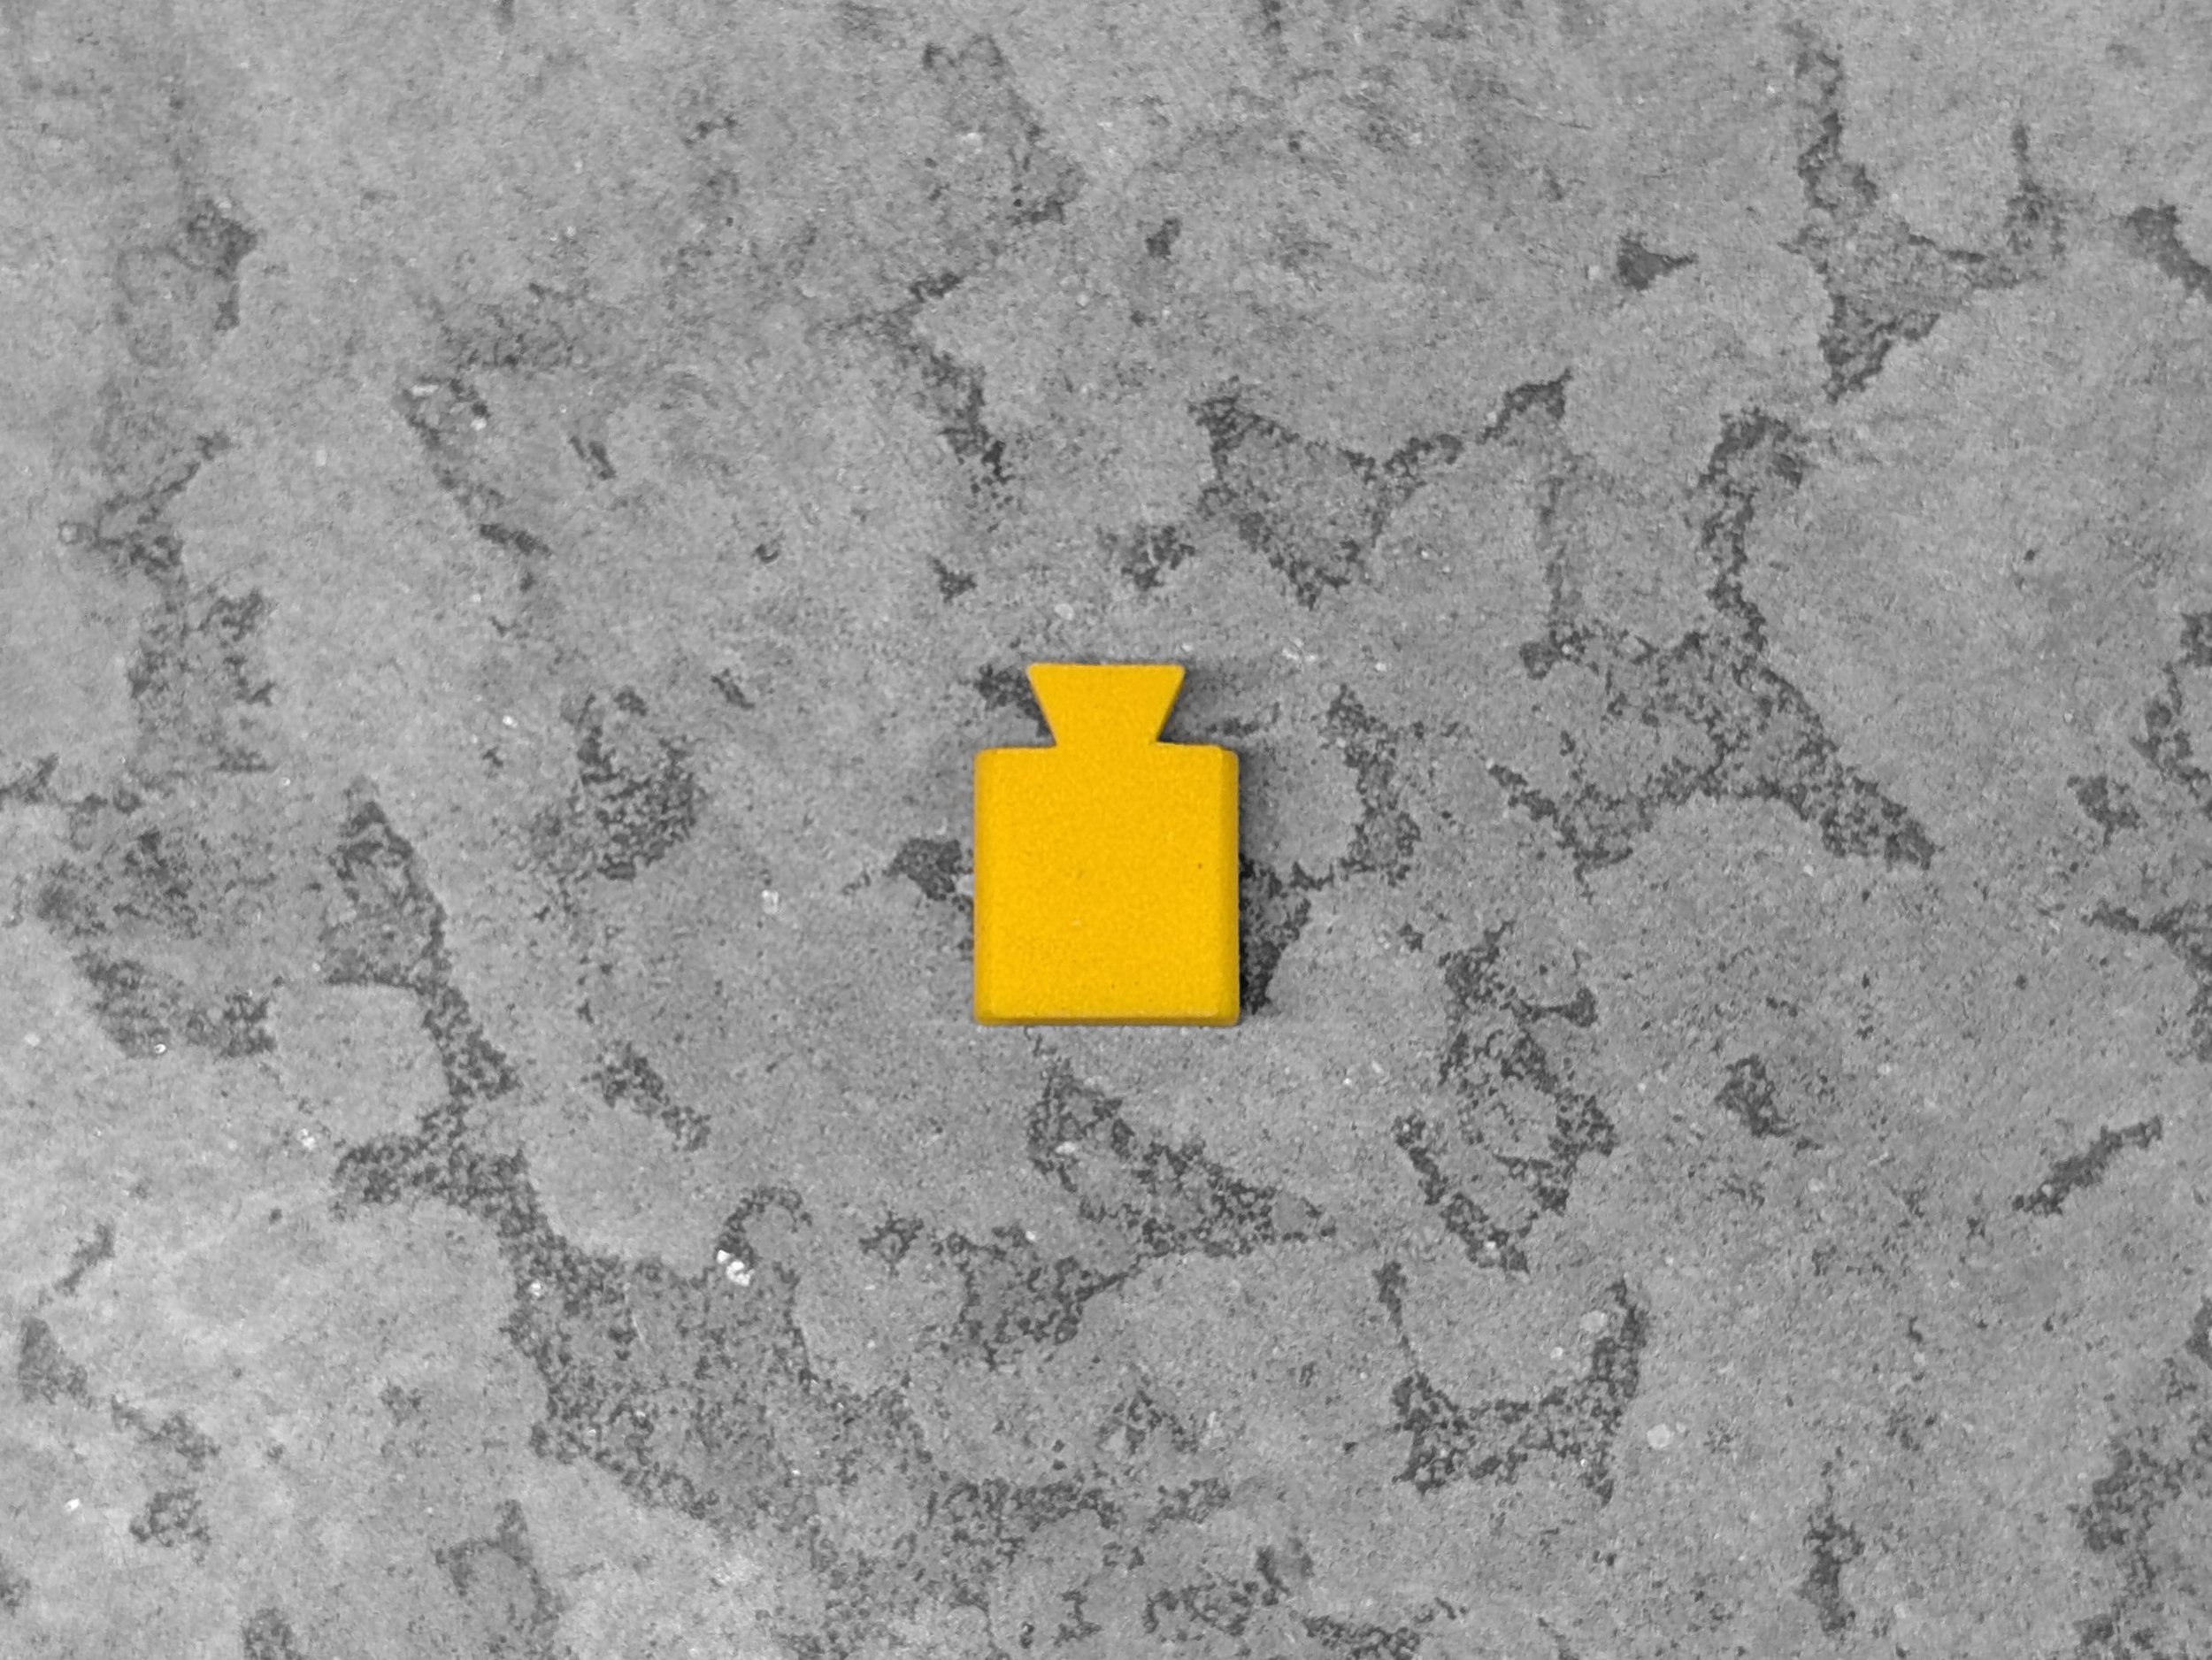
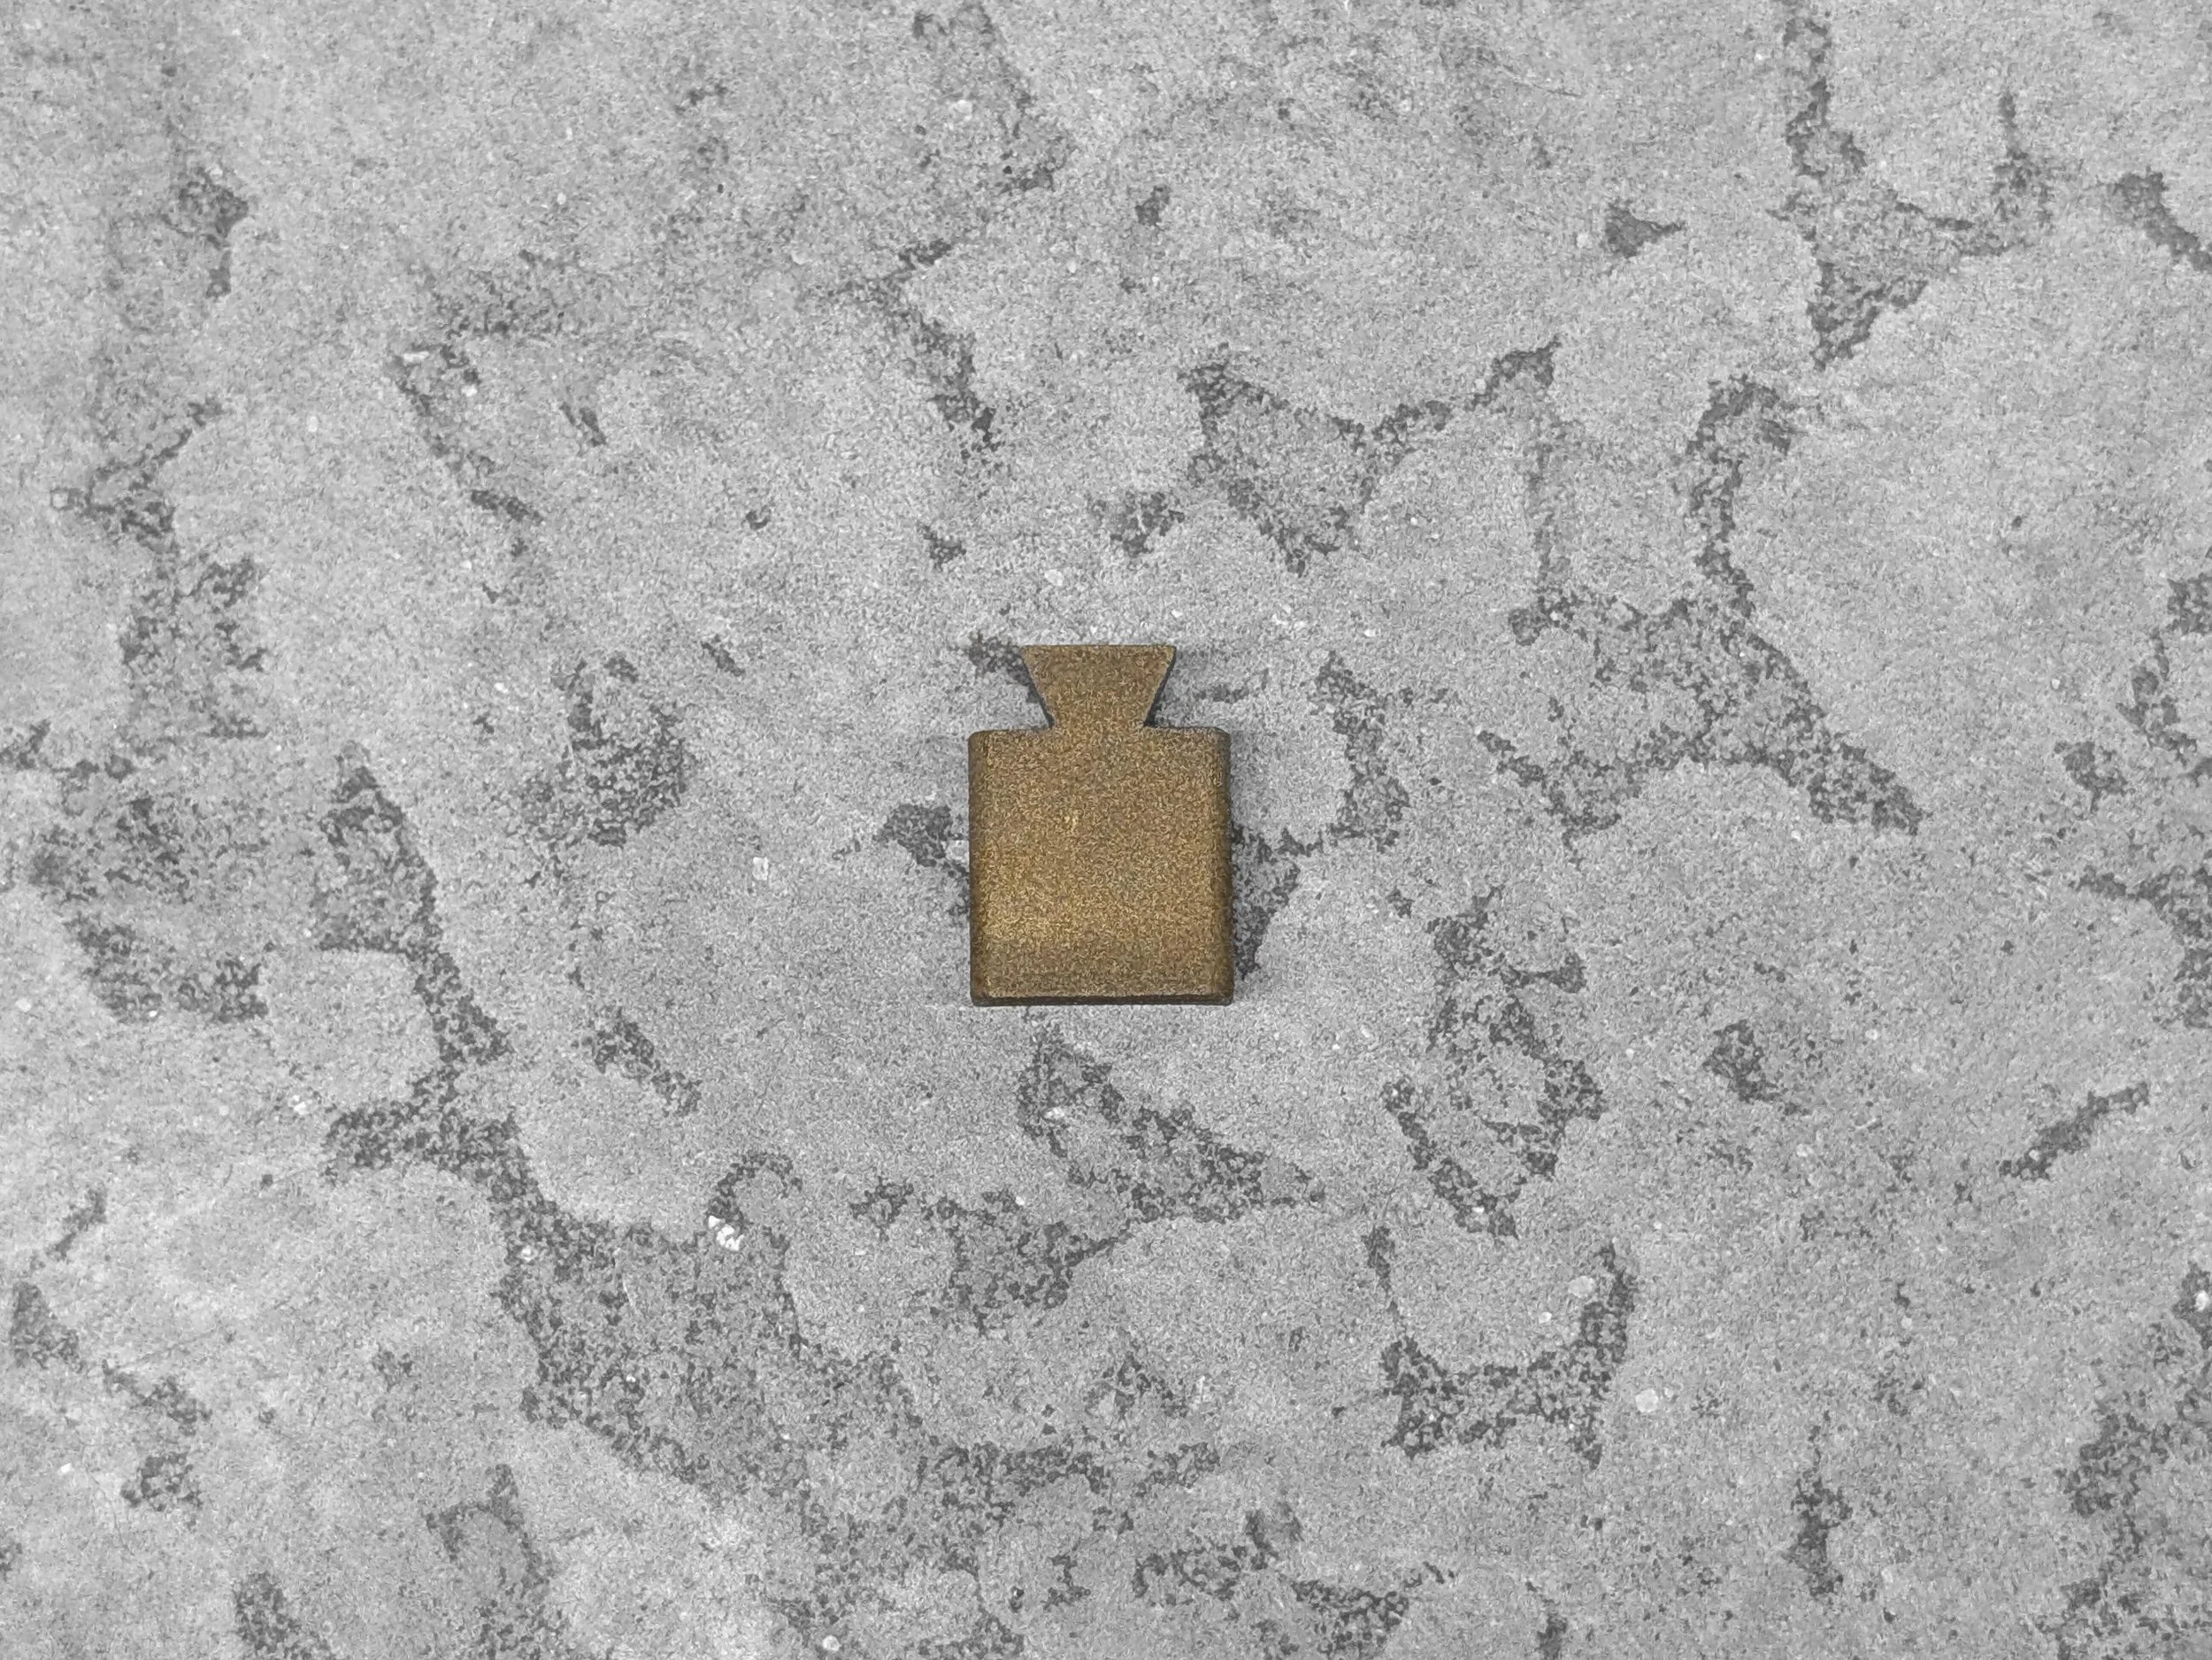
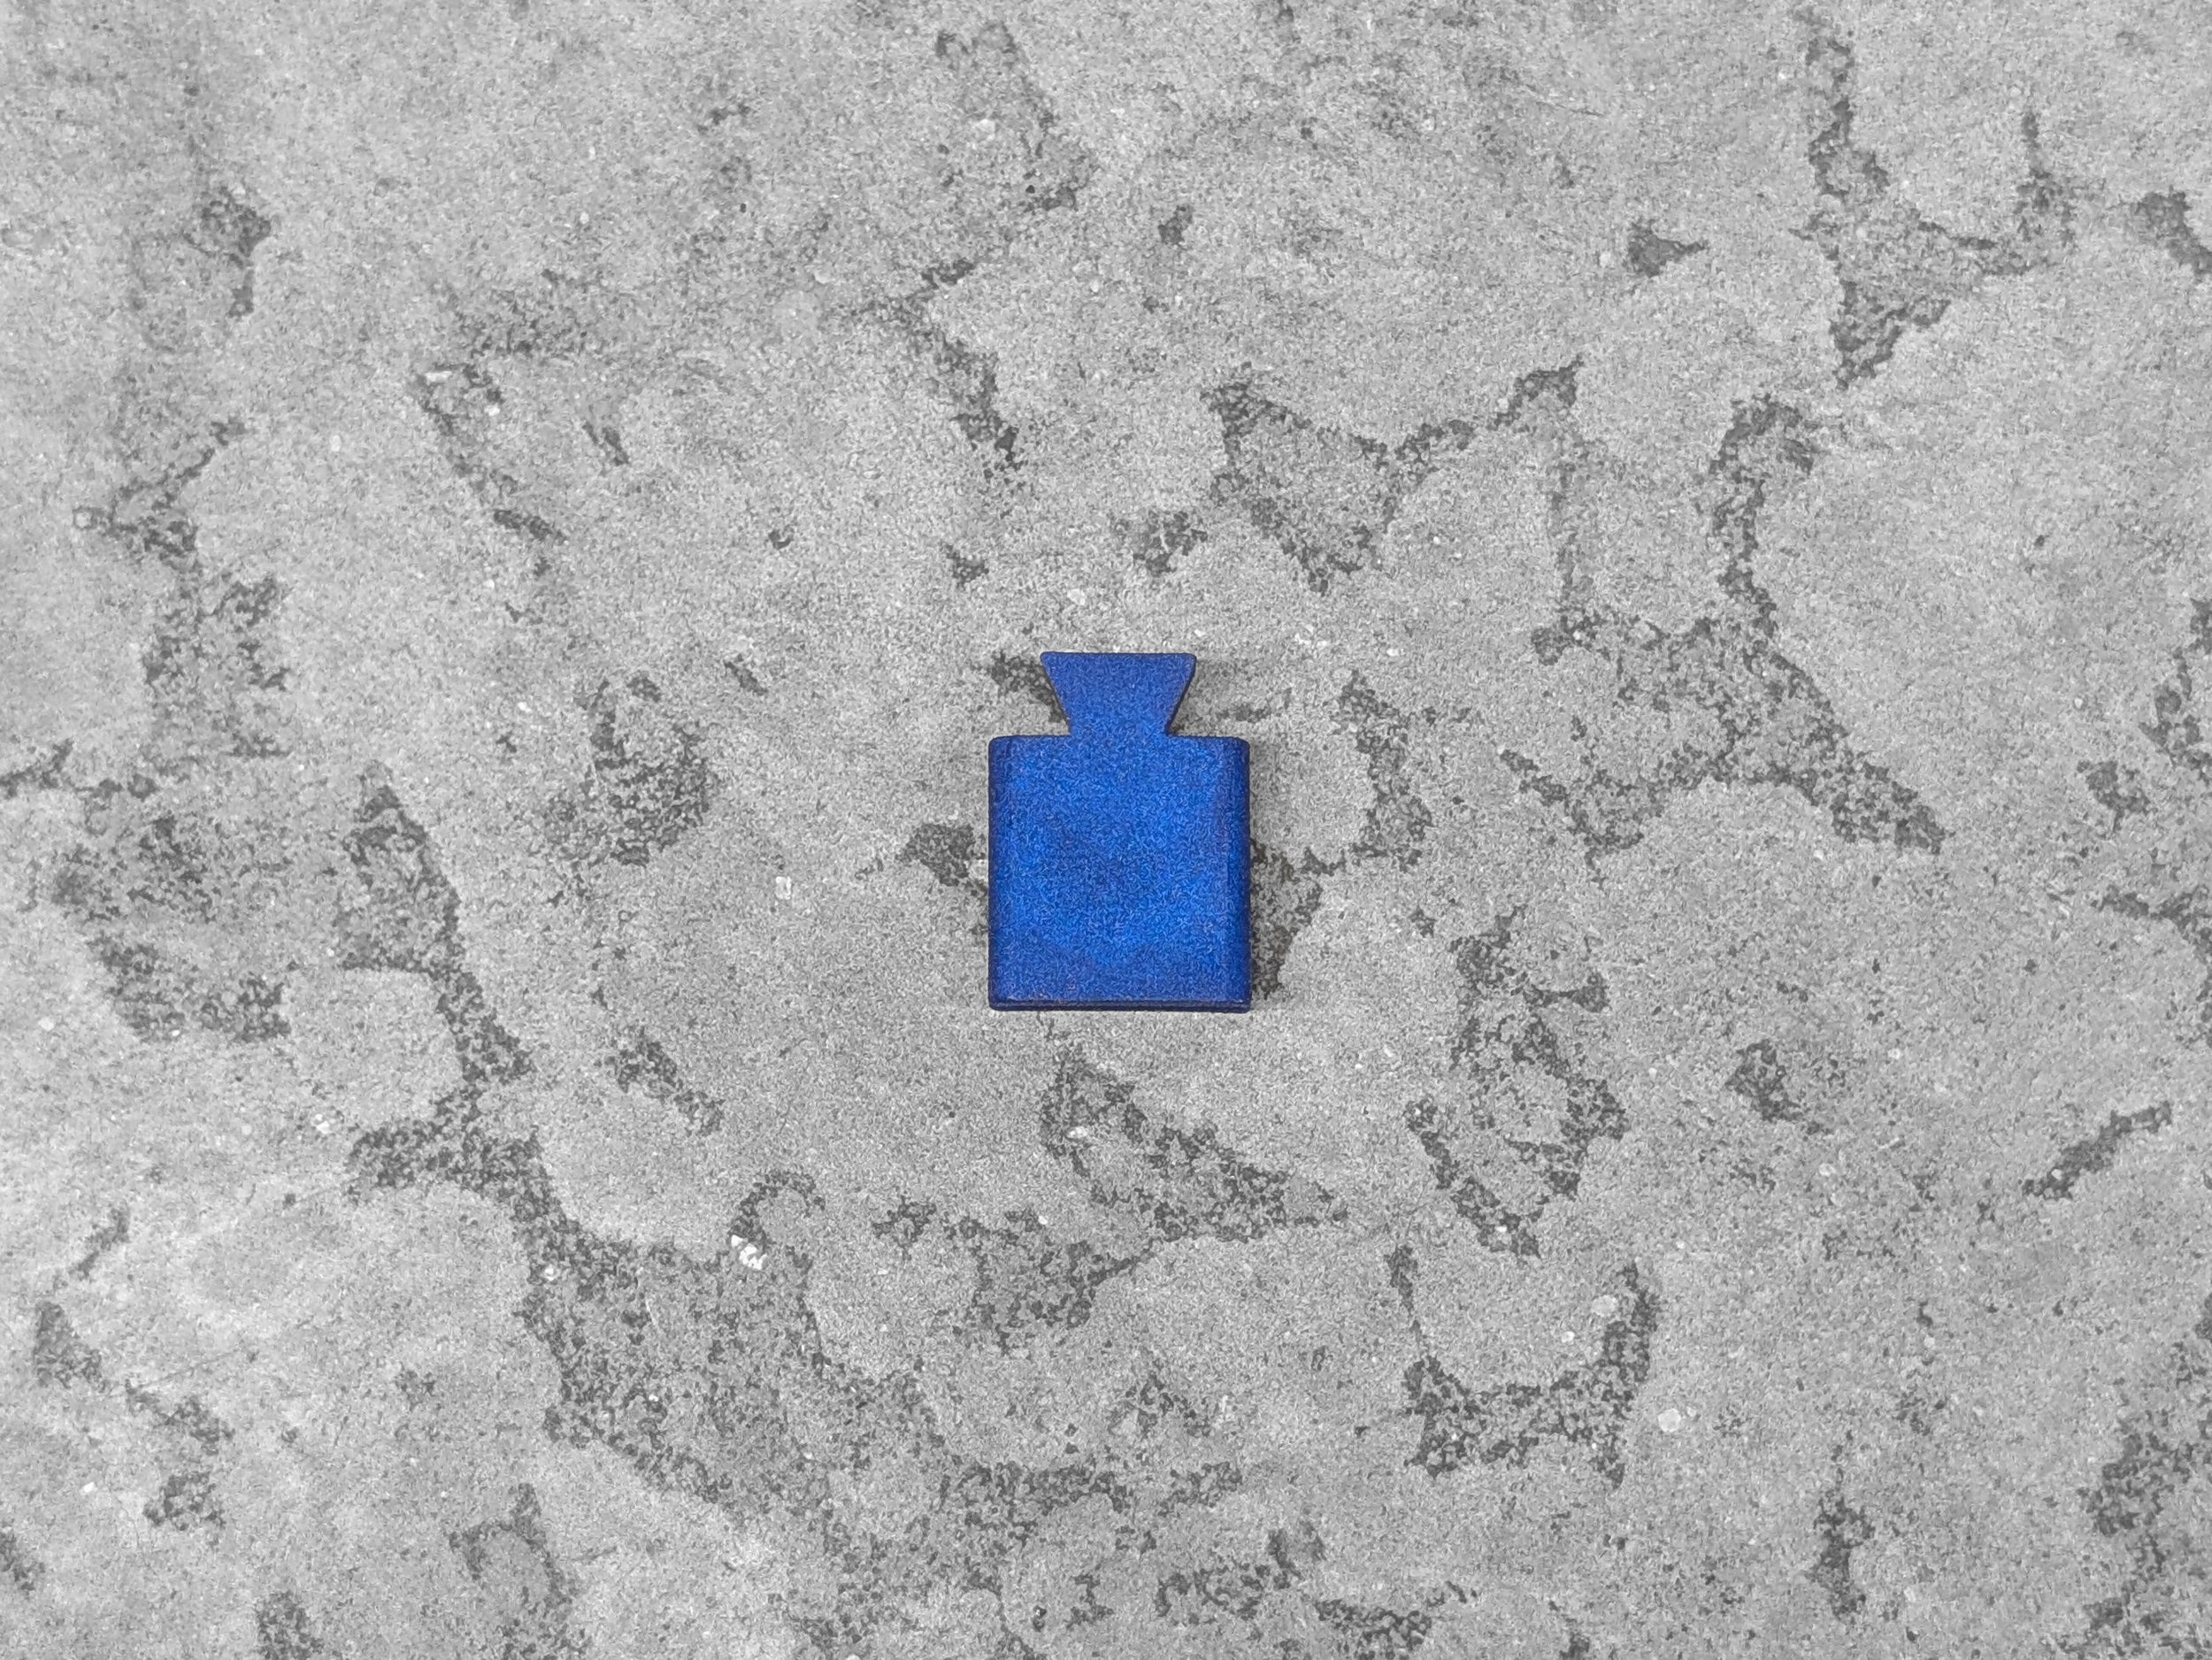
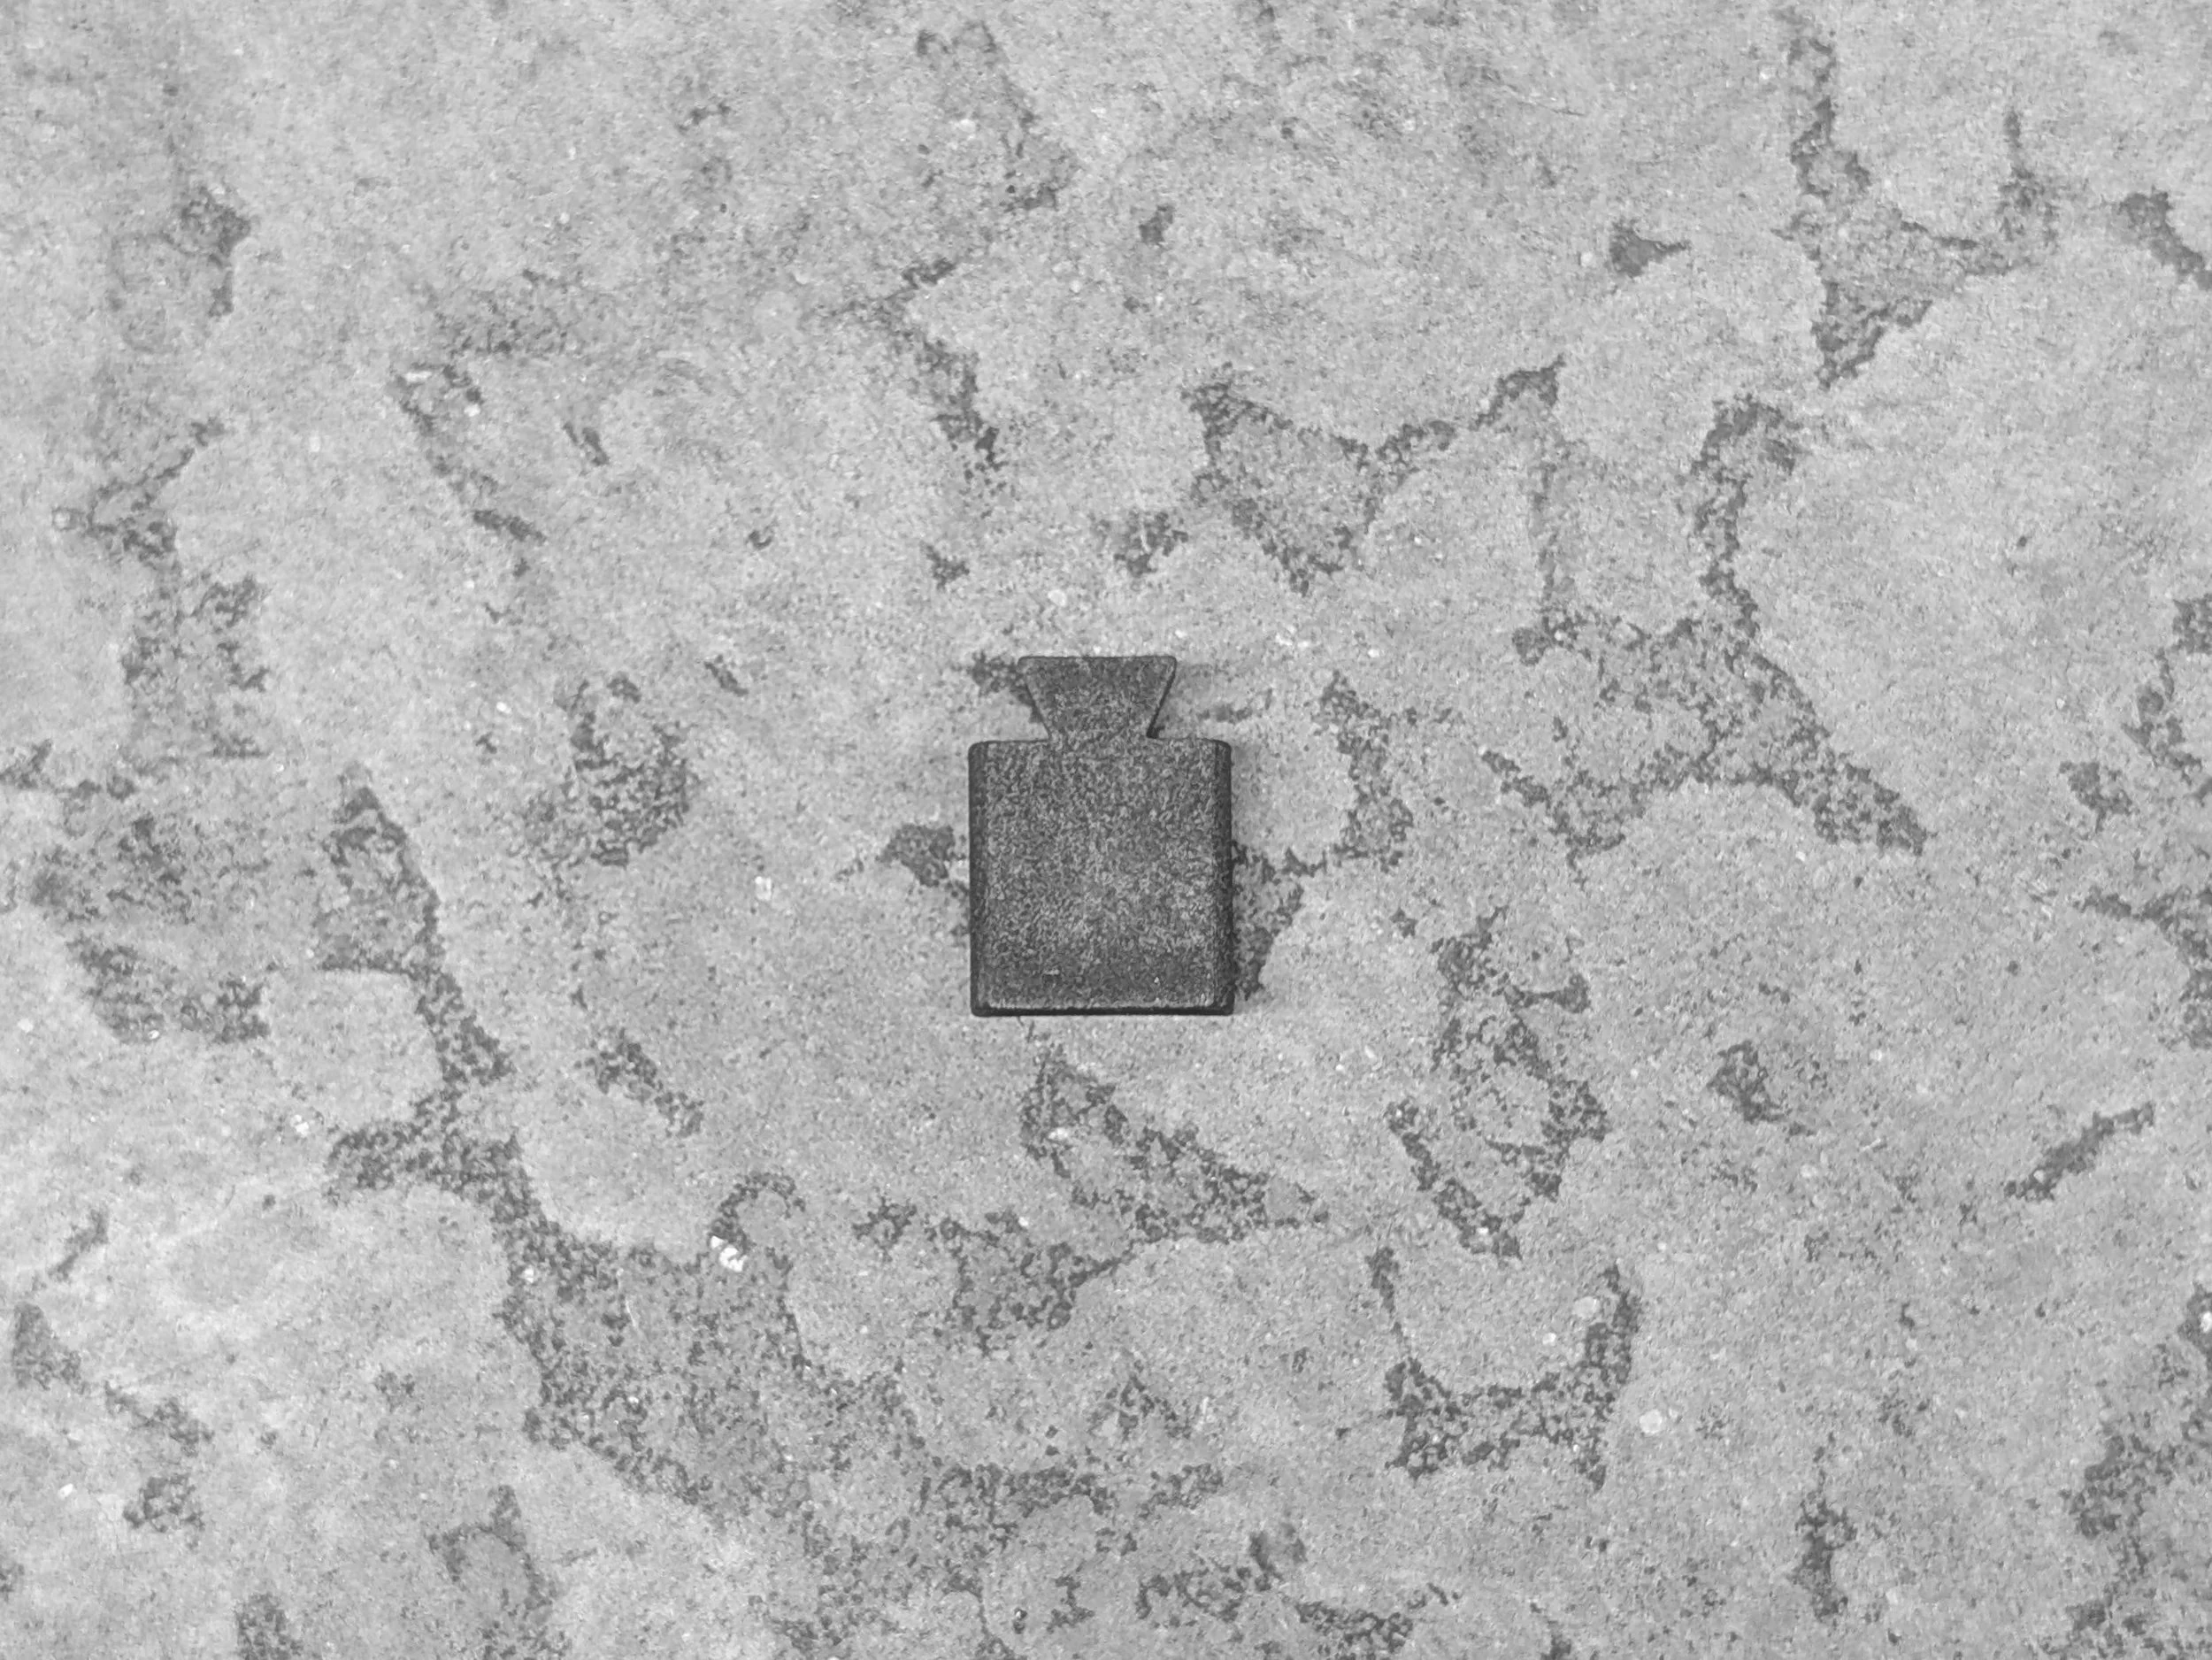
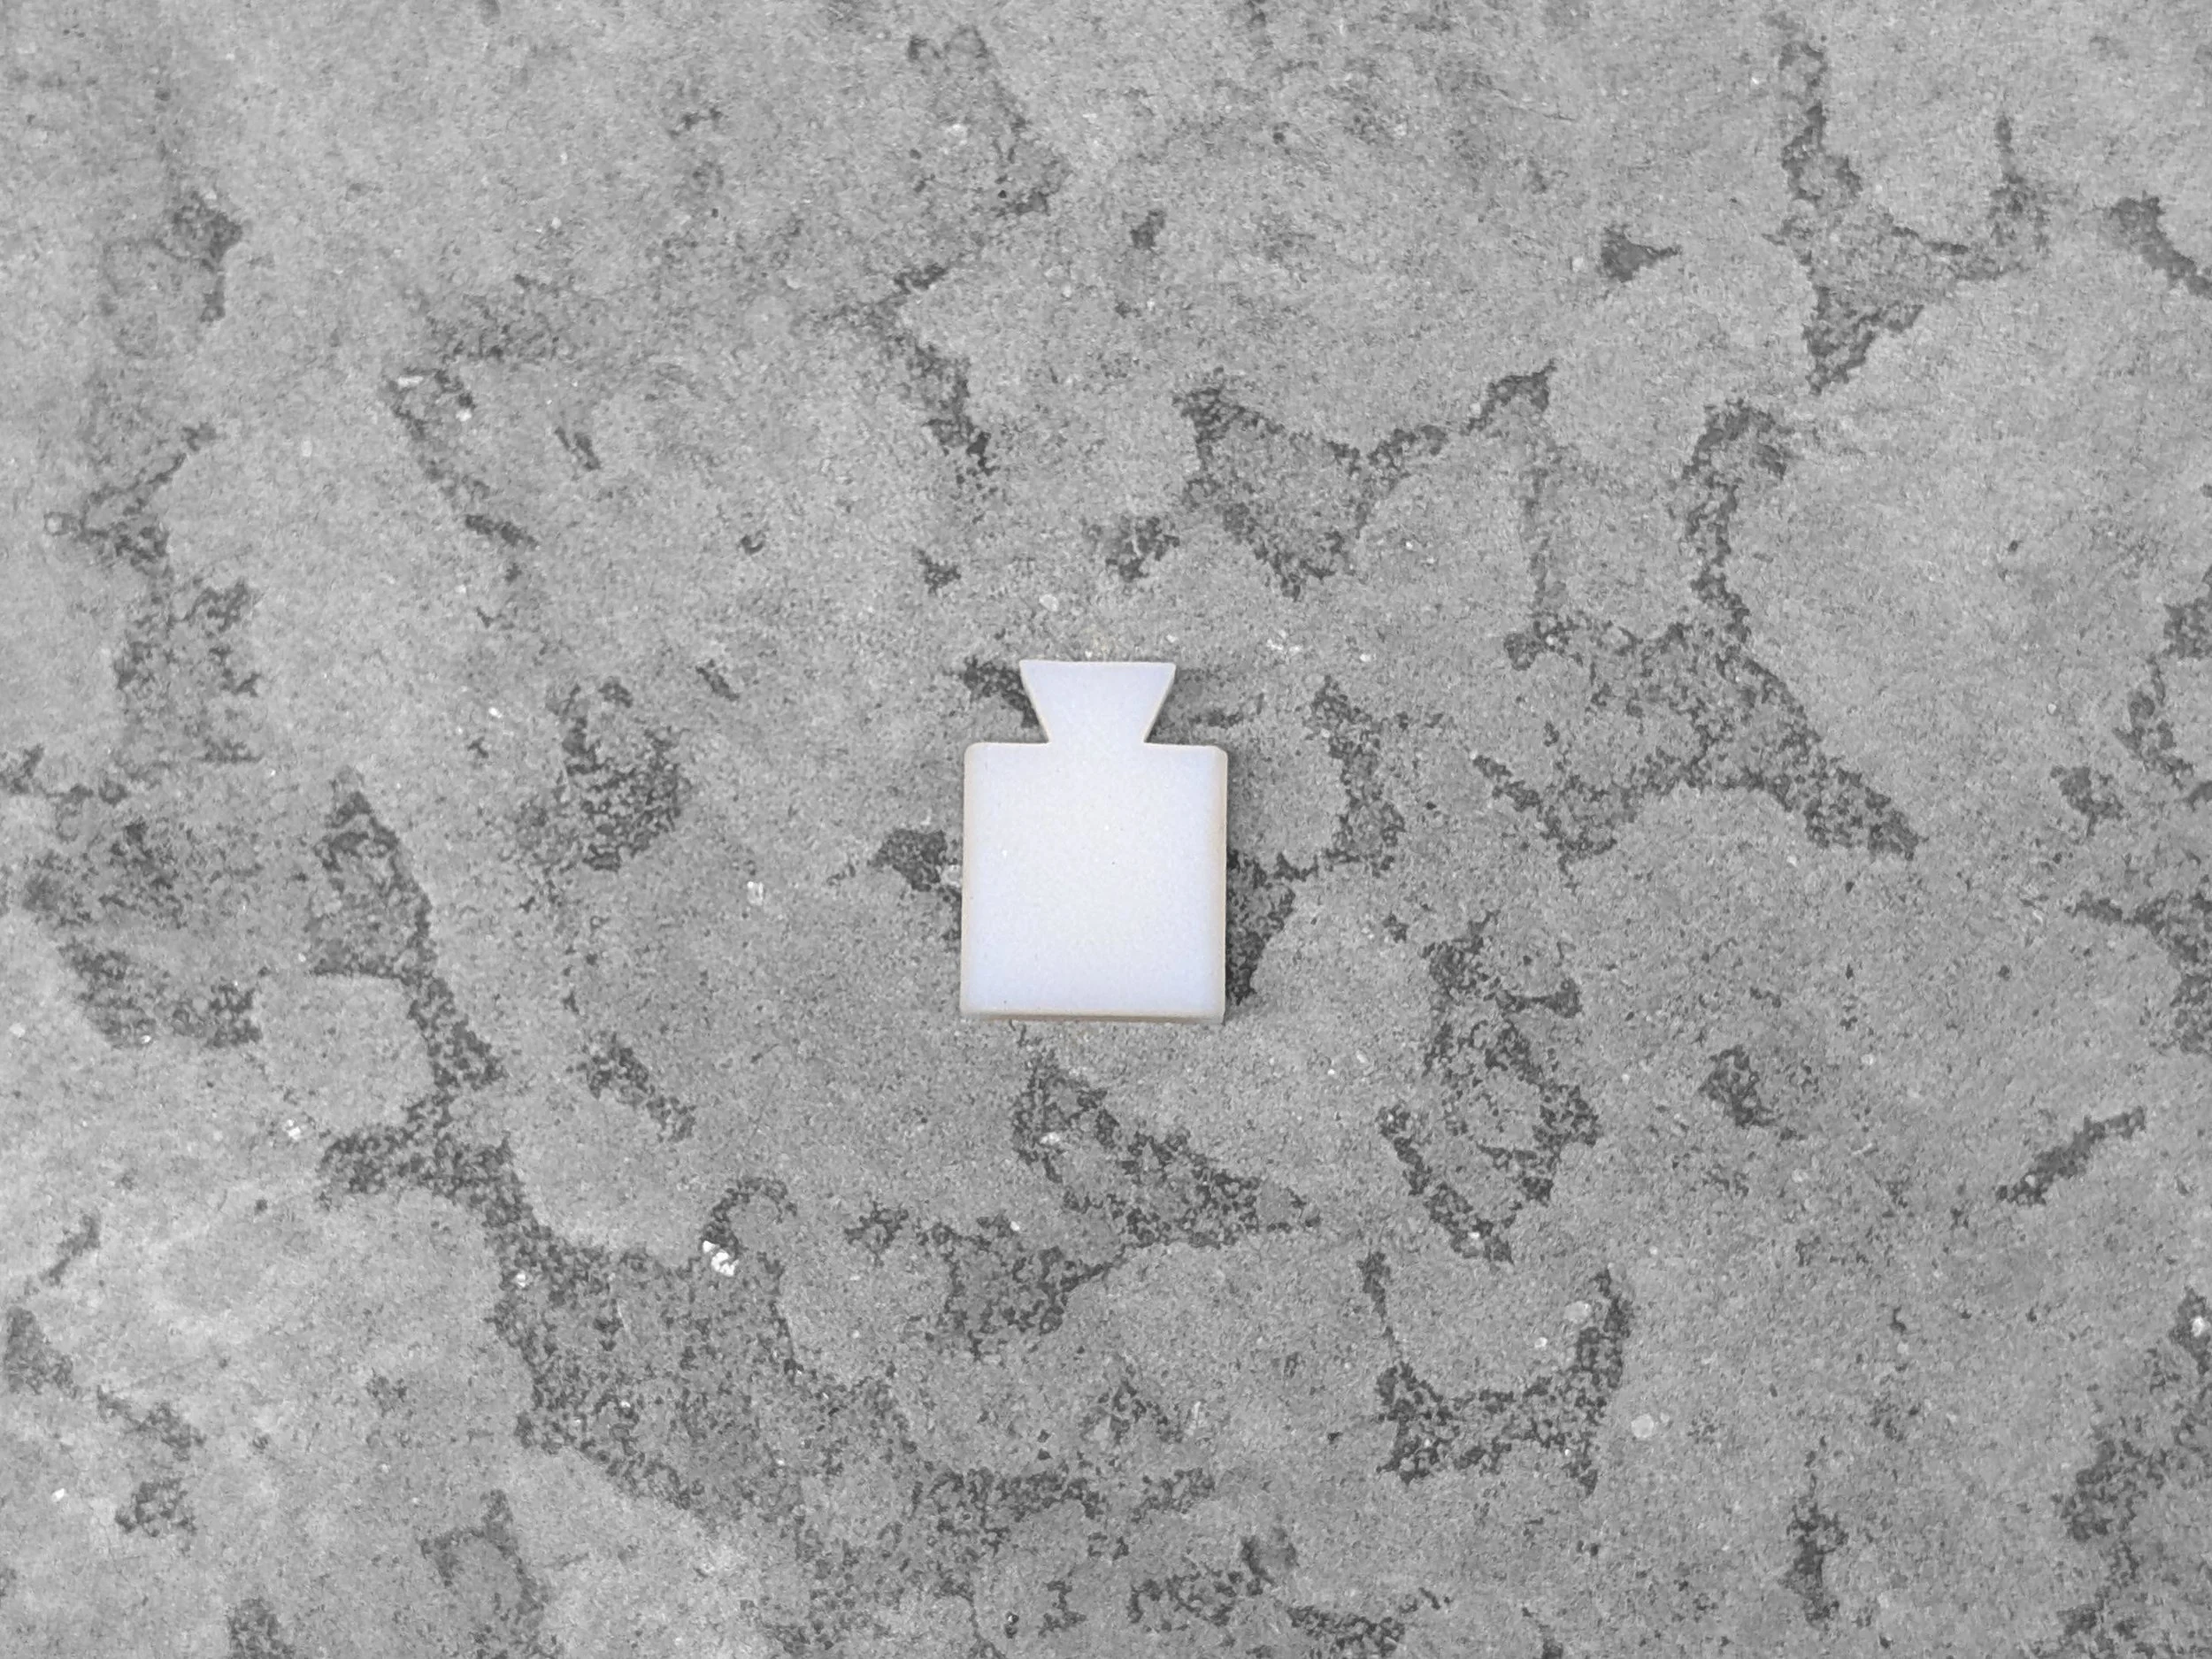
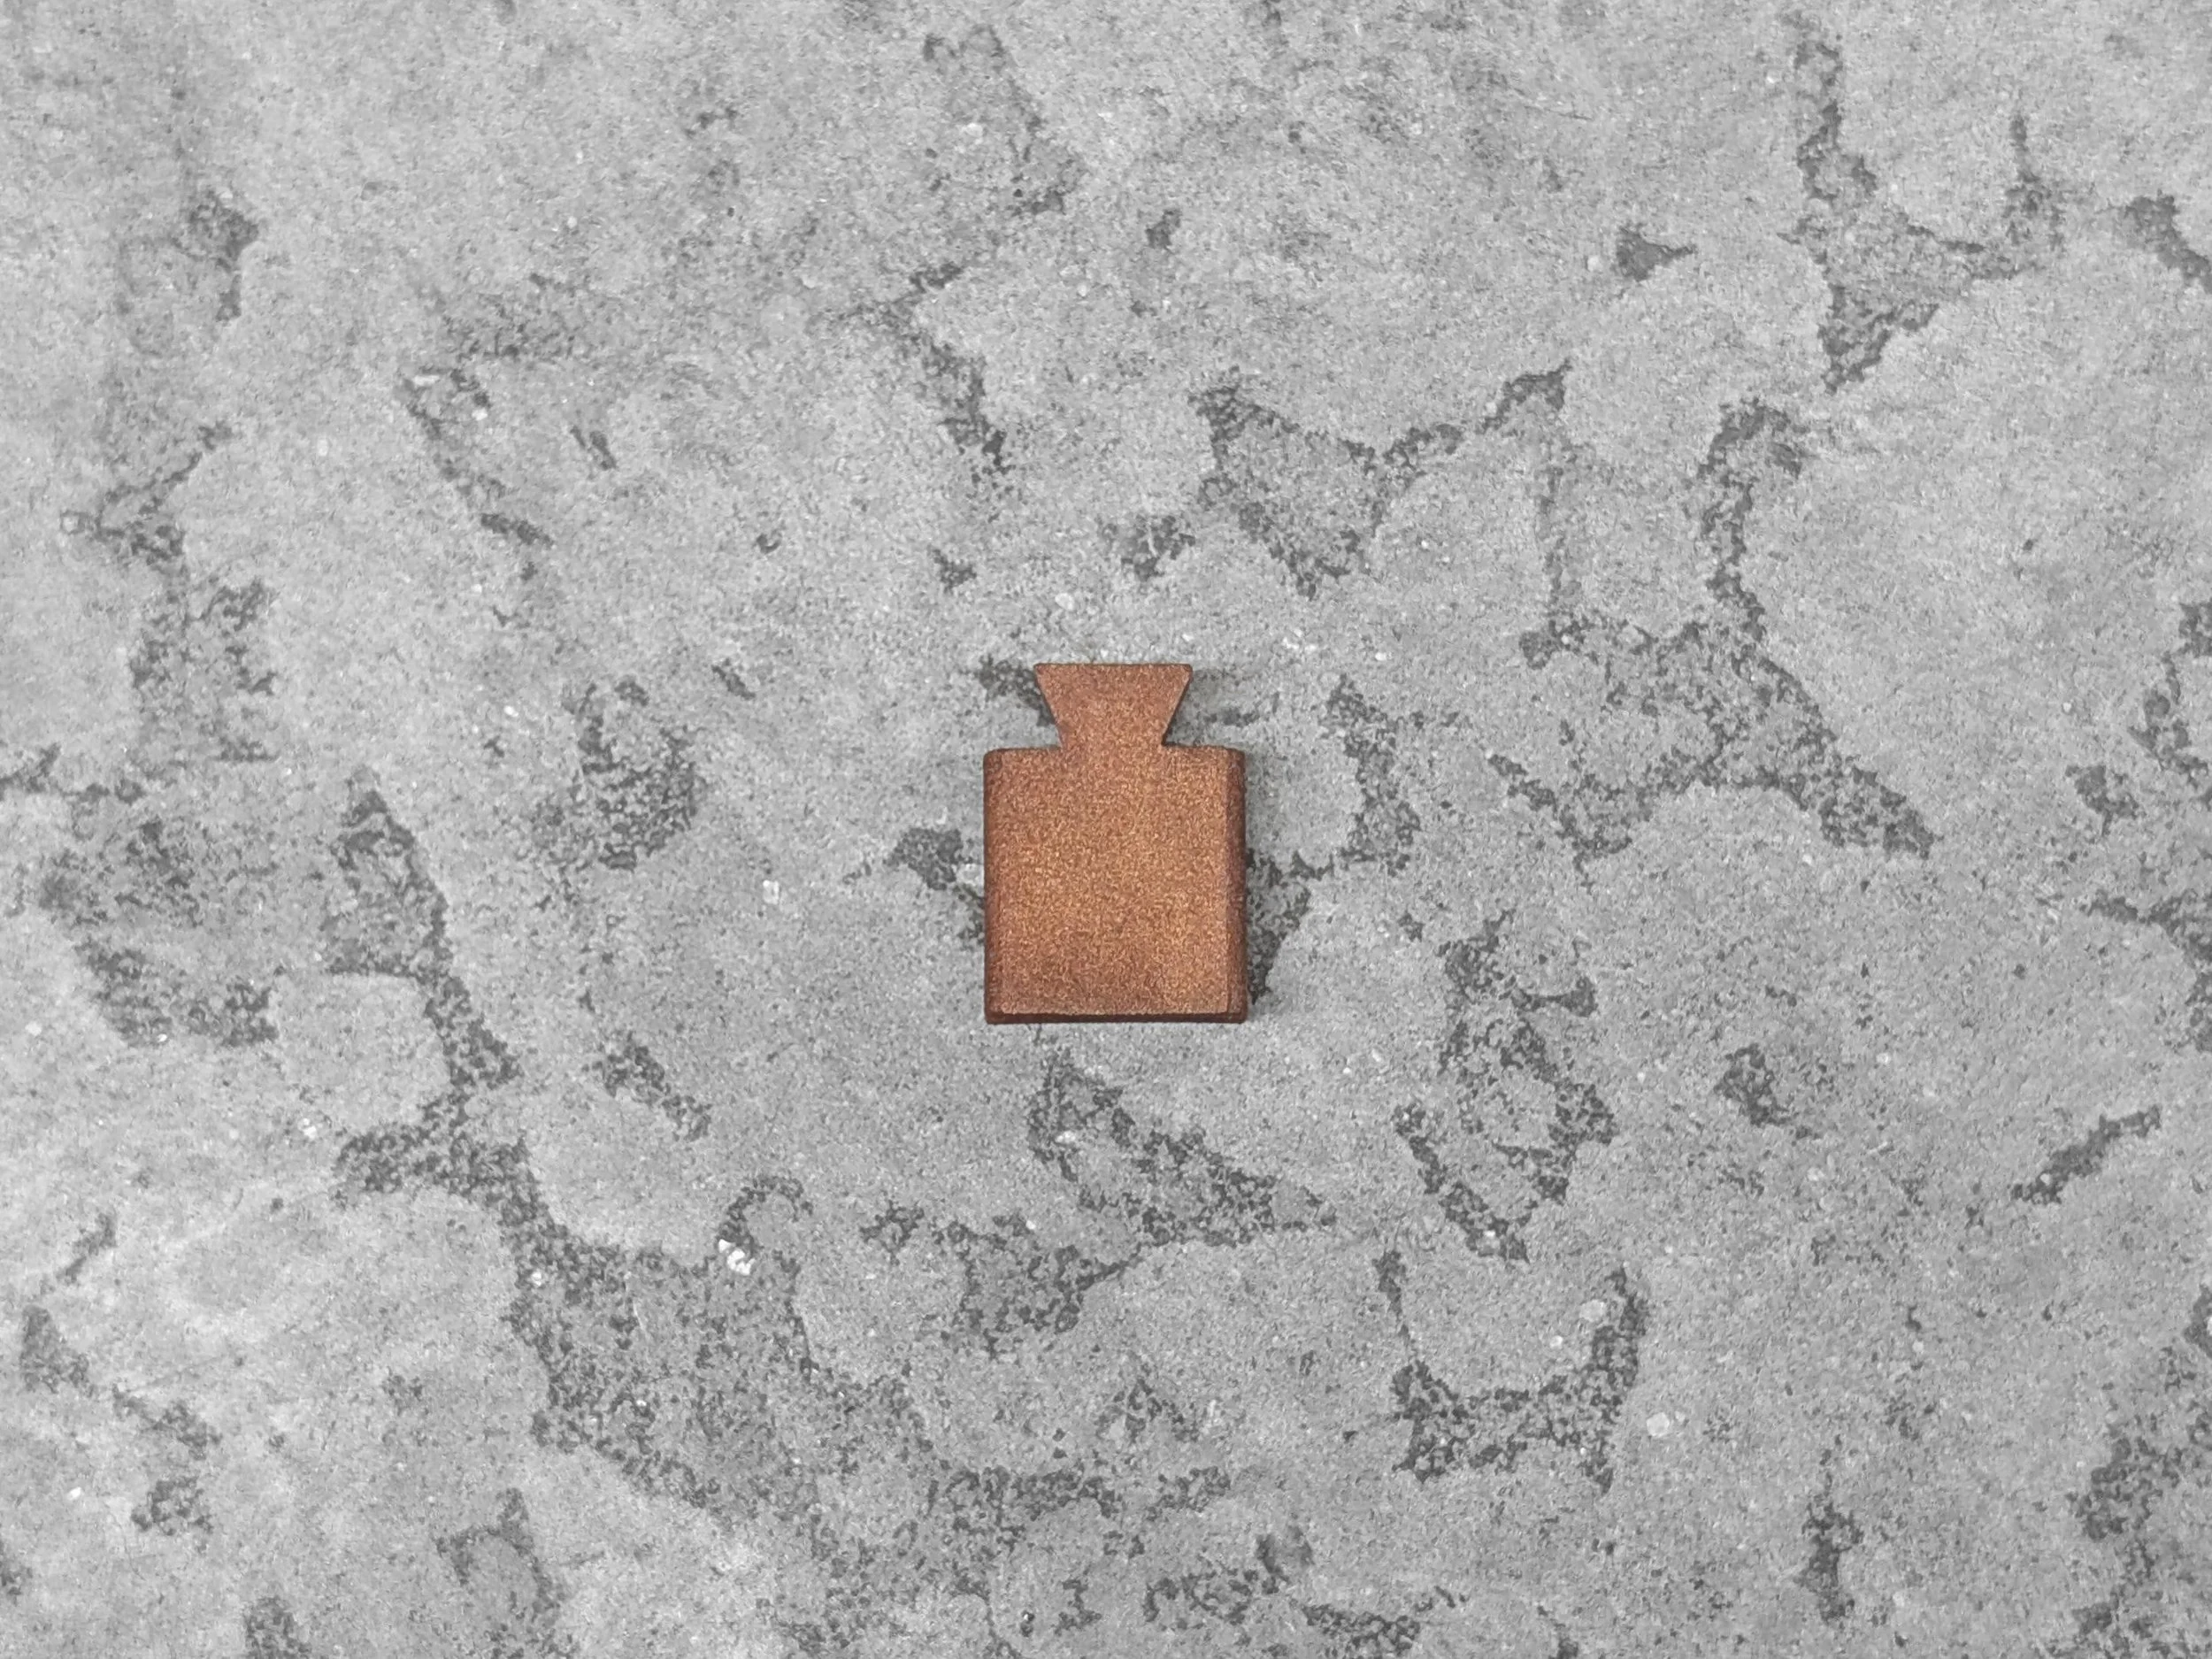
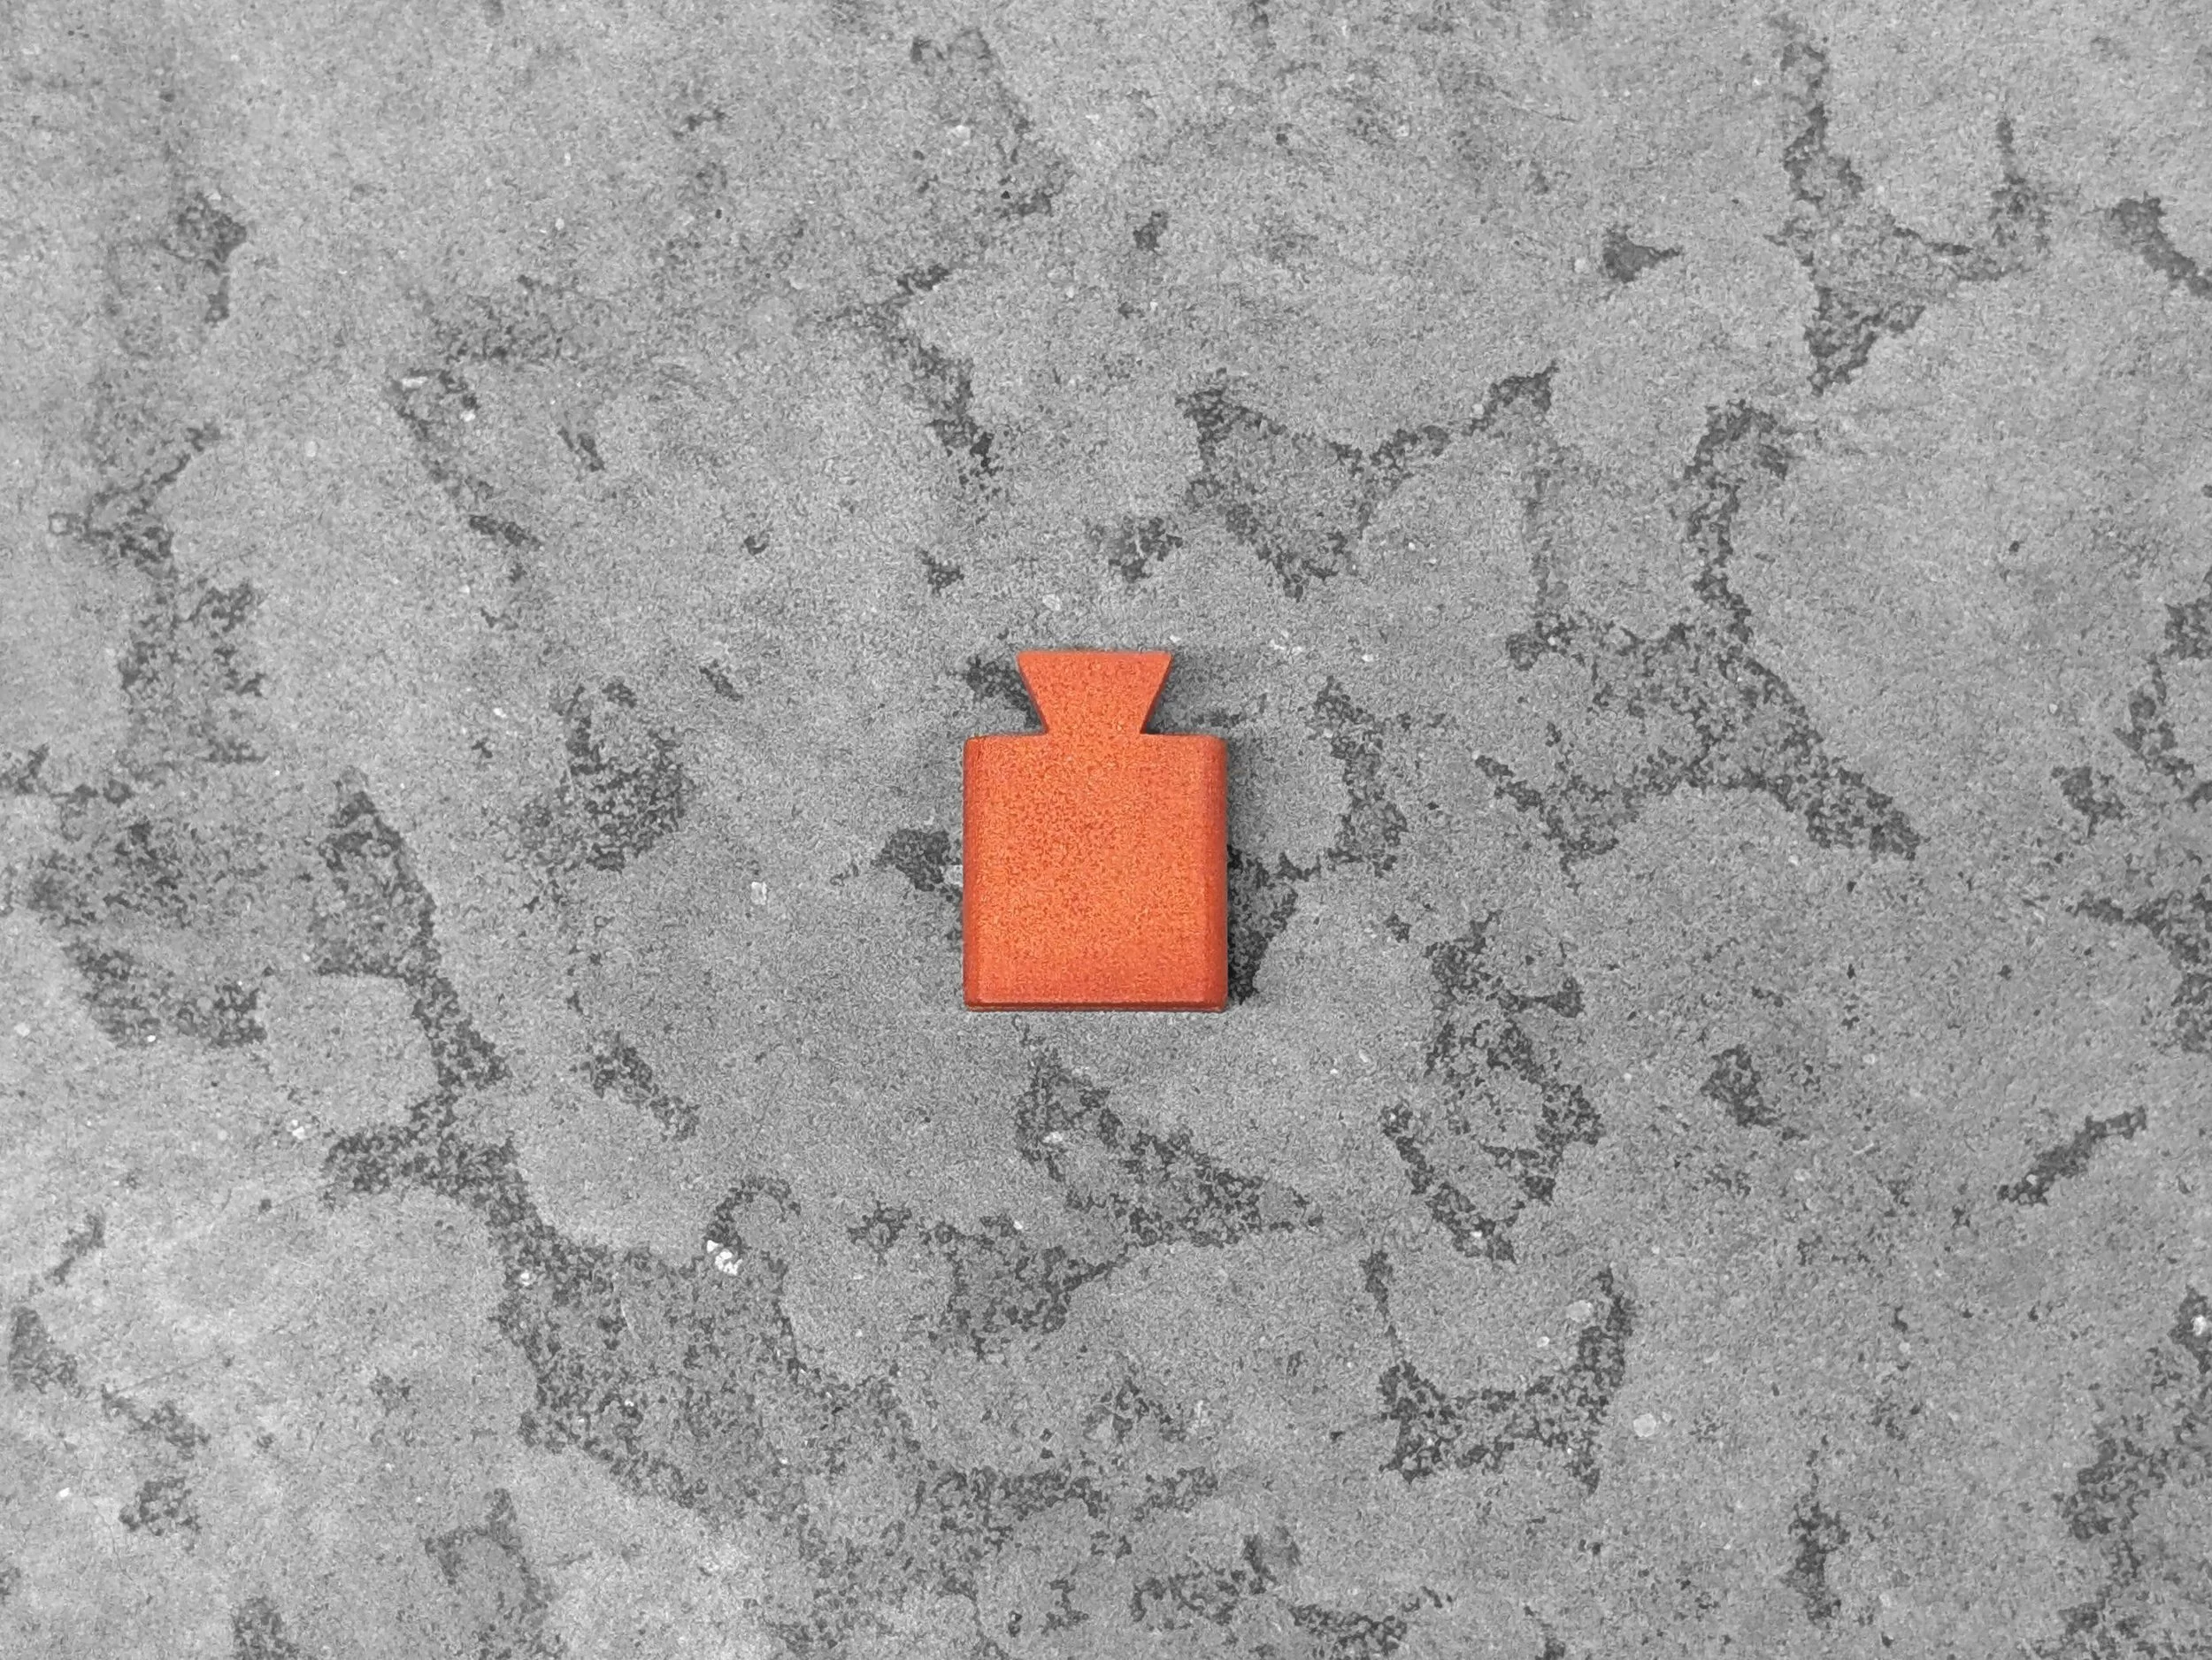
Selectable accent color: Choose from accent colors, including glow-in-the-dark options
Includes: Base cup, top clip, 2 3M large command strips, 2 colored accents
Pick your accent color, mount it, and your blowgun finally has a proper place on the wall.
Glowing variants are powered using strontium aluminate, the brightest and longest lasting glow technology. Charging is best done with a bright light source. Learn more about our glow tech.
Installation Instructions
What You'll Need: A clean cloth and your wall
Choose your location and lightly mark where each mount will go. Clean both spots thoroughly—remove any dust, dirt, or debris for maximum adhesion.
Examine the adhesive strip. One side is labeled "Wall," the other side reads "Command" with a downward-pointing arrow on the pull tab.
Apply to the mount first. Peel the "Command" side and press it onto the back of the wall mount with the pull tab pointing down toward the dovetail slot.
Mount to wall. Peel the "Wall" side and firmly press the mount against your marked spot. Hold for 30 seconds.
Slide the accent cover into the dovetail slot to conceal the pull tab.
Repeat for the second mount.
Your display is ready to use.
To Remove: Slide off the accent cover, grasp the pull tab firmly, and pull straight down parallel to the wall until the adhesive releases. Apply a new strip to reinstall elsewhere.