Damping Upgrades: Avera and Brevitas II Get Quieter
Silent Thunder Ordnance
Our moderator line runs on a simple feedback loop: build, test, learn, improve. After applying lessons from our primary moderator line (Pugio, Falx, Sarissa, and the rest) to reduce post-peak sound on our specialized designs, two products were next in line for the same treatment: the Avera and the Brevitas II.
The Problem with Reflexed Air: A Whistle Effect
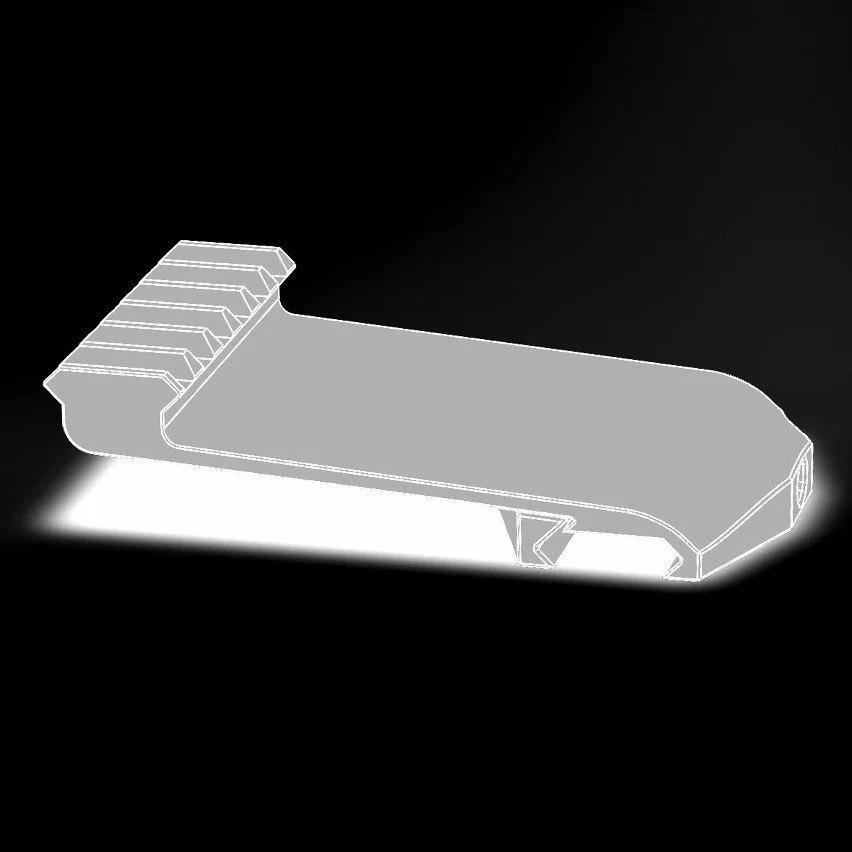
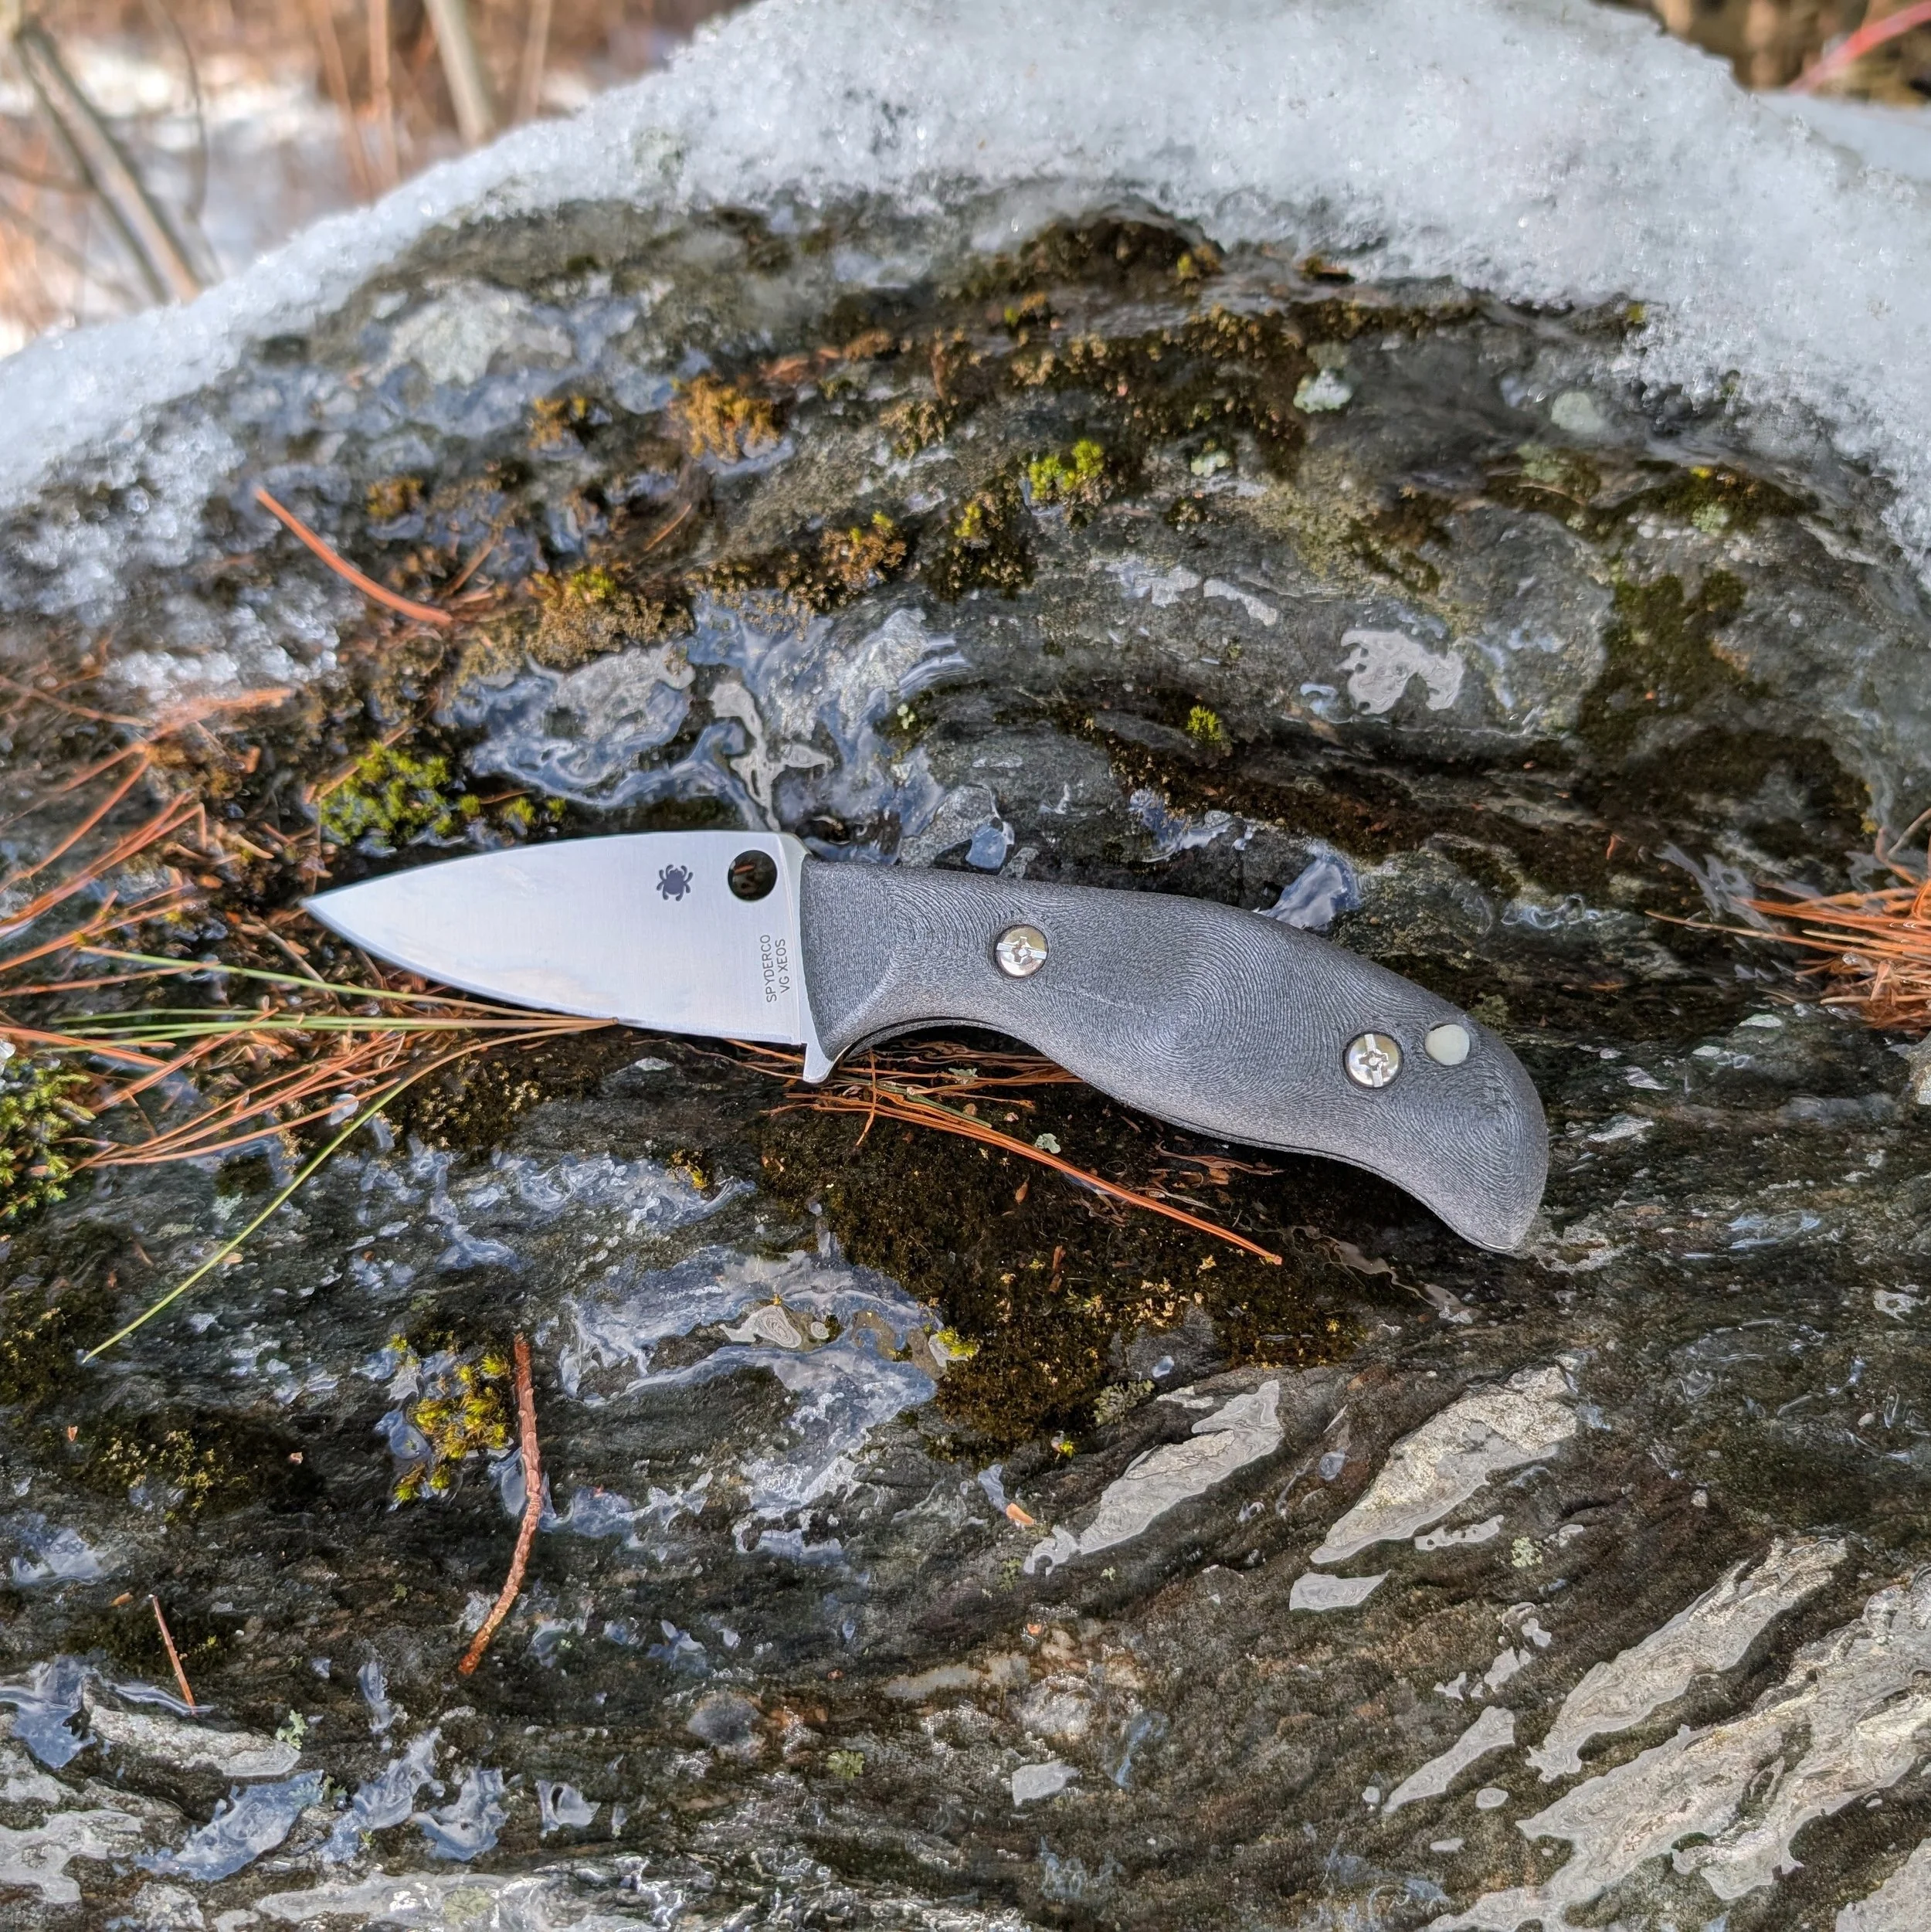
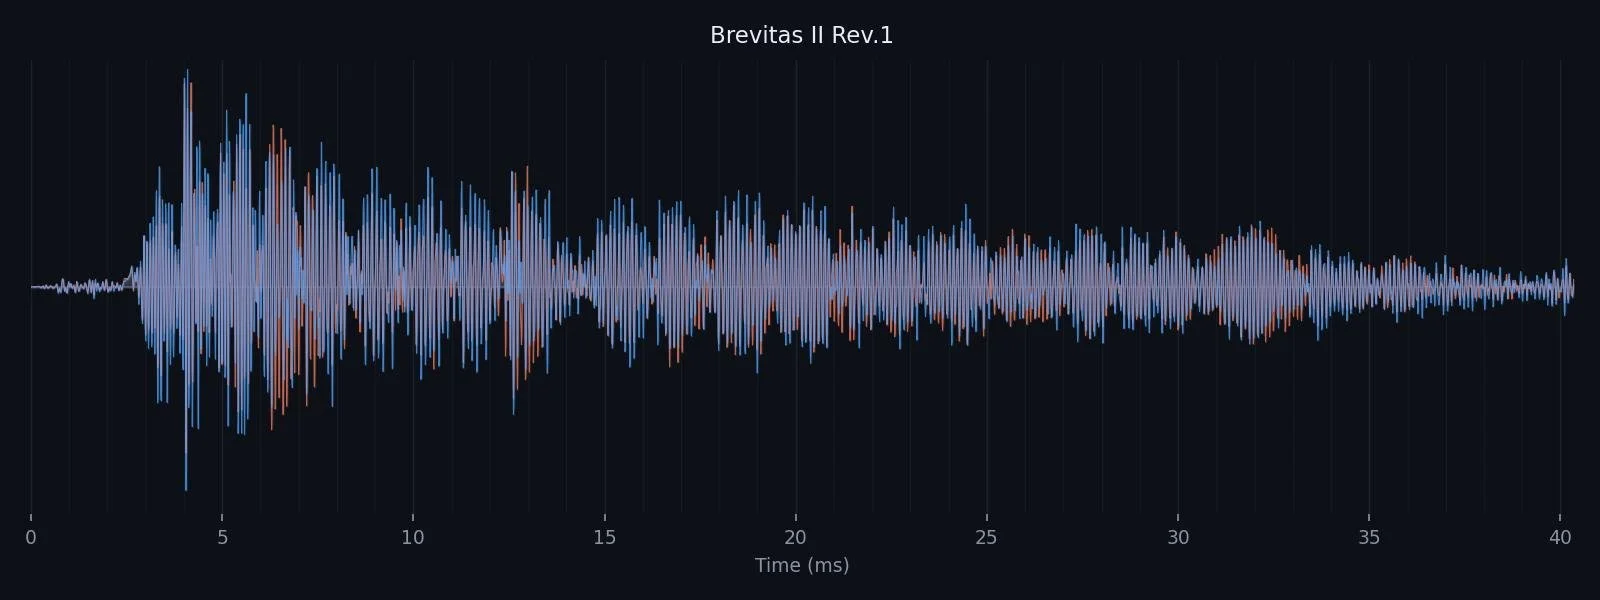
The Brevitas II is our smallest moderator, about the size of a fat tube of chapstick, with tiny gas diodes packed into a very limited space. The original Brevitas started as a concept exploring the practical size limit for our gas diode technology. It wasn't popular and was genuinely difficult to manufacture, so we discontinued it. It picked up a cult following anyway, and demand eventually led us to redesign it from the ground up. The result, the Brevitas II, kept the original's micro-size form factor but improved on nearly everything else.
The Brevitas II is still the loudest moderator we make, and we're upfront about that. But nothing else on the market cuts as much off an airgun's sound signature for its size and weight. There was a persistent challenge, though: the process of reflexing air back on itself behaves a bit like a whistle. The Brevitas II excelled at cutting peak sound but produced a noticeable whoosh in the process.
Adding Damping to the Brevitas II
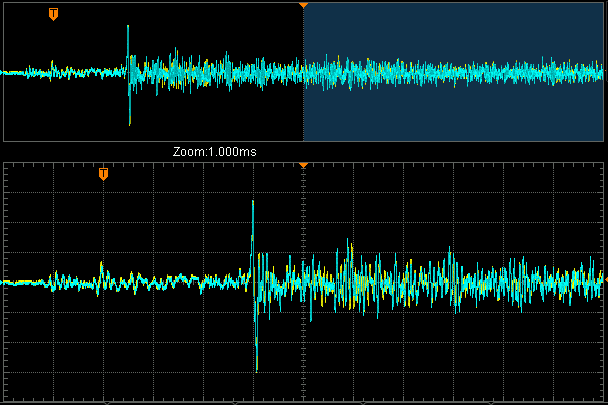
The fix was damping. Adding a damping section to the Brevitas II, with no change to its external size or form factor, dropped peak sound from 492.8 to 443.5. That alone would have been a solid improvement, but the larger gain shows up in the trace data, where post-peak noise drops substantially compared to the previous design. Testing used a moderate-flow .30 cal FX Crown producing about 80 FPE. This still isn't an ultra-quiet moderator, and we won't pretend otherwise, but the reduction in post-peak noise is clearly noticeable to the ear.

Applying the Same Fix to the Avera
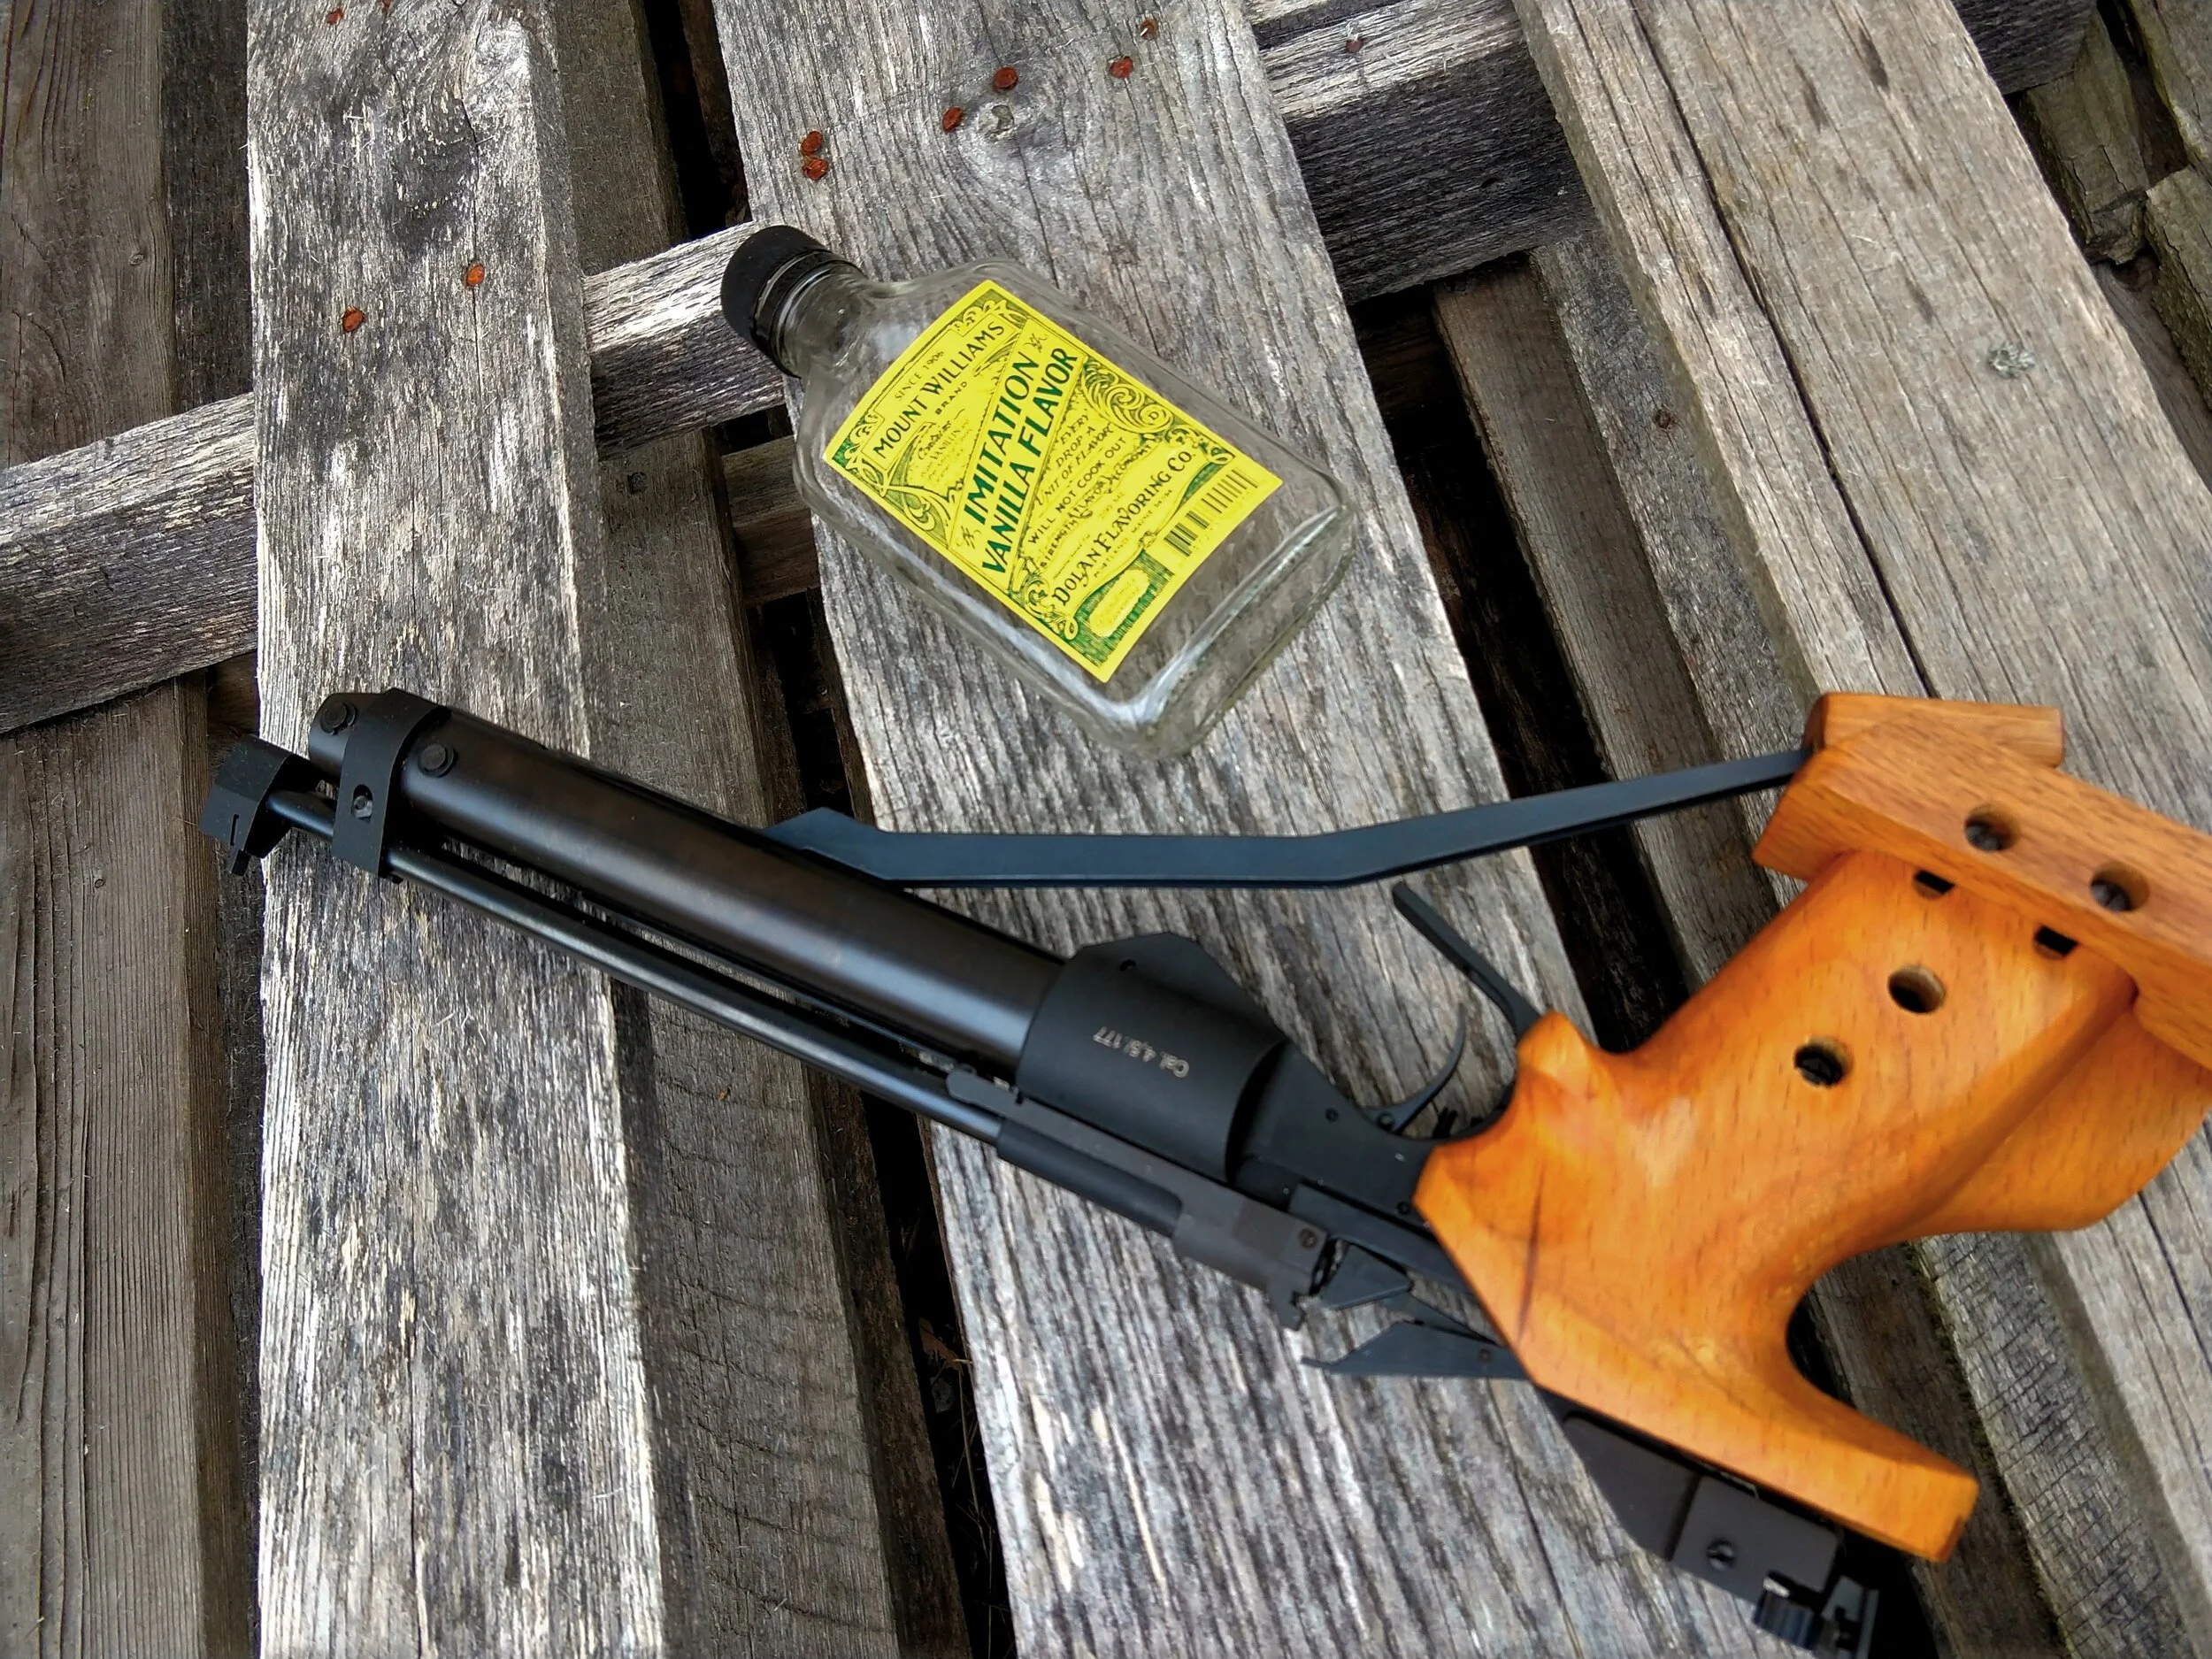
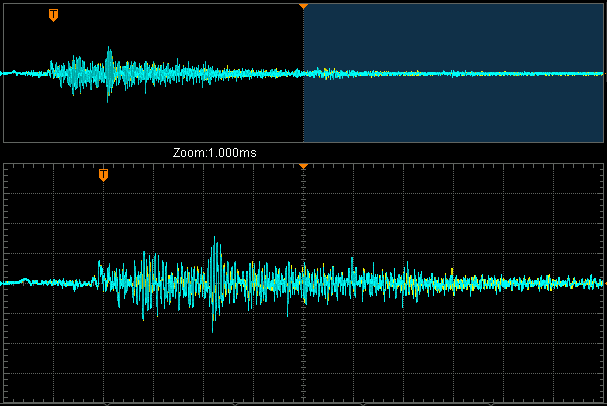
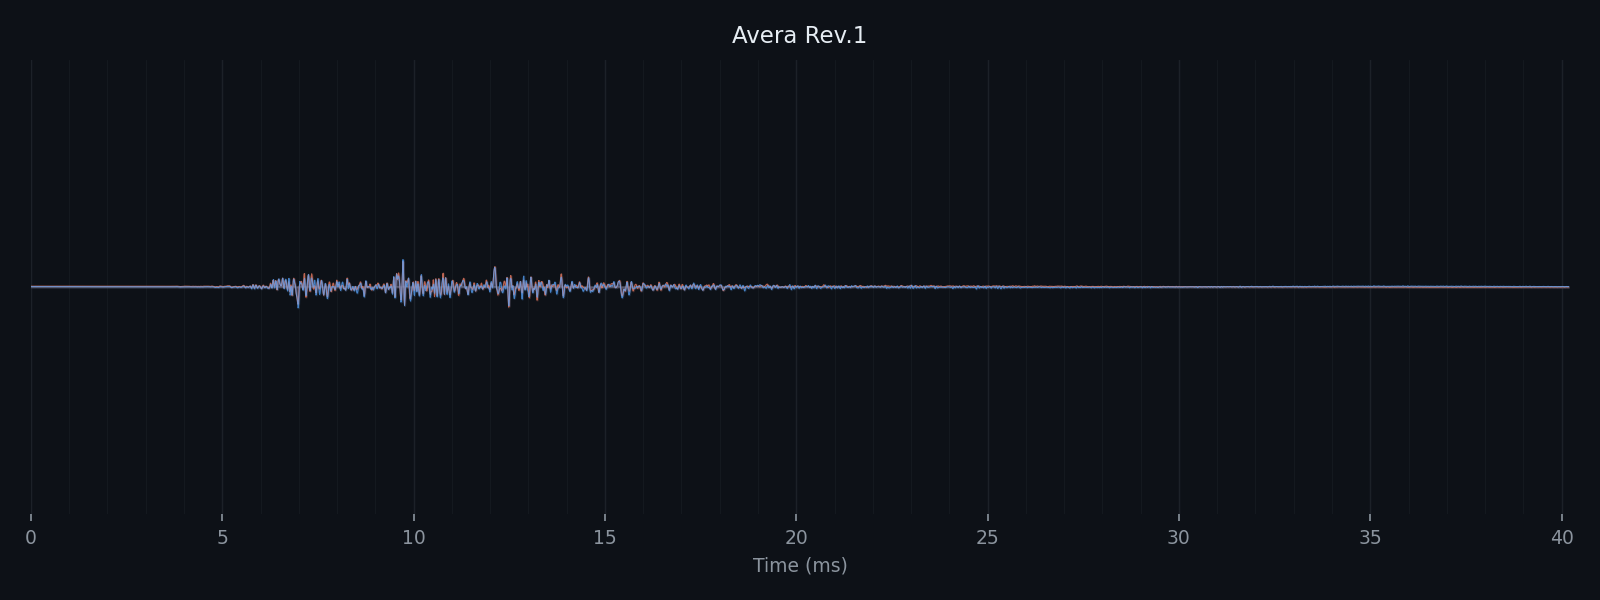
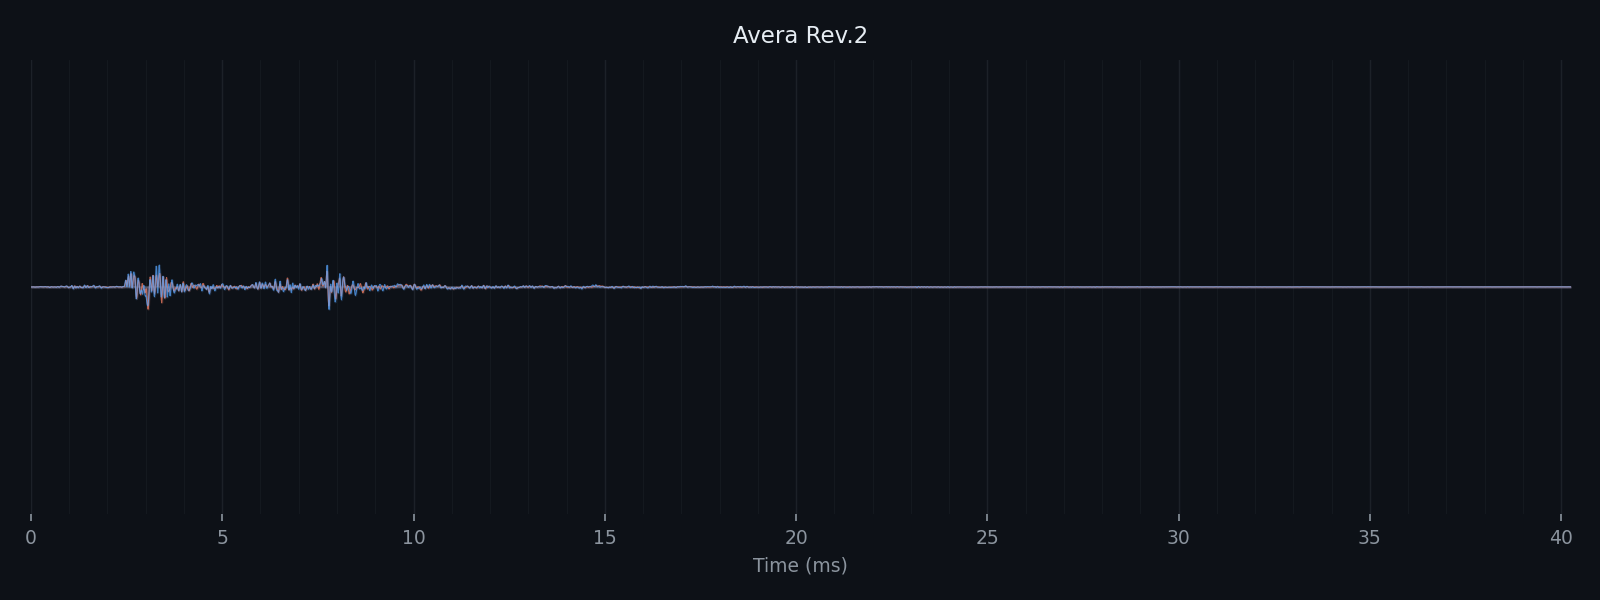
The Umarex Avera moderator got the same treatment. The Avera has no muzzle threads and no metal muzzle, so it attaches to the bottom rail instead, sealing the gap between muzzle and moderator with an o-ring. It takes a poppy little CO2 gun down to a sound subtle enough that shooters often think the gun is out of CO2.
The Avera has more internal space to work with than the Brevitas II, and adding damping there cut the peak from 50.8 to 43.56.
Uncovering a Twin-Peak Issue Tied to Cylinder Gap
Testing also revealed something unexpected: a twin peak in the Avera's sound trace. It was less obvious before damping was added, but afterward it became clear there were two distinct sound events happening per shot. We've seen this pattern before on other revolver-style designs, and it's caused by cylinder gap, the small gap between cylinder and barrel inherent to revolver mechanisms. It's not a flaw specific to the Avera, just a characteristic of how revolvers work. Just as we built an action cover for the Leshiy II, we're now developing one for the Avera to address it.
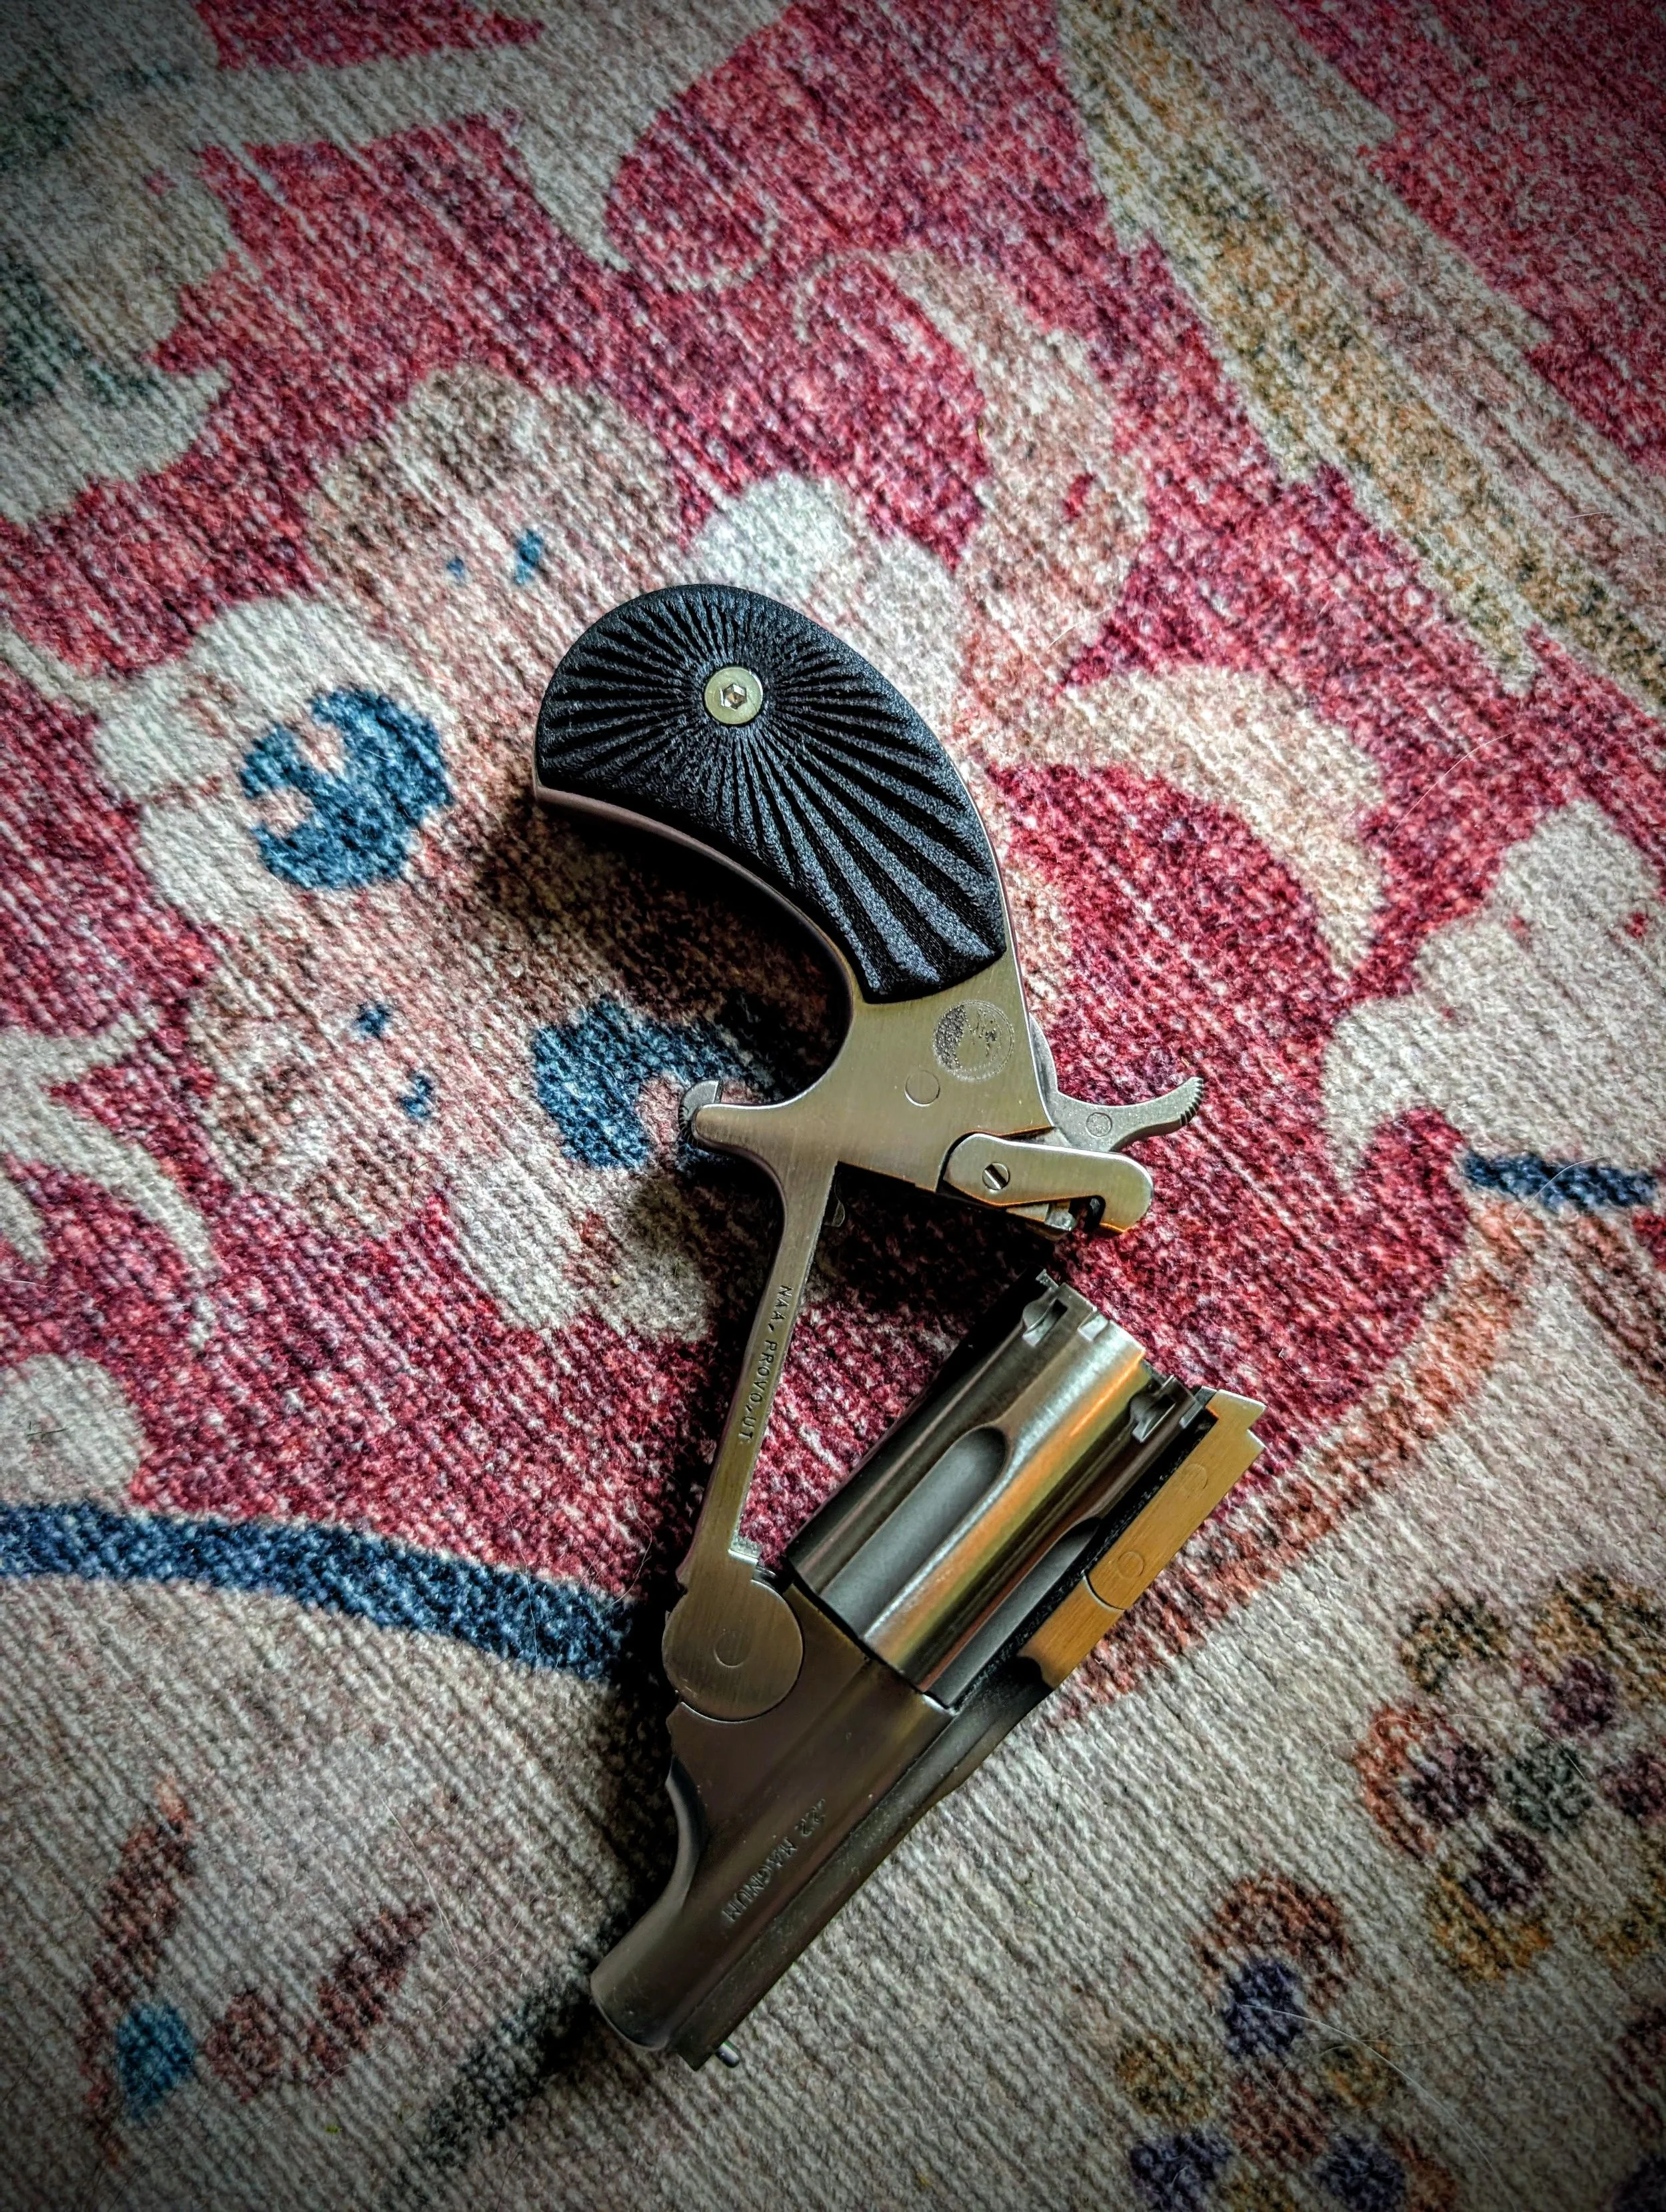
A Look at What's Next: NAA Revolver Grips
We're also working on something a little different: grips for North American Arms (NAA) revolvers.
NAA revolvers are small stainless steel revolvers known for their durability and reliability. They're rugged, compact, and have a reputation for never rusting even with heavy exposure to sweat or moisture. While they're not a first line of defense, they function reliably as a last line of defense, smaller and more dependable than the smallest micro semi-autos. Unlike semi-autos, they continue to function with the muzzle pressed against a surface, since there's no slide to push out of battery and no action to fail to cycle.
The factory grips on NAA revolvers are rosewood with a gloss finish, an attractive combination but one with a few practical drawbacks: rosewood isn't as durable as the rest of the gun, the gloss finish gets slippery, and the grips add unnecessary thickness beyond the revolver's cylinder.
Reversing those three issues gave us a clear set of design requirements: grips that are slim, textured for grip, and waterproof. NAA revolvers in particular tend to rotate in the hand under recoil, which led to a ray pattern design centered on the fastener, with reinforced texture positioned where the thumb naturally rests during a grip. The prototype is a few revisions deep and performing well in testing. Development continues toward a production-ready version.
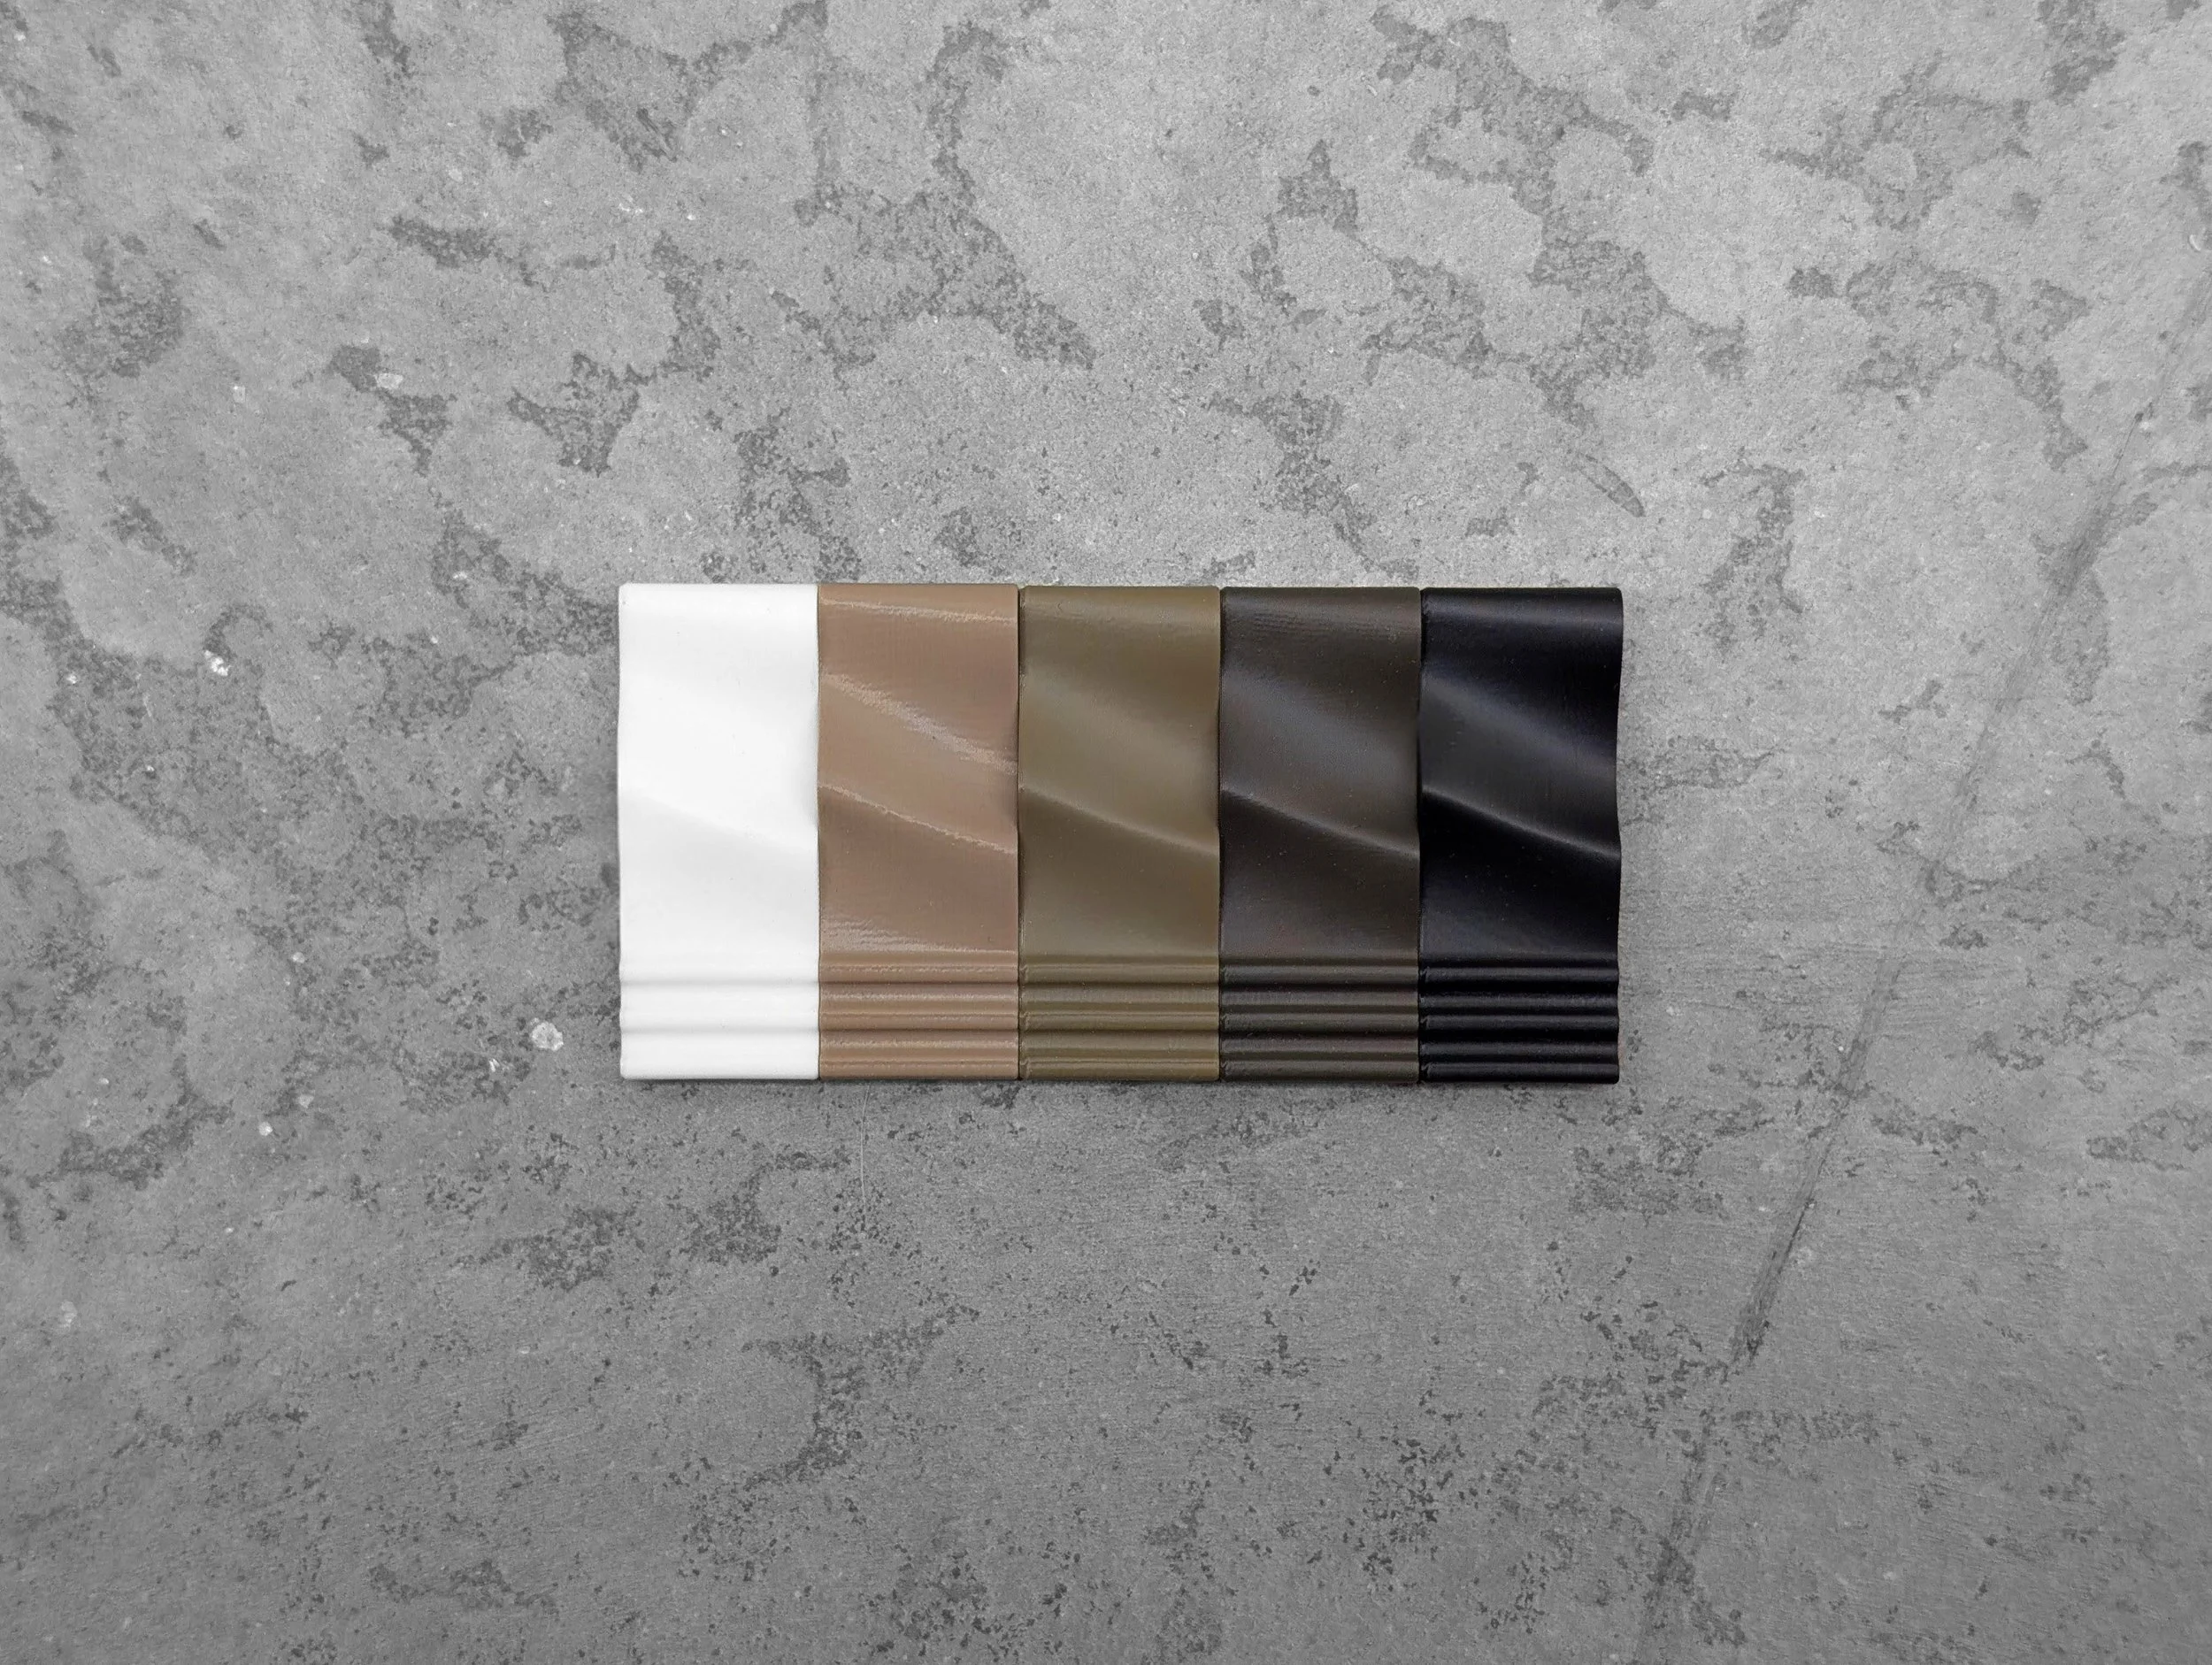
Why We Use Color Swatches Instead of Reshooting Every Product
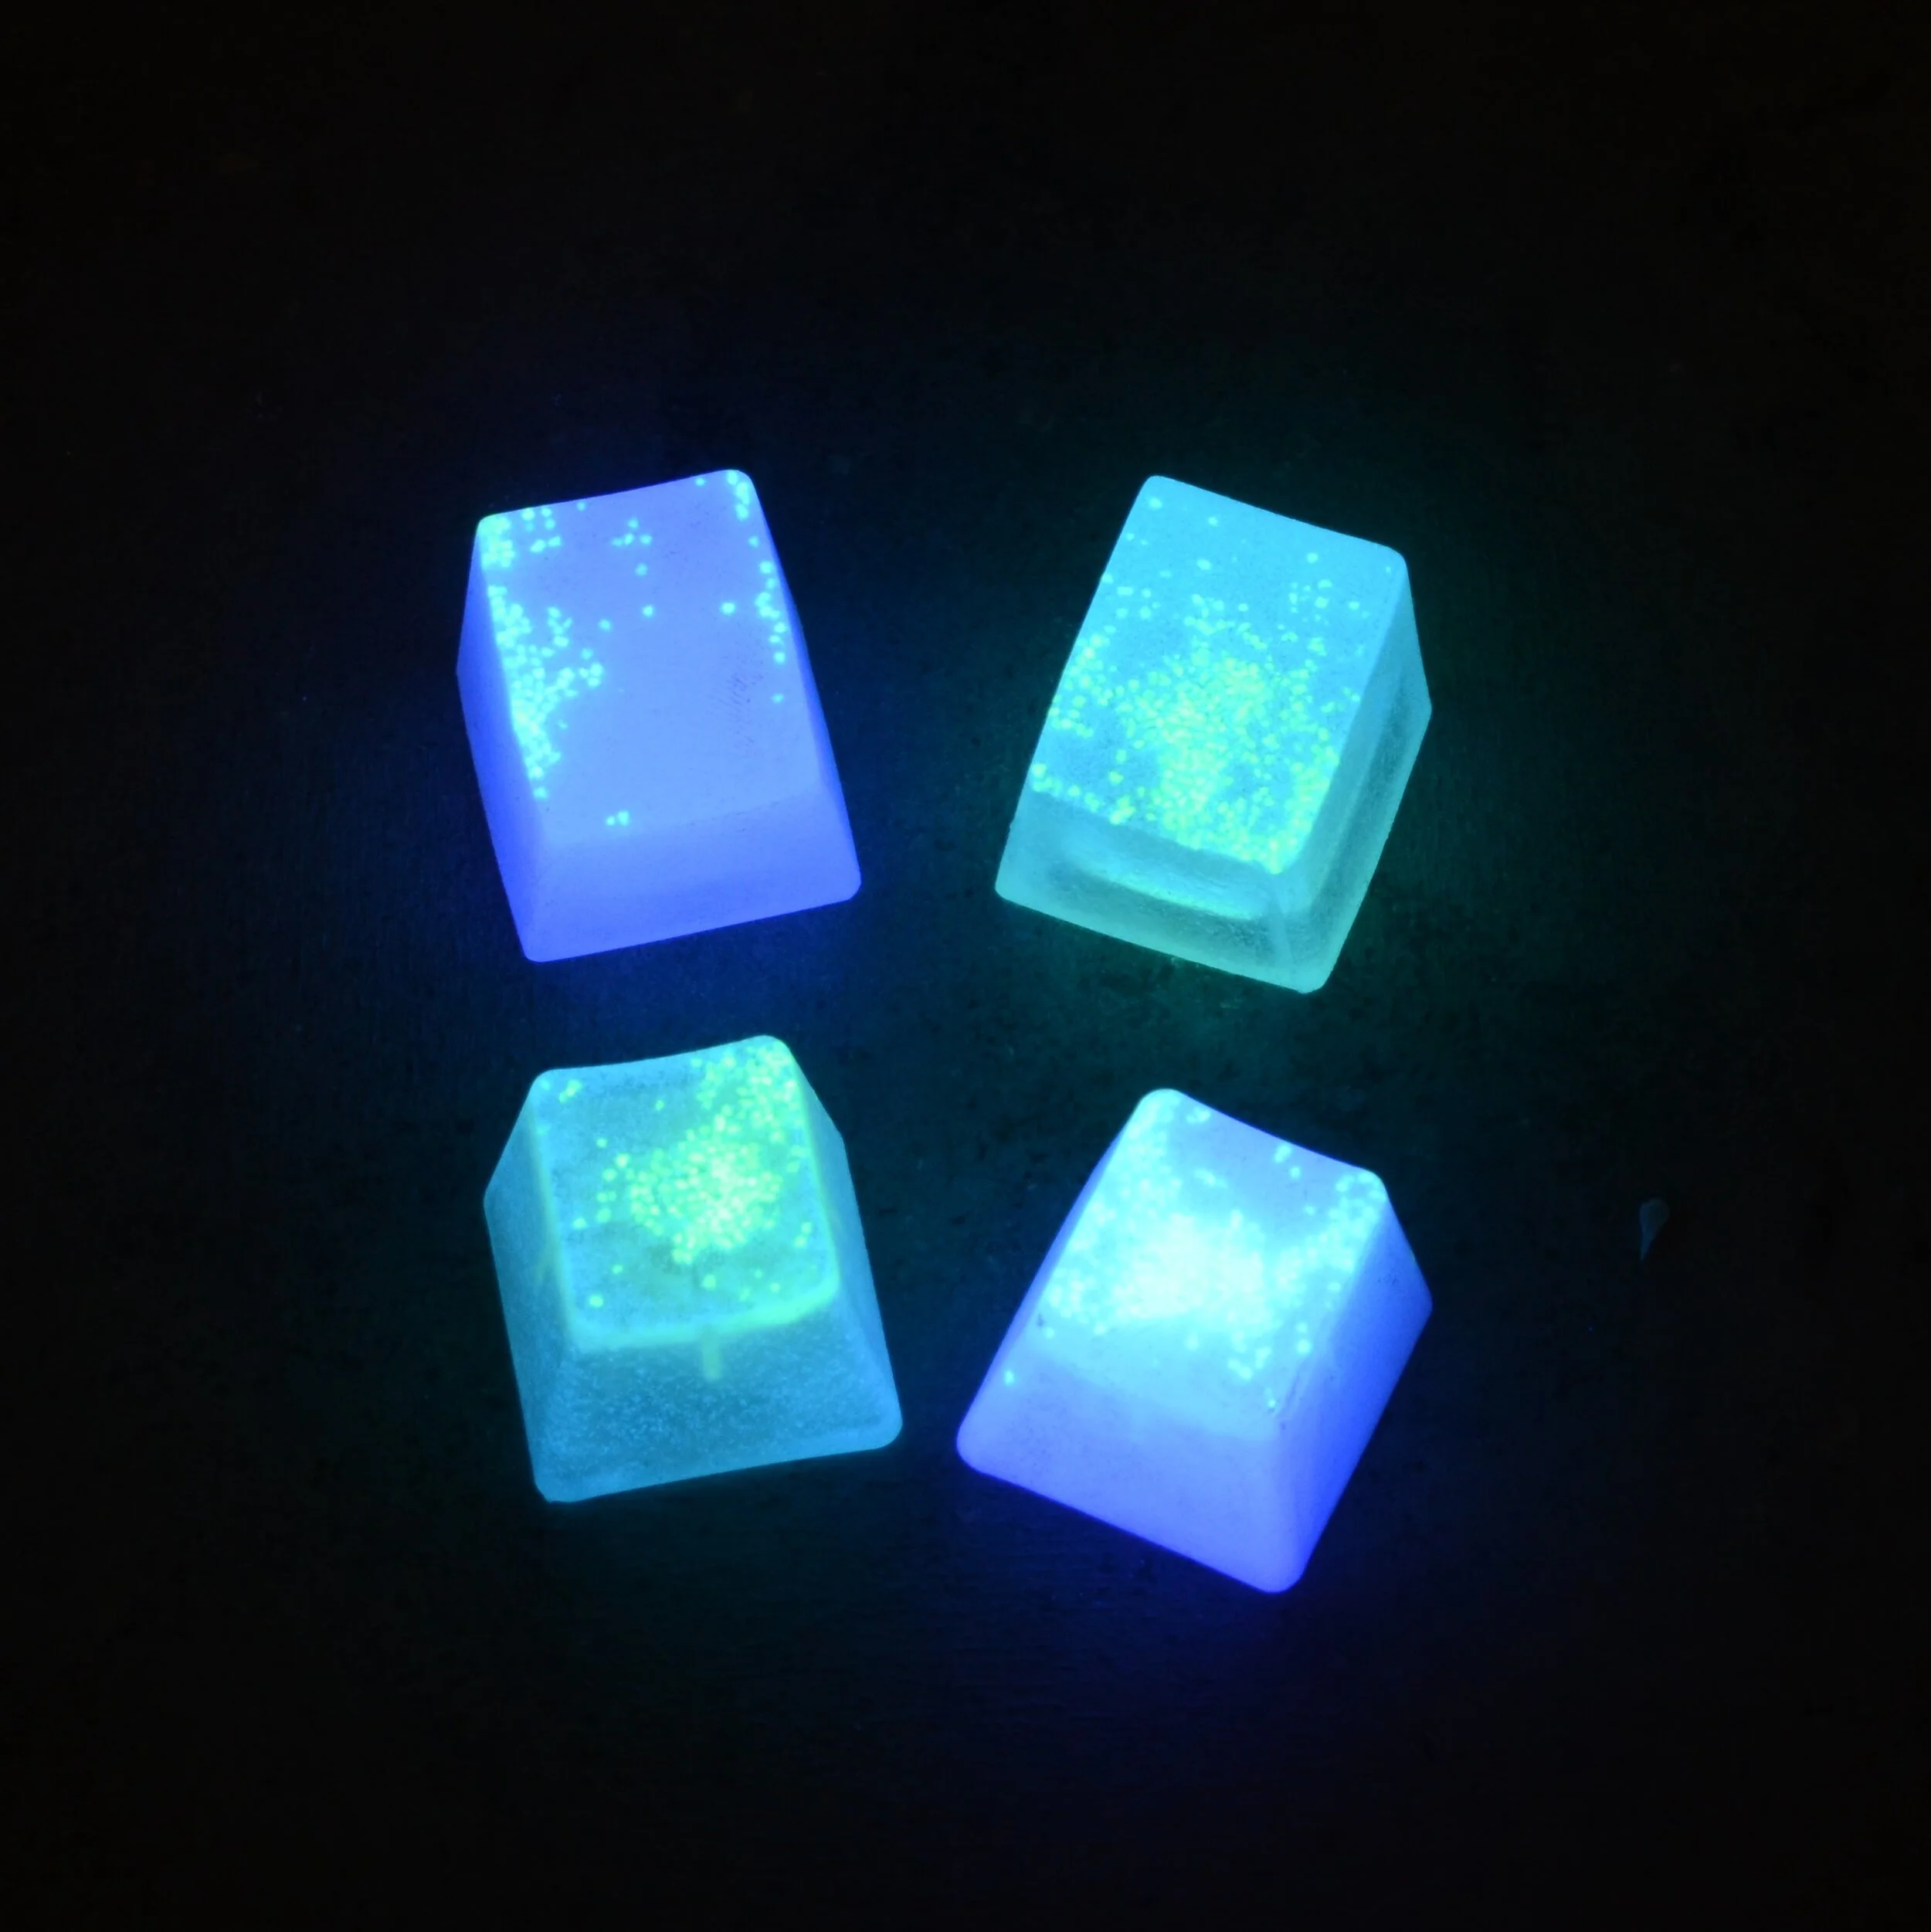
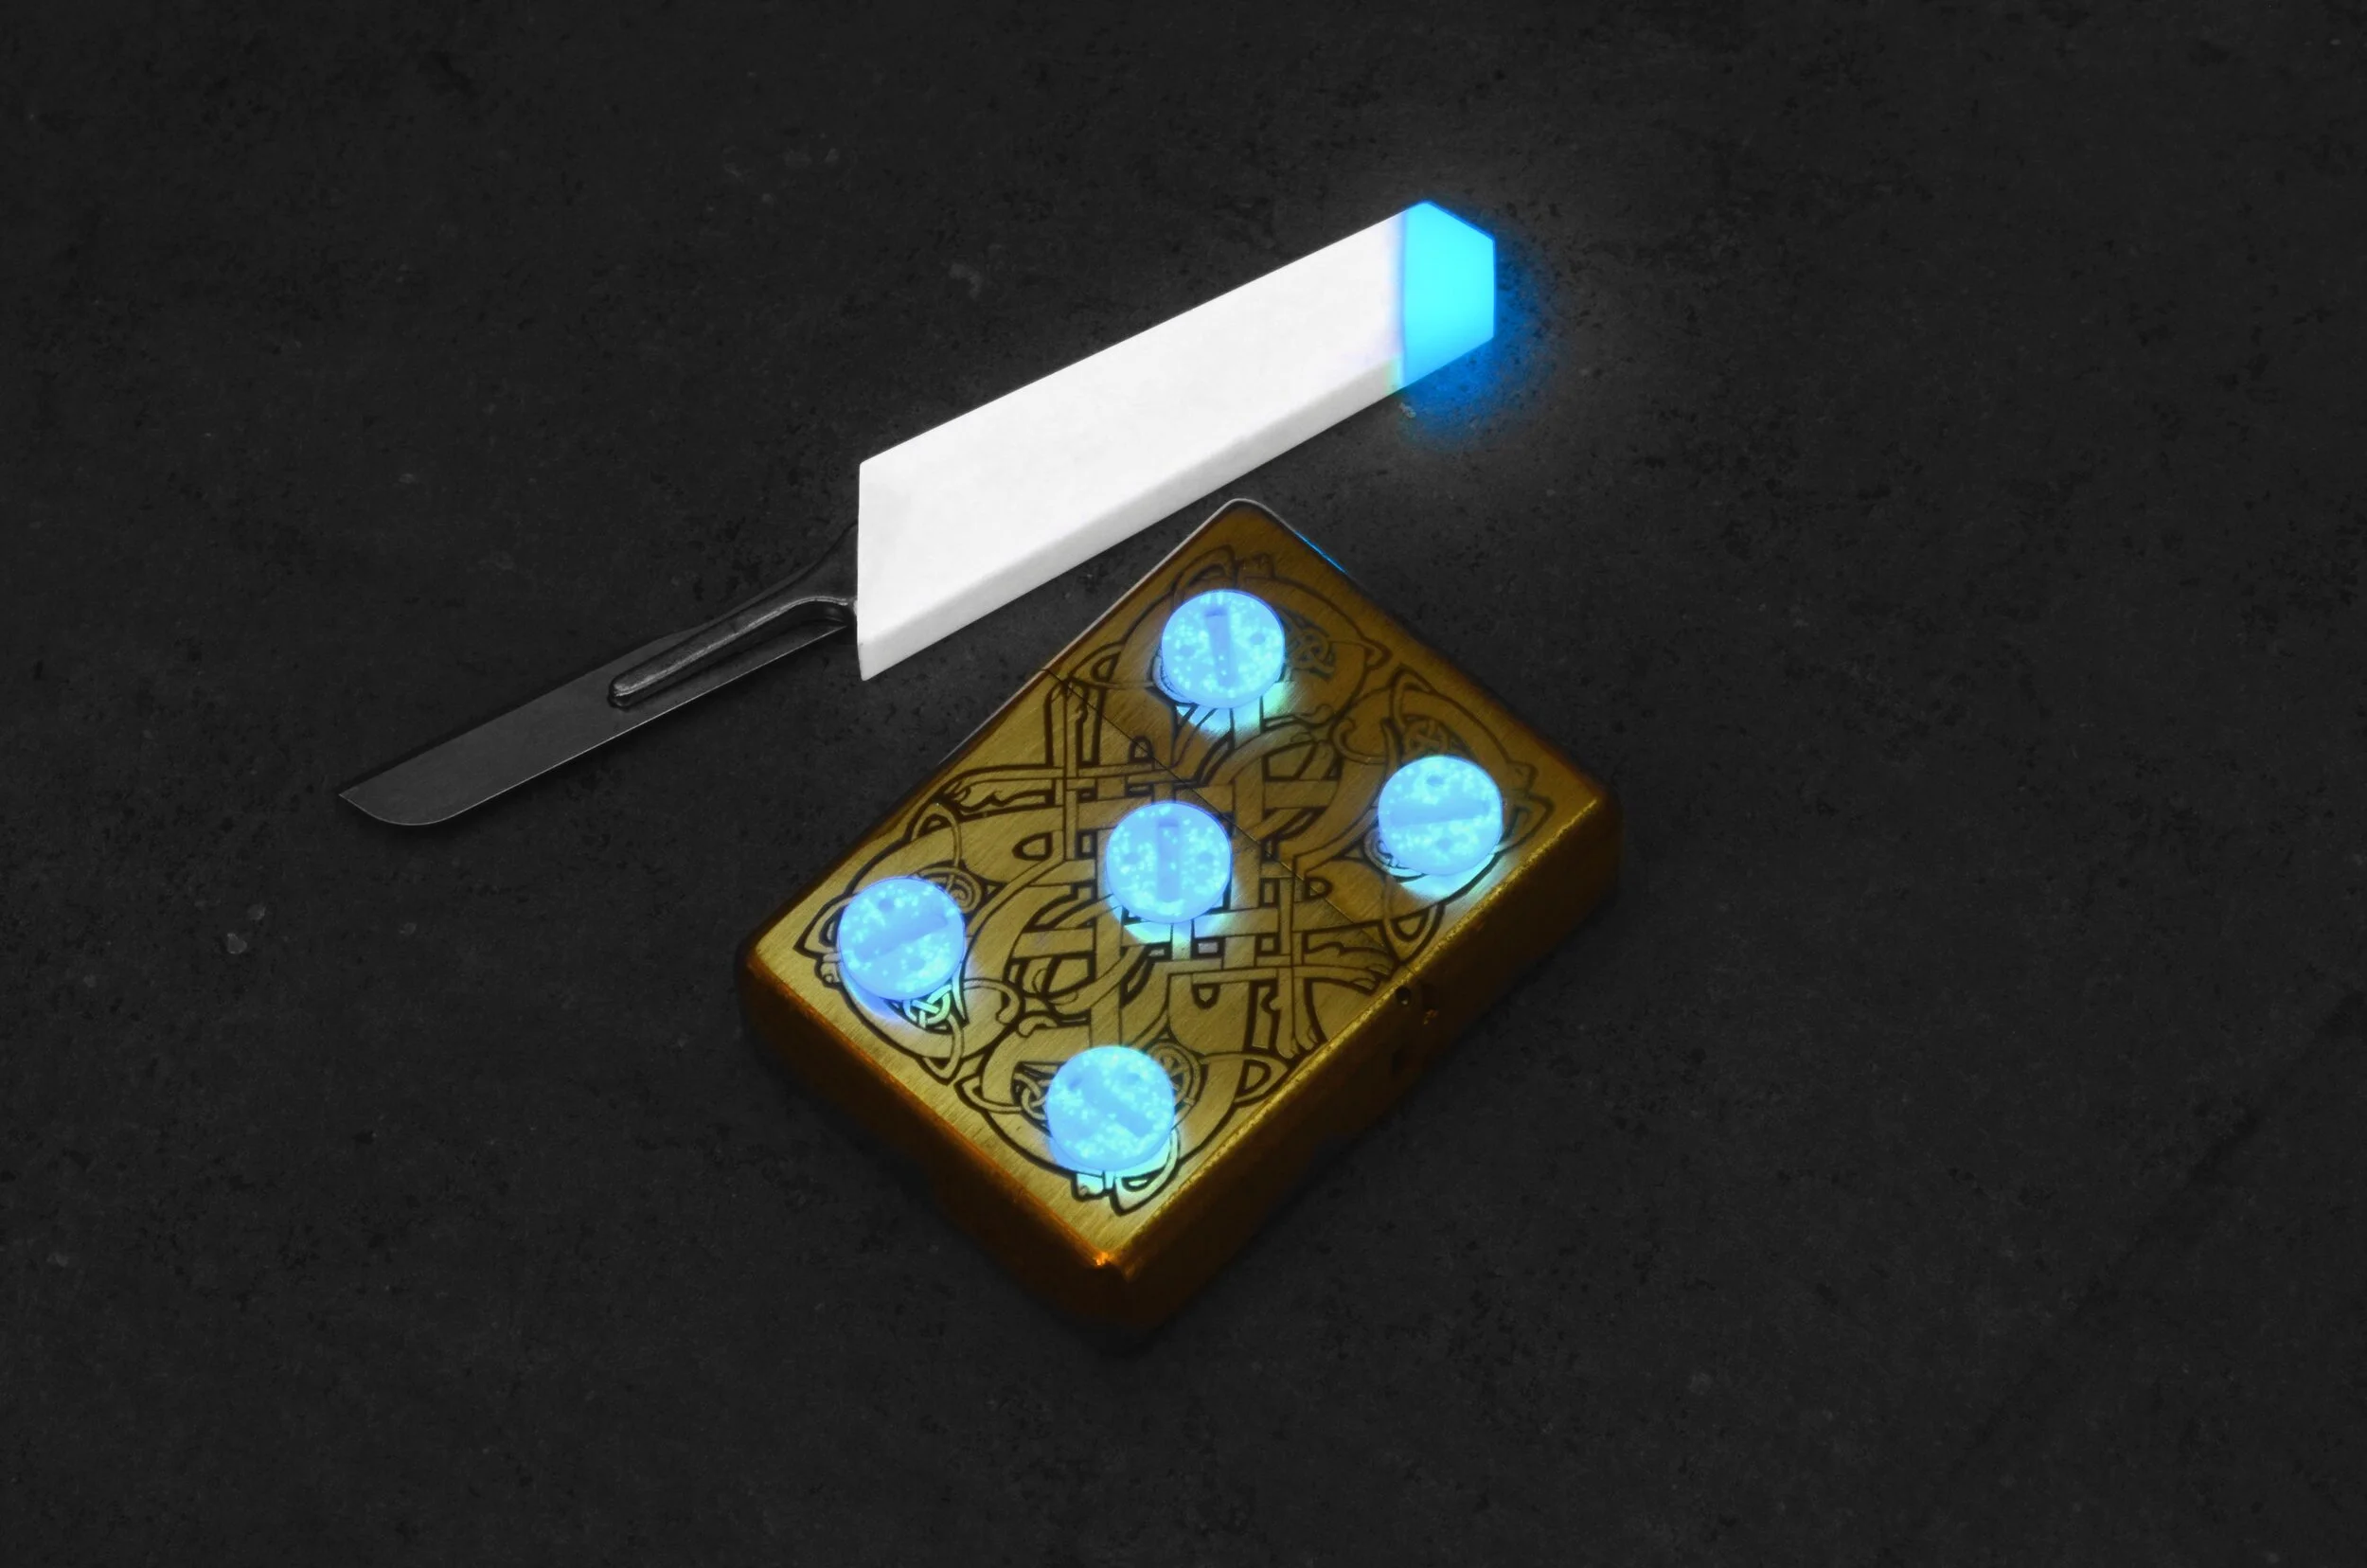
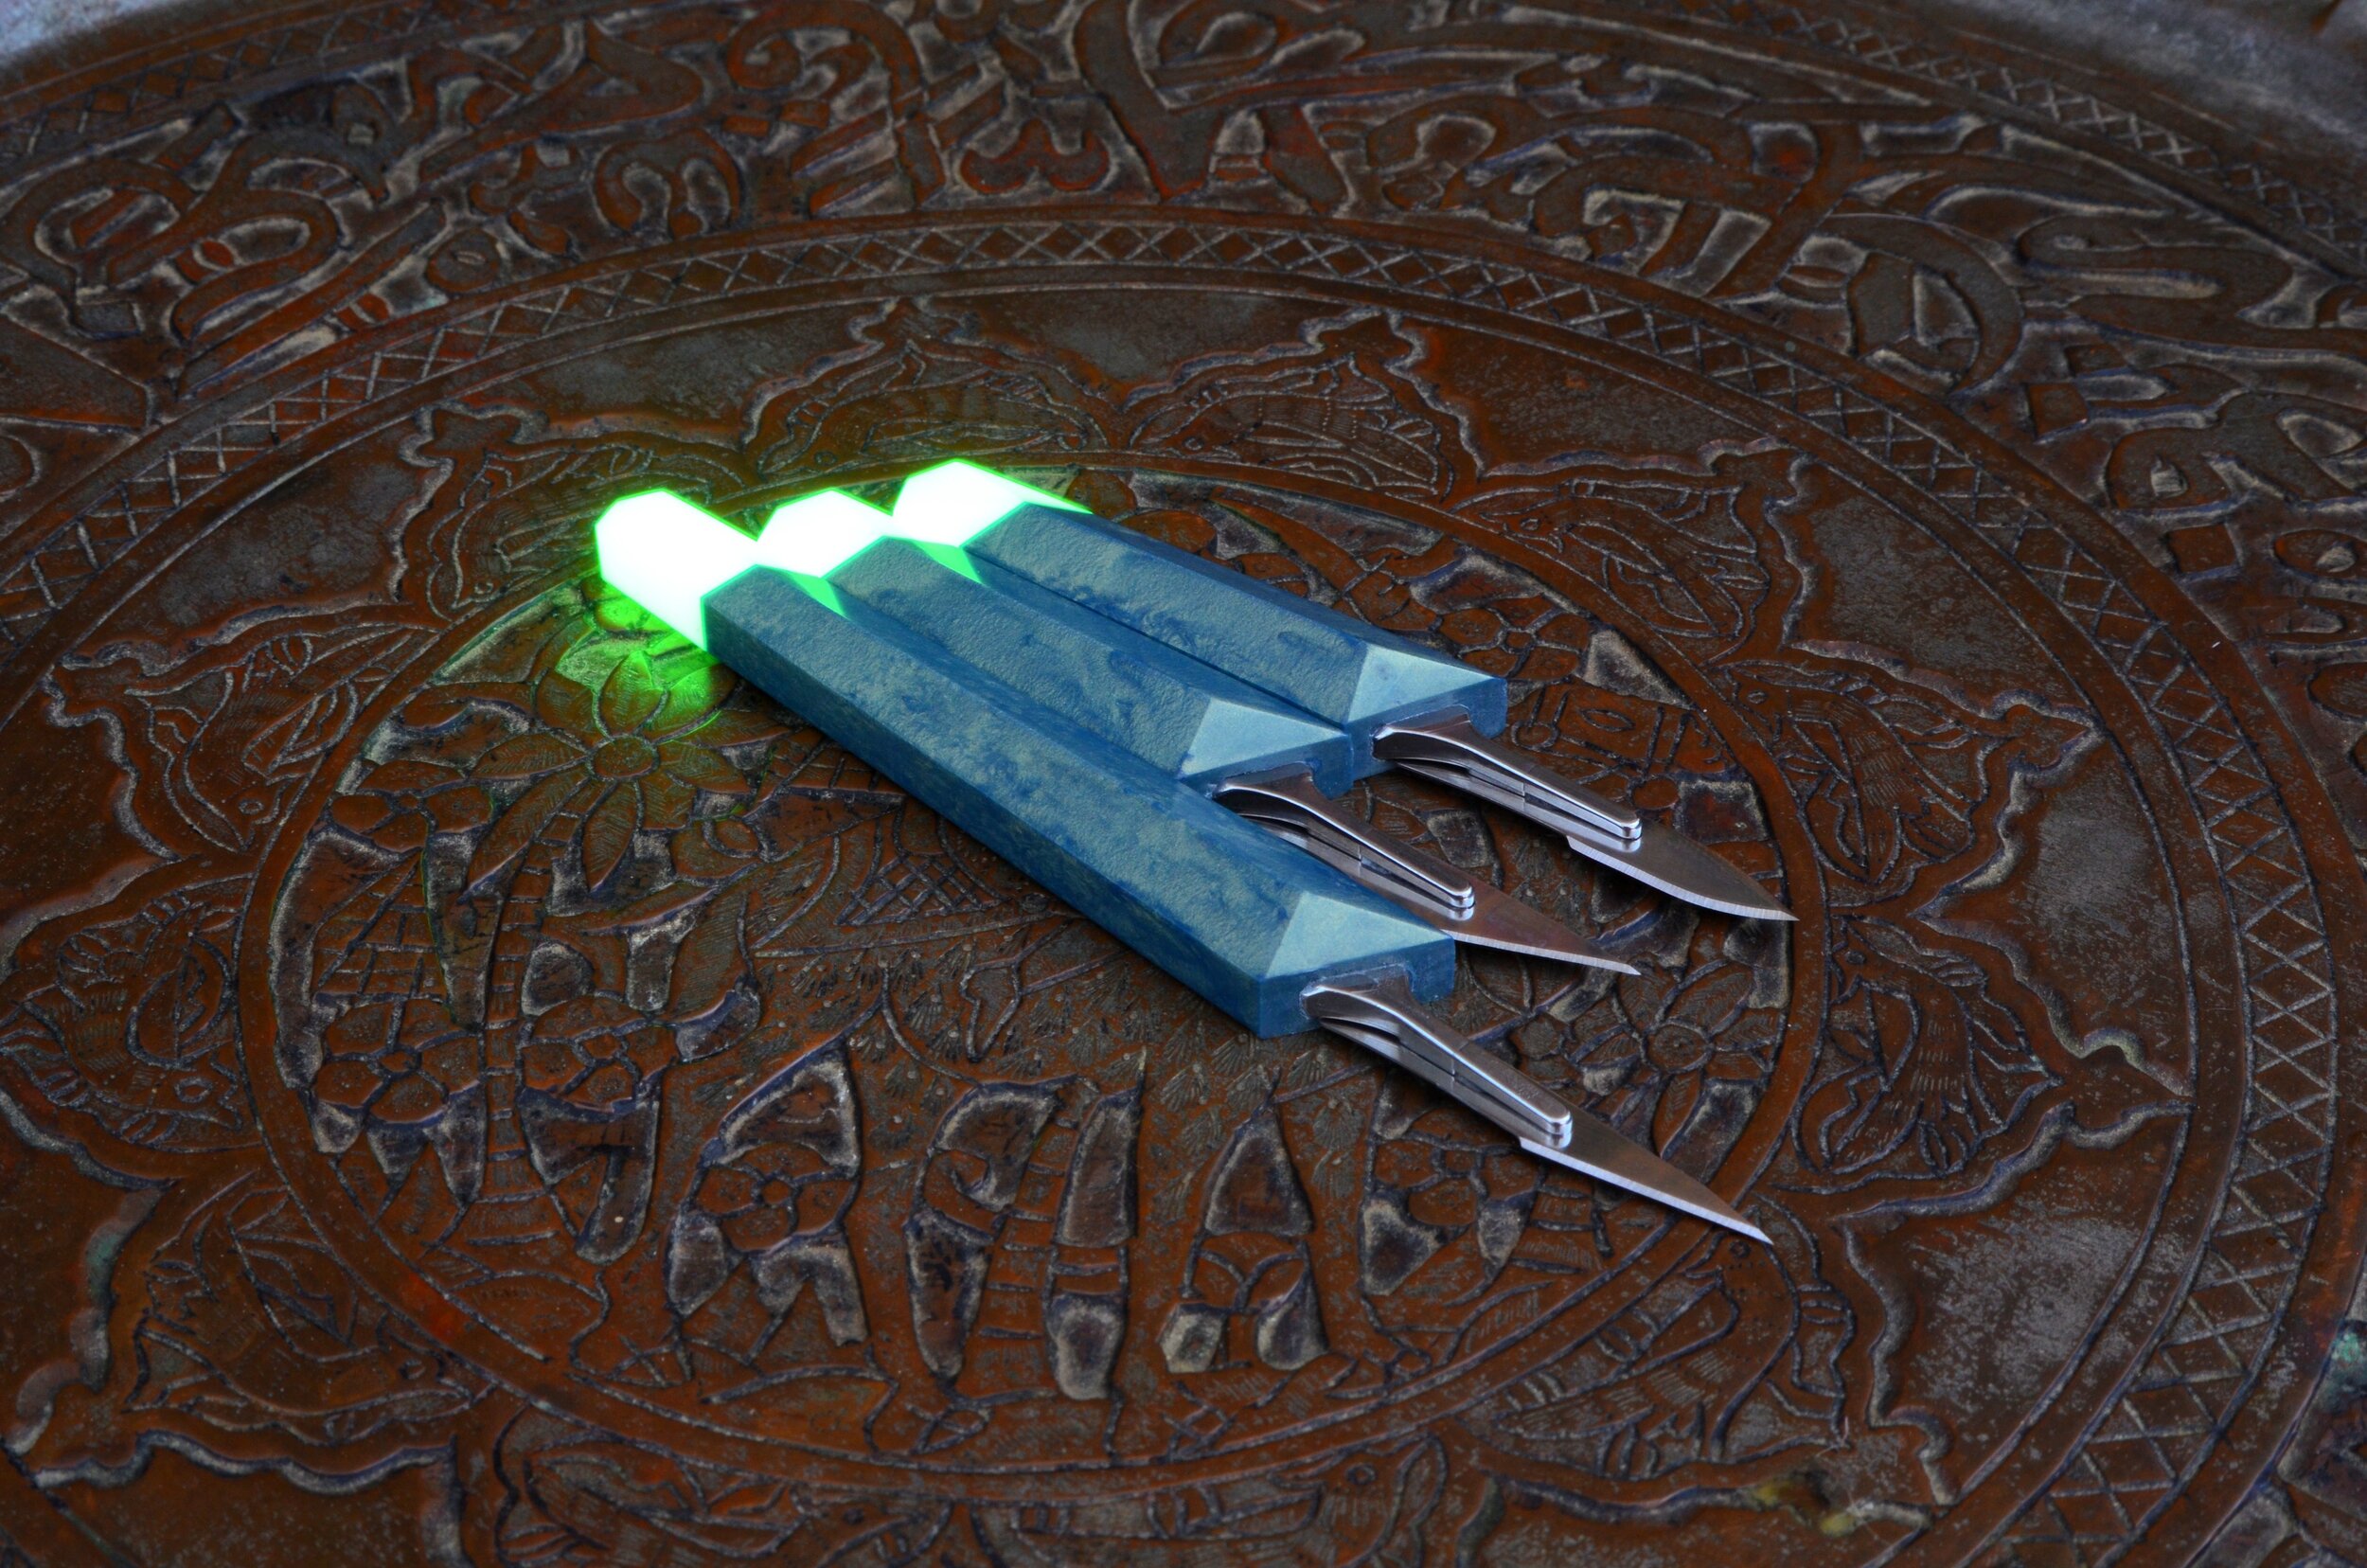
Photography is one of the more time-consuming and expensive parts of offering products in multiple colors. Reshooting every product for every new color or material option isn't practical, but customers also shouldn't have to guess what a product will actually look like before buying.
Our solution is color swatch photography: images with real shape and texture that give an accurate sense of how a given color or material will look, without requiring a full reshoot for every variant.
This approach is also a deliberate departure from a common retail practice: using color or pattern mapping to digitally recolor a single product photo across multiple listed variants. That's why, on some retail sites, a product model appears in the exact same pose across every color option, because it's the same photo with the color altered afterward. We don't do that. Product photography should reflect the genuine article. Swatches let us provide real visual information for every color option without faking a single image. You should see these popping up across listings. And if you see a product and aren’t sure about color, just ask! :)