Project - Custom Santoku
Silent Thunder Ordnance
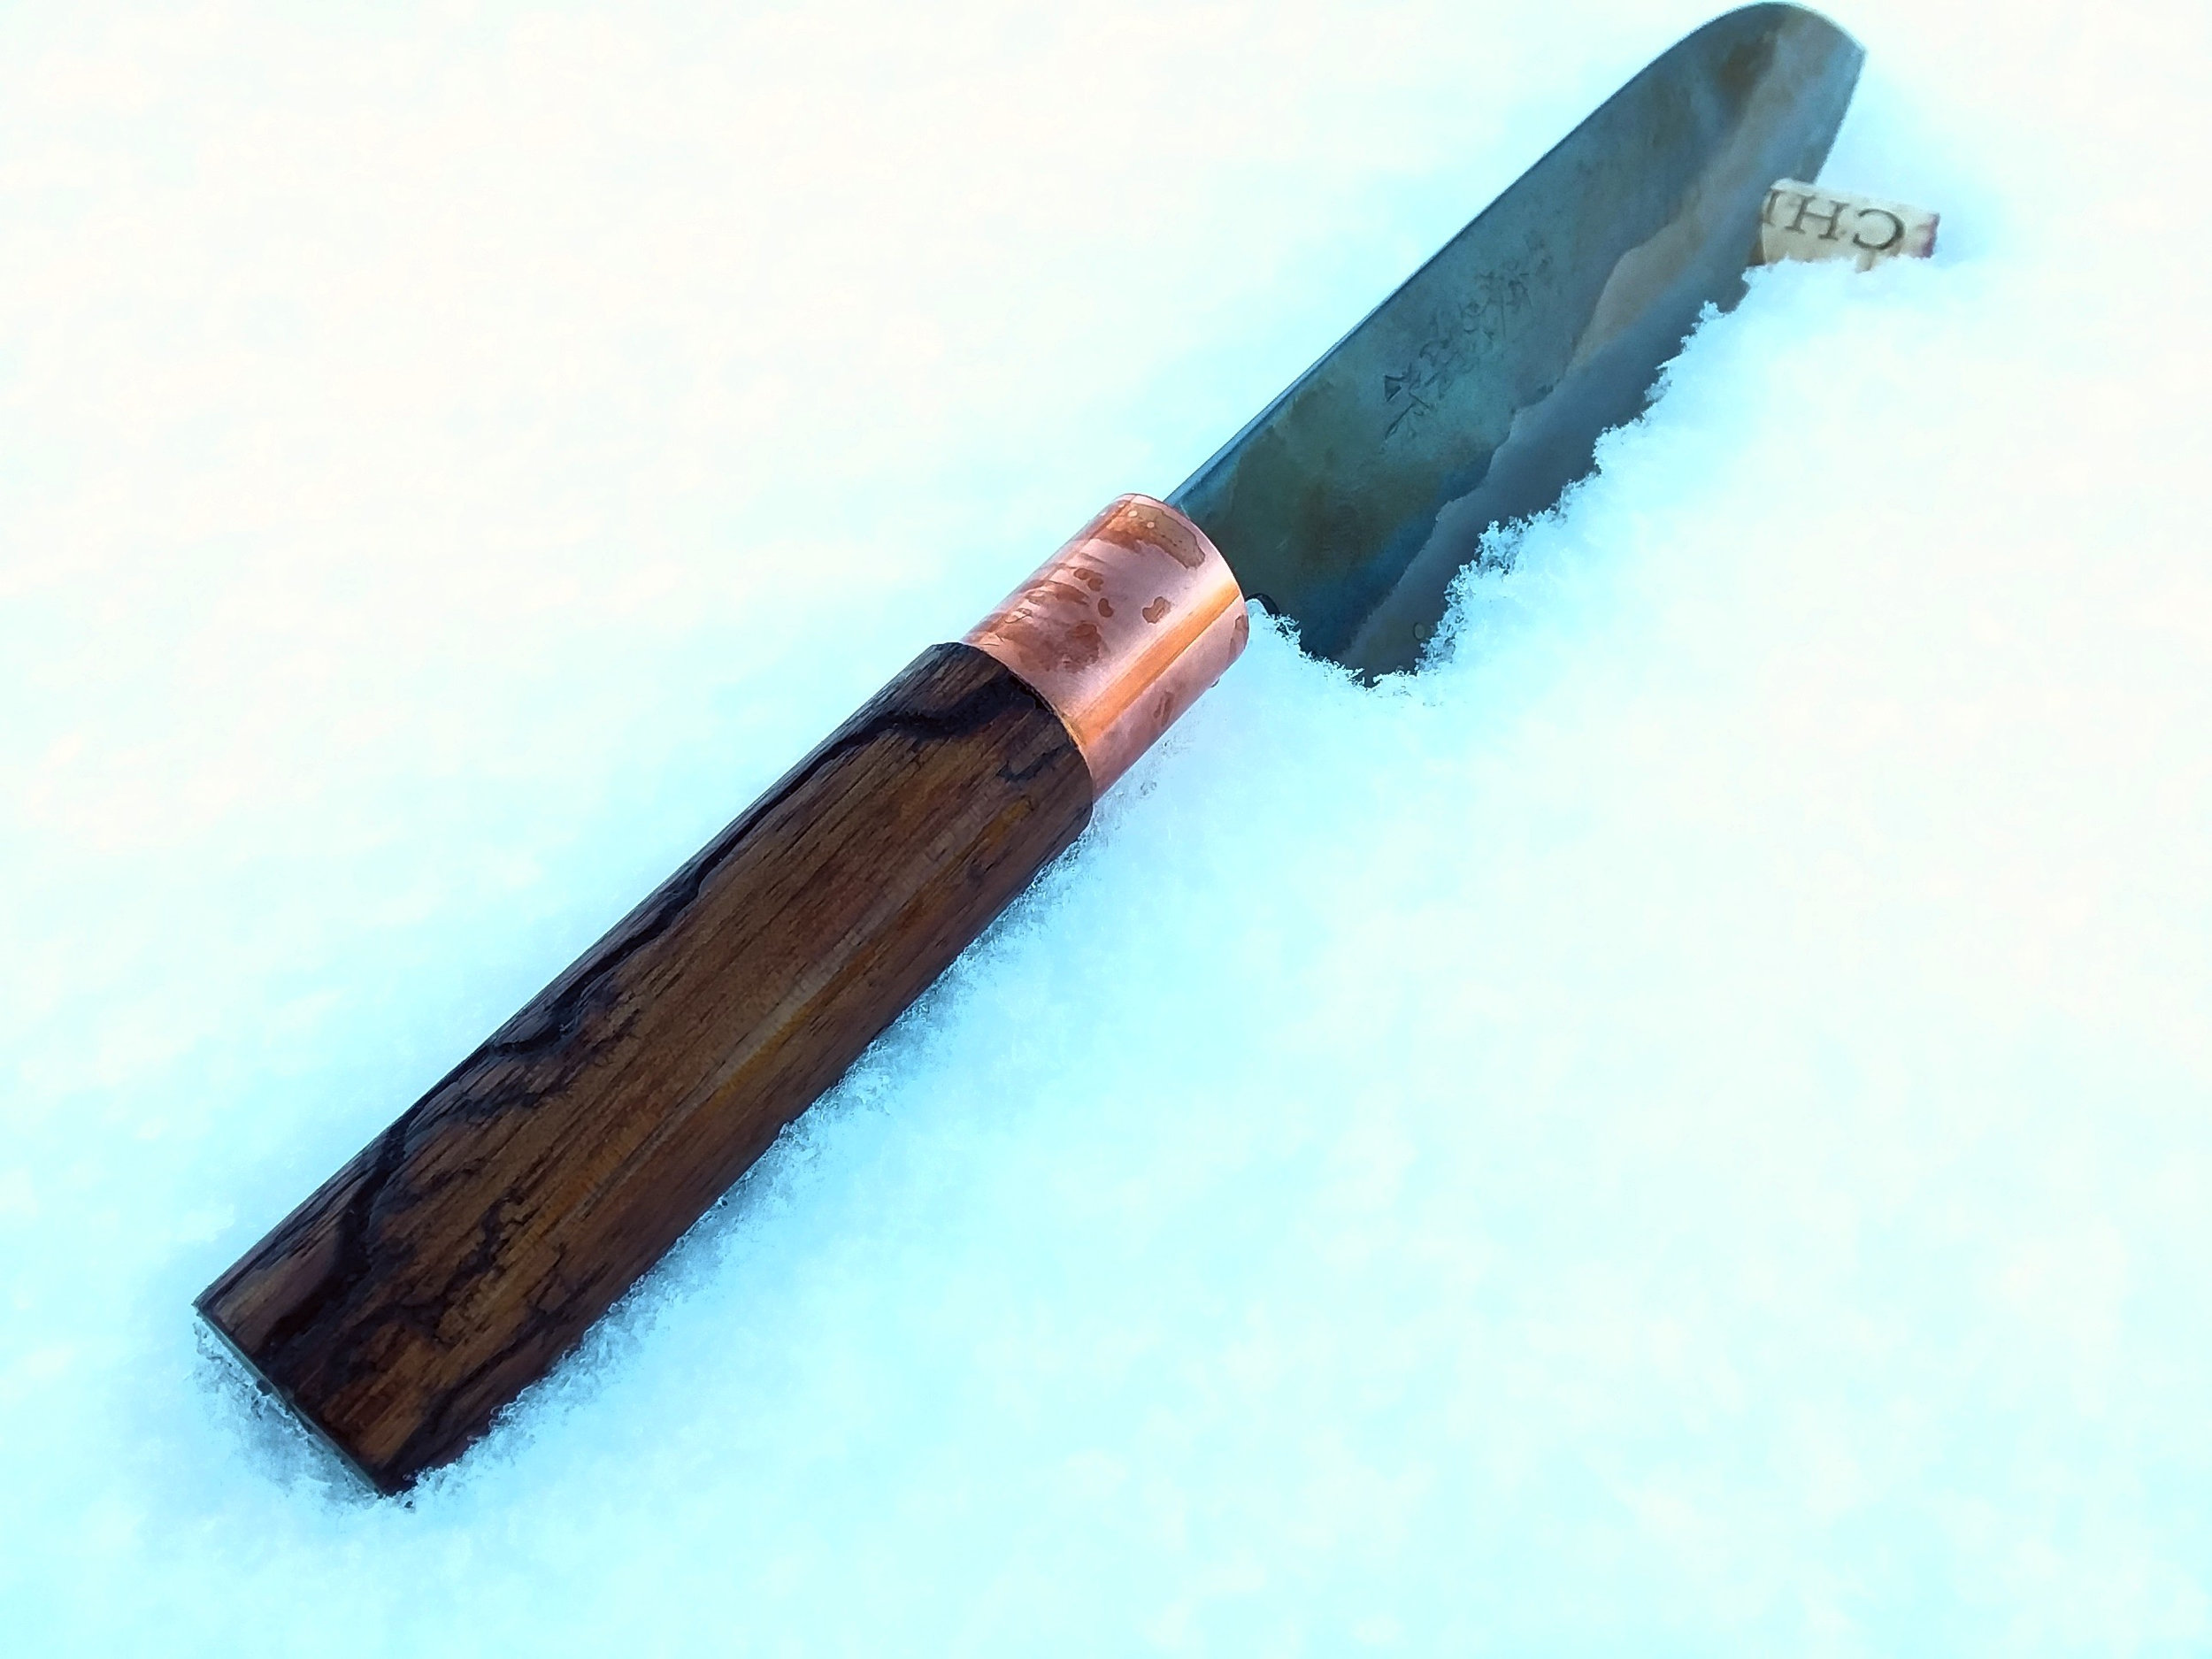
Completed santoku with lightning strike walnut handle and copper ferrule.
Funny enough, if the snowy pictures don't make it obvious, this project was completed in December of 2018. Now summer, sweltering in heat and high humidity, it is refreshing to look at these pictures and write up the project. The purpose of this project was simple: provide a functional, elegant, and unique pair of gifts to two dear friends of the company for Christmas. To this end, a wickedly thin ground Japanese style kitchen knife with a little STO flair seemed like just the ticket.
The first step was acquiring the stock blade. We went with a traditional japanese forged white steel blade done in the western inspired santoku style. These blades are ground for the hand, we went for right-handed, and are wickedly thin and sharp. How thin exactly? Almost zero ground, this example measuring approximately .08mm thick above the microbevel that forms the apex. The Japanese white steel, so named because of the color paper in which it is wrapped, is a low-alloy carbon steel fantastic for easily forming and holding incredibly sharp edges.

The base blades, here with one handle removed. As you can see the original poplar handle and plastic ferrule are functional but leave much to be desired when it comes to beauty.
These blades aren't sold naked though, in this form they come with plain poplar handles and plastic ferrules. Perfectly functional, but not very pretty. This is what we're here to change. Step one is getting the existing handle off. This proved harder than you might expect. Ultimately the easiest and safest method proved to be cutting the ferrule, cutting a groove in the back of the handle, and driving a cold steel chisel into said groove from the back. This way the wood is split from the blade without damaging it. Note, the blade was installed via a hot tang sunk into a hole drilled into the handle. This is a very firm method of installation, difficult to reverse by simply pulling the blade out. I should note that, at some point, one of us came to our senses and masked the blade so it wasn't quite so dangerous to handle.

Drilling the walnut blank
We cut blanks from some scrap walnut laying around, using the existing handles as a rough length guide. From there we had to drill out the tang part of the handle. This was something of a guess because we're going to burn in the tang later, so how large a hole you need to start with will depend on your specific wood's burn-out rate as well as tang width. You see half inch here, and next time around I'd go with considerably smaller as the tang sank in effortlessly.

Lathe turning the walnut blank to maximum external dimensions. This is for bulk material removal only, as nothing on the handle is actually perfectly round.
Once drilled, the lathe comes in handy to remove the bulk of material from the handle and ferrule area. It is worth noting that these handles aren't round when they're done, they have something of a D shape, and the ferrules are oval, but a lathe is a quick and efficient power tool to rough the oversize square blank down to the maximum dimensions of the oval and D respectively.

Forming the ferrule area.
A nice sharp chisel is the tool of choice to finish bringing the front of the handle to the oval cross section for the copper ferrule. Not pictured, a section of copper pipe was cut off using a pipe cutter, deburred, and crushed in the vice to form the correct oval shape. It was then traced onto the front of the handle.

Pressing the copper ferrule onto the walnut handle for the santoku blade.
The ferrule was then pressed on. Remember snug is good. From there the handle was masked and the ferrule ground flush with the front of the handle and buffed. The ferrule was then masked and the handle taken over to the belt sander to sand down to finished D profile and brought up to 1000 grit.

Heat burning the santoku blade into the handle.
It is rather difficult to operate a hot knife, blowtorch, and camera at the same time, so you'll have to settle for a picture of the aftermath. Tangs on these knives aren't hardened. The blade was masked with a wet rag and the tang heated with a torch. We had expected with the density of walnut much pressing and maybe multiple attempts would be necessary. Surprisingly, it literally fell and sank in like this, no force necessary. Next time we'll start with a smaller hole.

Angry angry pixies were applied to the handle, lightning striking it, and leaving the scarring you see here. Not pictured was the time spent giving it one final go-over with sandpaper prior to finishing. For a finish we went with flax seed oil. This is food safe and polymerizes nicely, albeit slowly over the course of a week or two. The blade itself was coated, and it was poured and sloshed around inside the tang area as well assuring it'd be protected from corrosion. The one "down side" if you will is that flax seed oil isn't a neutral finish, it is quite yellow, and this can be seen on the blade (which was also coated) in the completion photoshoots. Now the knife is finished and ready for wrapping and gifting.
Reflections on completion

Completed santoku with lightning strike walnut handle and copper ferrule.